Find-Me Printing on Macs
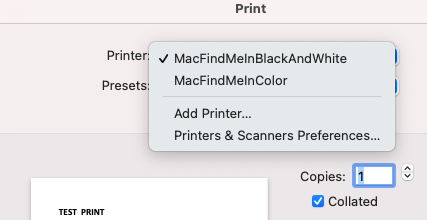
The following steps will show you how to add the Find-Me printers to a Mac device.
NOTE: This may not work with all Mac devices. If you are having trouble, please use the Web Print method shown here instead: https://bookstack.clarkson.edu/books/general-knowledge-base/page/wireless-printing-aka-web-print
Step-by-step guide
-
Ensure you're connected to the "eduroam" Wi-Fi network if using a wireless internet connection. If you are using an on campus wired (Ethernet) connection skip this step.
-
From a web browser (Chrome, Firefox, or Safari) go to https://go.clarkson.edu/macprinting
-
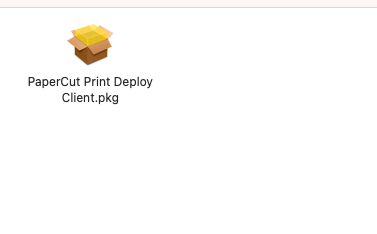
Once the download is finished open the file and you will receive the following prompt:
-
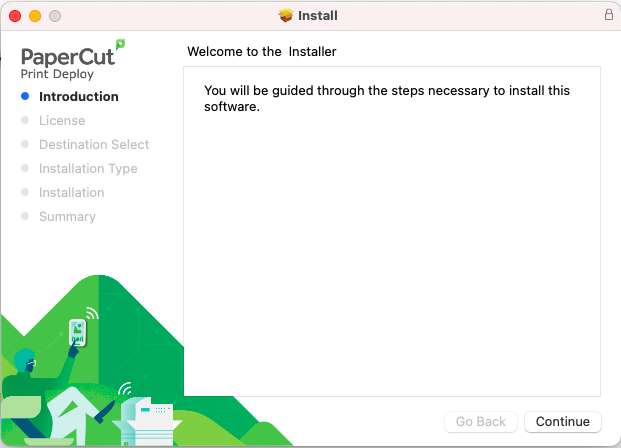
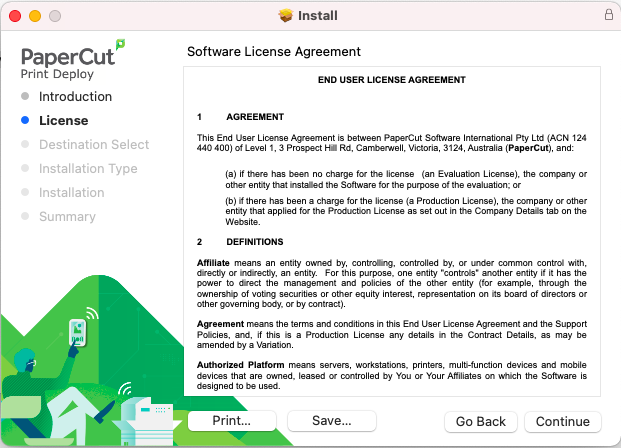
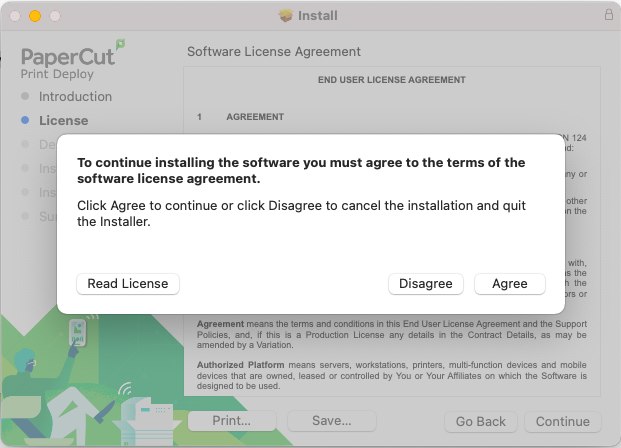
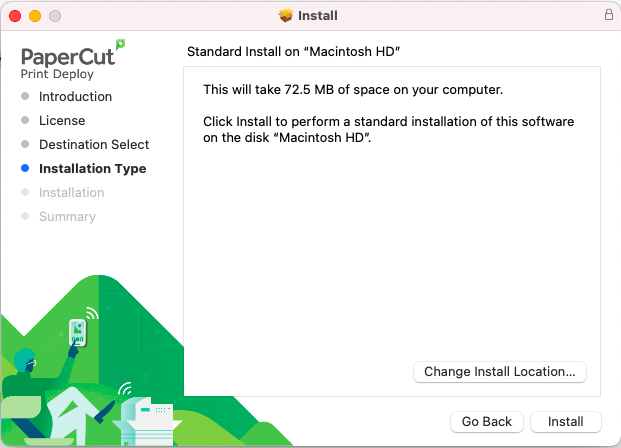
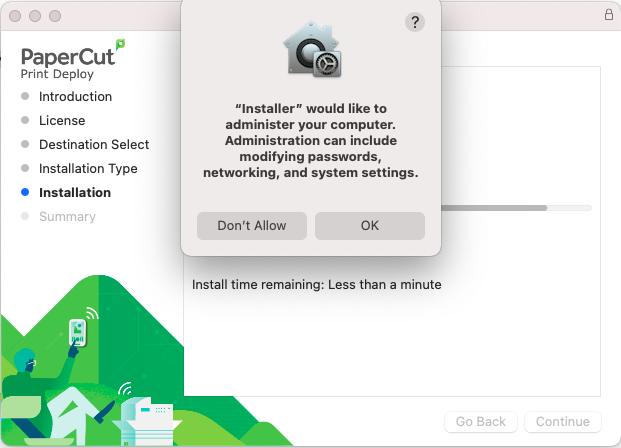
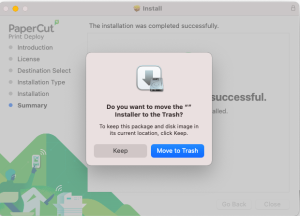
Open the .pkg depicted above to begin the PaperCut installer and following the onscreen prompts:
-
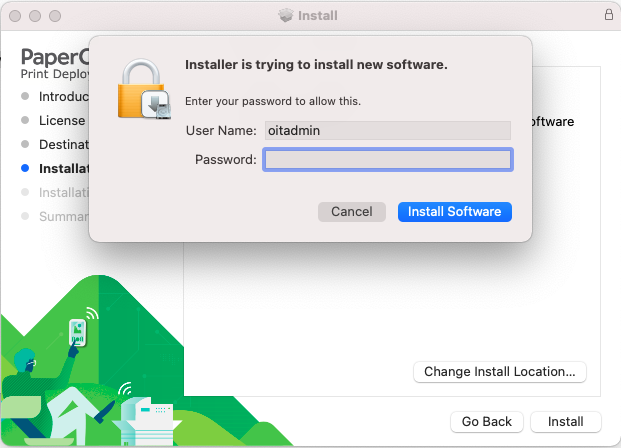
The next onscreen prompt is your local Mac account:


-
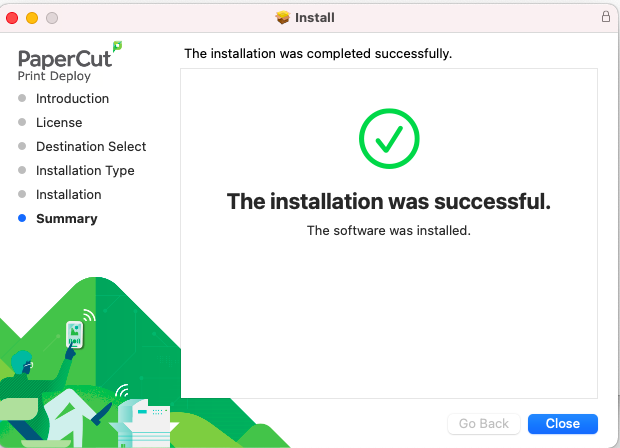
Once the installer finished the following printer icon should have appeared in your top toolbar:


If this icon does not appear you will need to restart your Mac. -
Select the icon to receive this prompt and select View my printers:
-
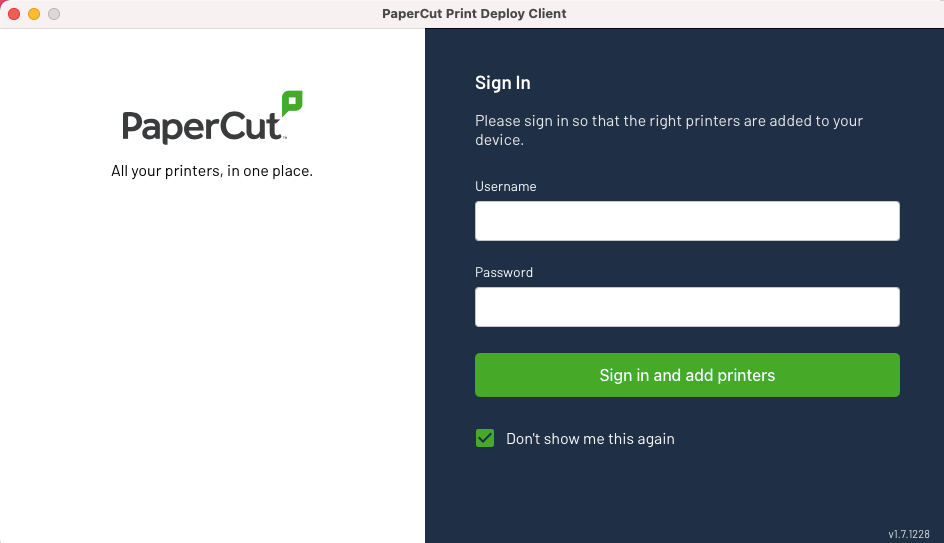
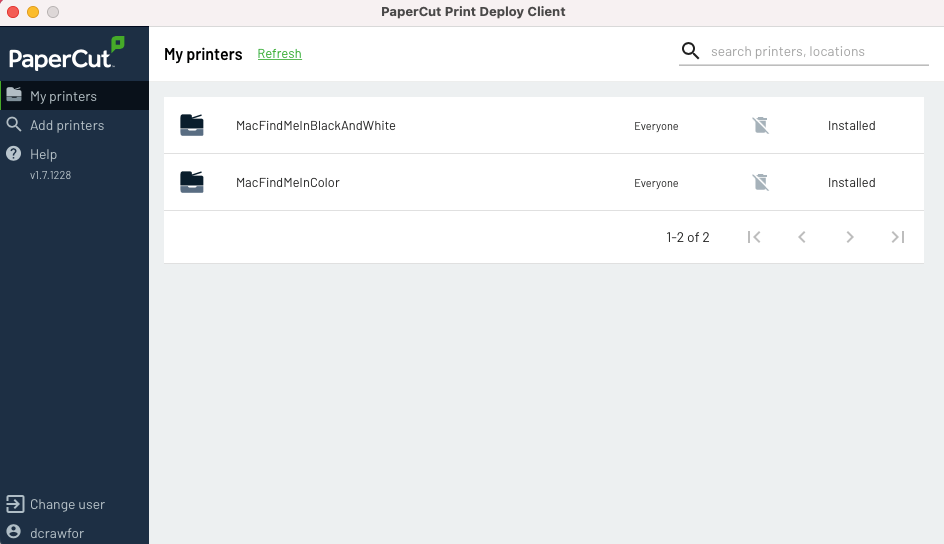
You will receive this PaperCut prompt, which you will need to use your Clarkson username and password to login. The two printing queues will be automatically mapped to your device.
Please note that if you ever change your password you will need to repeat steps 8 & 9.


