
Increase Engagement in Your Class: Create an Avatar with Voki
Voki enables teachers and students to use speaking animated characters to enhance the teaching and learning experience. Teachers can use Voki to create animated presentations for their classroom, and they can also create fun Voki assignments for their students, for classwork, homework or special projects.
Voki Presenter allows you to create animated presentations that use your Voki character to deliver your message. Think of it as a fun version of PowerPoint. Use your own voice (or any voice) to deliver the lesson highlights, or use it to ask leading questions and engage the students. Students can also use Voki Presenter to fulfill the assignments you give them.
Skeptical about using Voki in your higher education class? See Voki in action in these two resources: 5 Innovative Ways to Use Voki in the Classroom & VOKI: Speaking Avatars for Education

Engage with Avatars: Get Started with Voki Create
-
Go to the Voki homepage
-
Optional: Click Log in at top right of page, and choose to Sign up. You will need to register in order to share your avatar.
-
Click the Create link


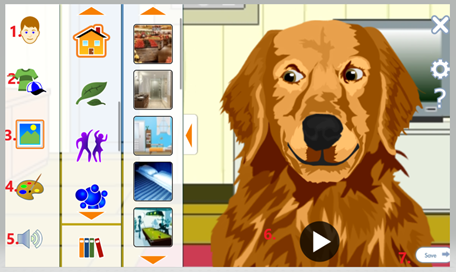
Customize your avatar
-
Click on the avatar icon.


-
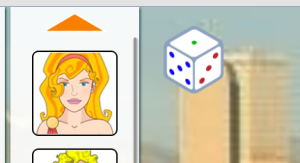
To customize, first choose a new avatar. Try rolling the dice icon to see other avatar options.


-
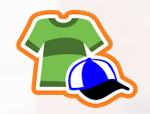
Next, choose from the other options clothing, background and color


-
Note: Not all options are available for all avatars and many are only provided in the paid version. Also _in the paid version, there would a scale below your avatar, where you would use the sliders and a magnifying glass in the bottom right corner to resize or move the avatar.
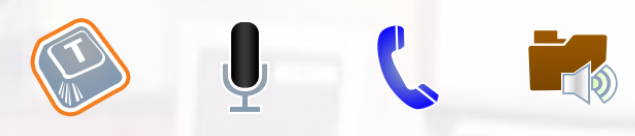
4. Next, you will give your Voki a voice. 


-
Click on the T key outlined in red.
-
Type in the text box whatever you want your avatar to say, and then choose a Voki voice by scrolling through the voices available.
-
Or you can also choose to record via a microphone, phone, or upload an audio file.
-
Finally, you do have the option to add sound effects by clicking on the FX (Be aware these are annoying!).
-
When you are happy with the text and recording click Done.
5. Continue customizing by choosing an available Background or uploading your own.
- When finished, click Done and choose the color for your Voki player.
6. If you are done customizing, you are ready to Publish.
- Here you will give your Voki a title or ‘Name your scene”
- Your Voki is ready to Share!
7. Choose how you would like to share your Voki:
- through any of the social media options
- copy and paste the link generated
- Note you will need the paid version in order to embed the Voki. If you do choose to Embed, copy the New code.
Get Help
Voki Support provides plenty of help tutorials, however, you will notice some differences in the videos because they create using the paid version.
The Basic Voki is FREE but it is limited including the light edition of the Basic Character Set; Creator; Presenter; Hangouts; and Classroom. The most expensive version is $100 per year and there are several in between options.