
Find-Me Printing on Macs
The following steps will show you how to add the Find-Me printers to a Mac device.
NOTE: This may not work with all Mac devices. If you are having trouble, please use the Web Print method shown here instead: https://bookstack.clarkson.edu/books/general-knowledge-base/page/wireless-printing-aka-web-print
Step-by-step guide
-
Ensure you're connected to the "eduroam" Wi-Fi network if using a wireless internet connection. If you are using an on campus wired (Ethernet) connection skip this step.
-
From a web browser (Chrome, Firefox, or Safari) go to https://go.clarkson.edu/macprinting
- Once launched this will immediately download a .dmg file (image below):


- Once launched this will immediately download a .dmg file (image below):
-
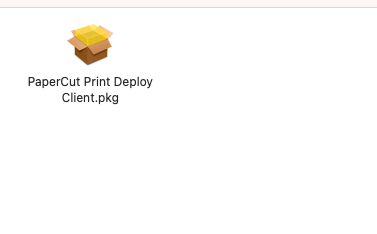
Once the download is finished open the file and you will receive the following prompt:

-
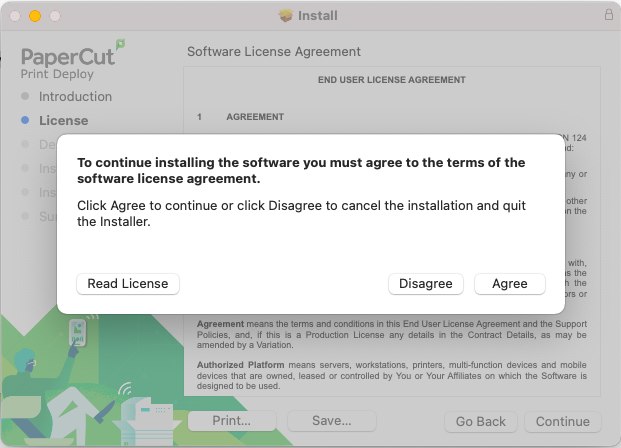
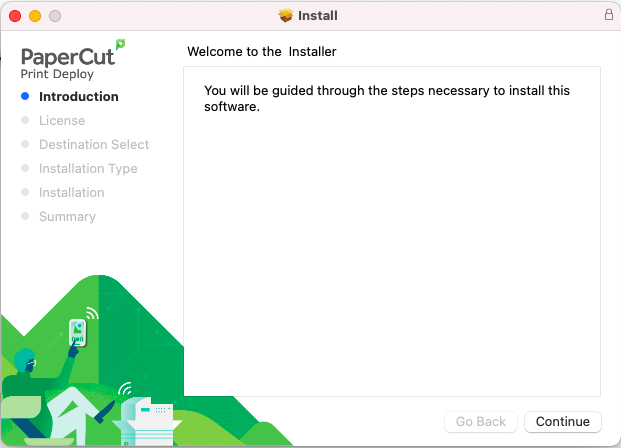
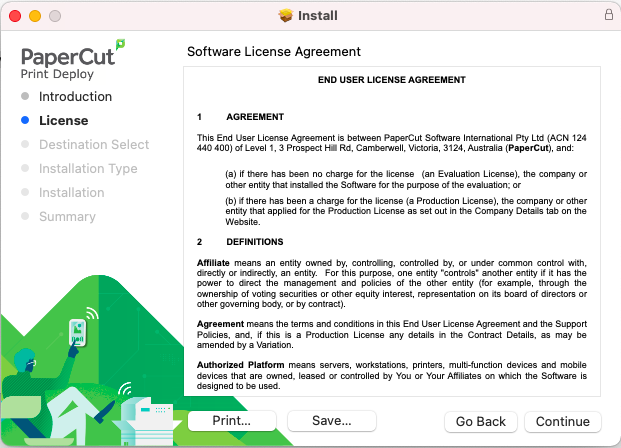
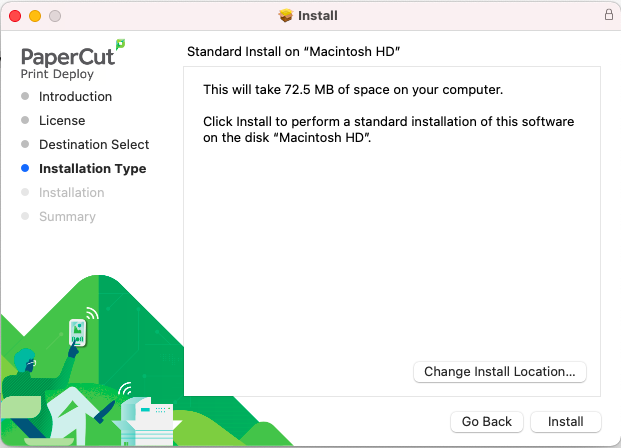
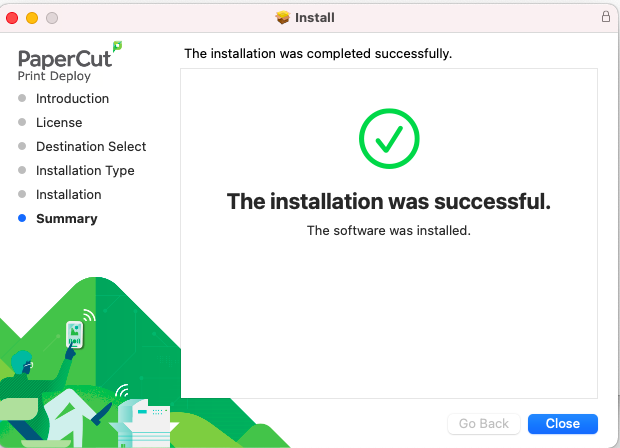
Open the .pkg depicted above to begin the PaperCut installer and following the onscreen prompts:


-
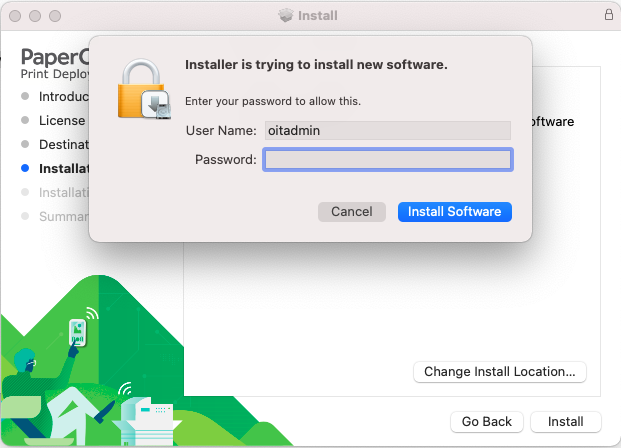
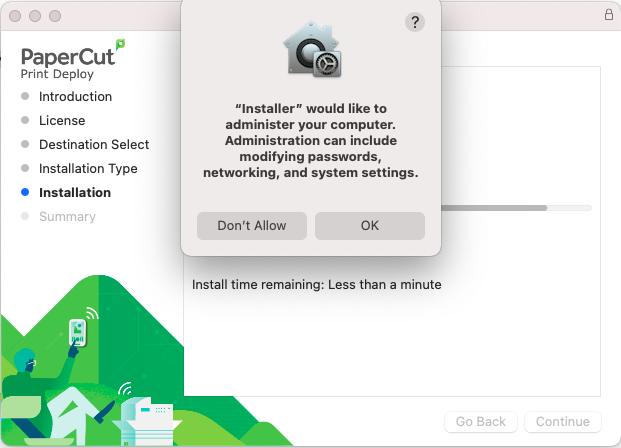
The next onscreen prompt is your local Mac account:


-
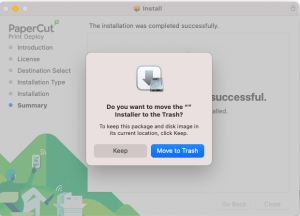
You may move the installer to the trash at this point.


-
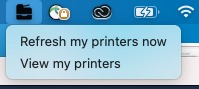
Once the installer finished the following printer icon should have appeared in your top toolbar:


If this icon does not appear you will need to restart your Mac. -
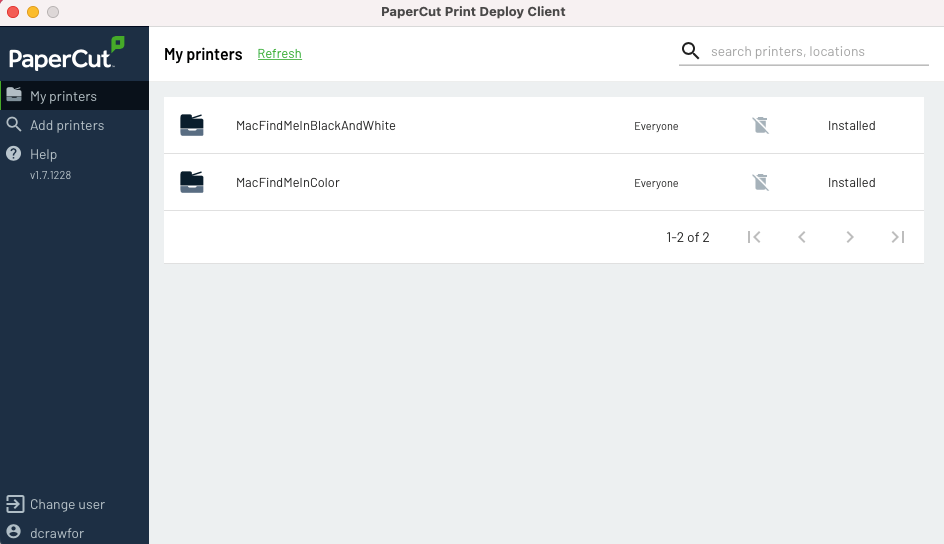
Select the icon to receive this prompt and select View my printers:

-
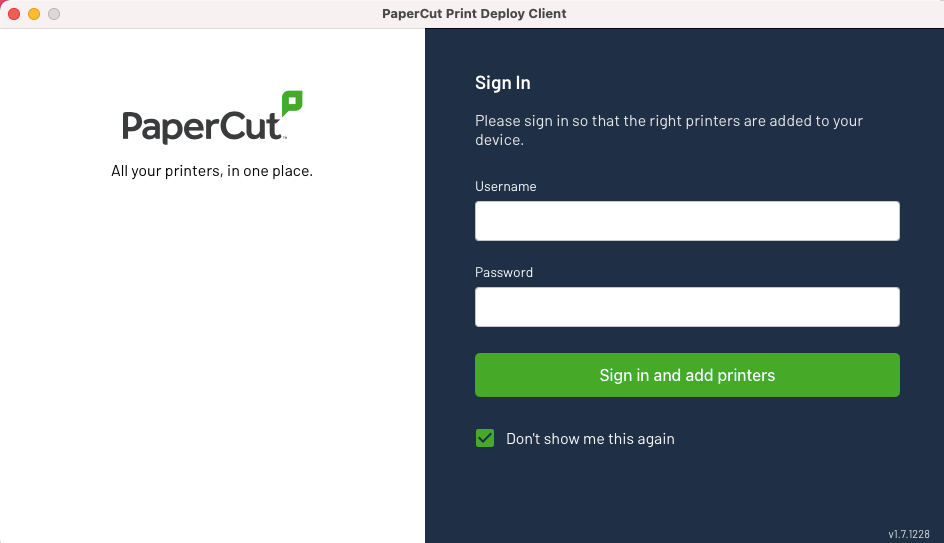
You will receive this PaperCut prompt, which you will need to use your Clarkson username and password to login. The two printing queues will be automatically mapped to your device.


-
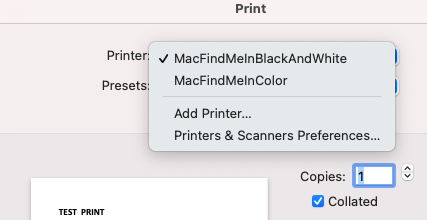
When printing the B&W and Color queues will be available:


Please note that if you ever change your password you will need to repeat steps 8 & 9.