How to Create a Reservation using the Reservation Wizard in the EMS Client
-
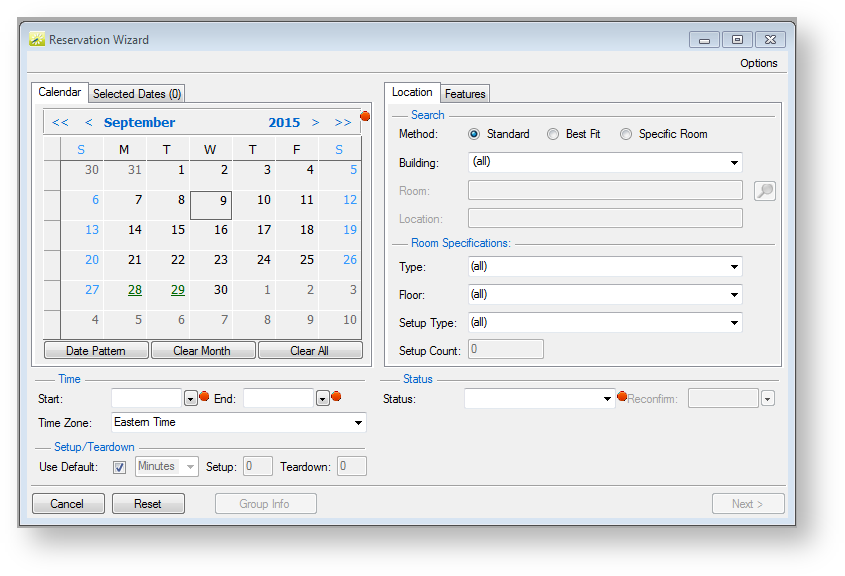
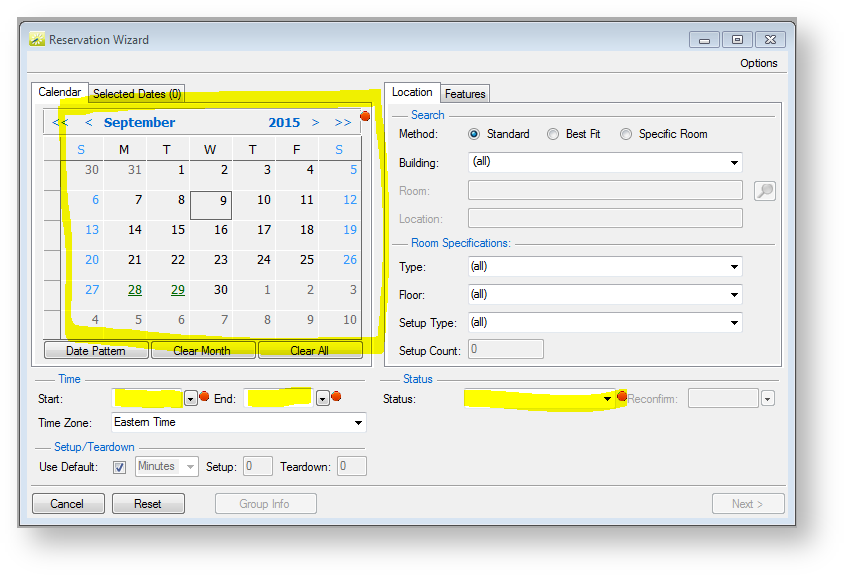
To start, click on the date you wish to make the reservation on the calendar, and then pull down a start time, end time, and status (since you are making the entry for another user, you will likely use the status 'Confirmed' or 'Tentative')
-
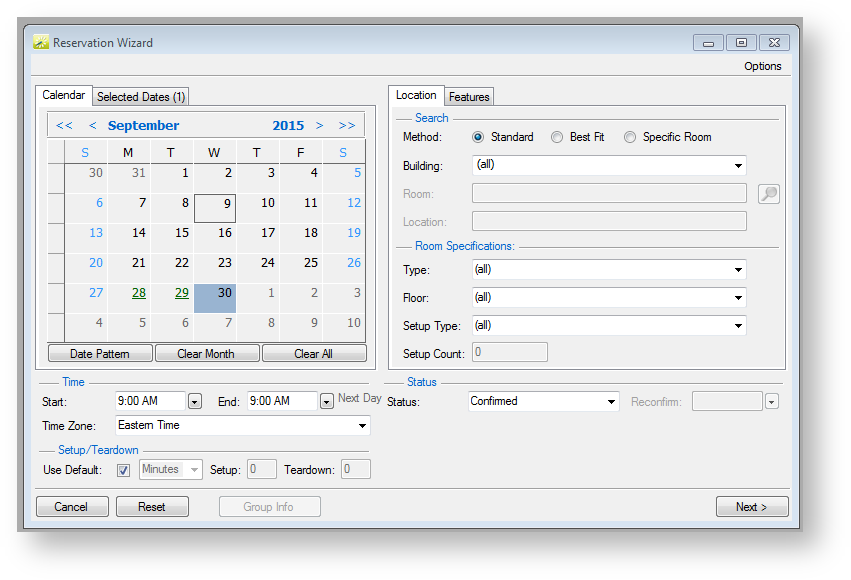
Once the information is entered, it should look like this. OPTIONAL STEP: If you do not need to search for a room, but are making the reservation for a specific building, you can pull down the building from the menu. This wizard will return all buildings if you do not select one, as the first step in this wizard is to browse for available space. Entering a building you know is free simply limits the results of that search by limiting it to that building. If no rooms are returned, make sure these search criteria are clear, and try again.)
-
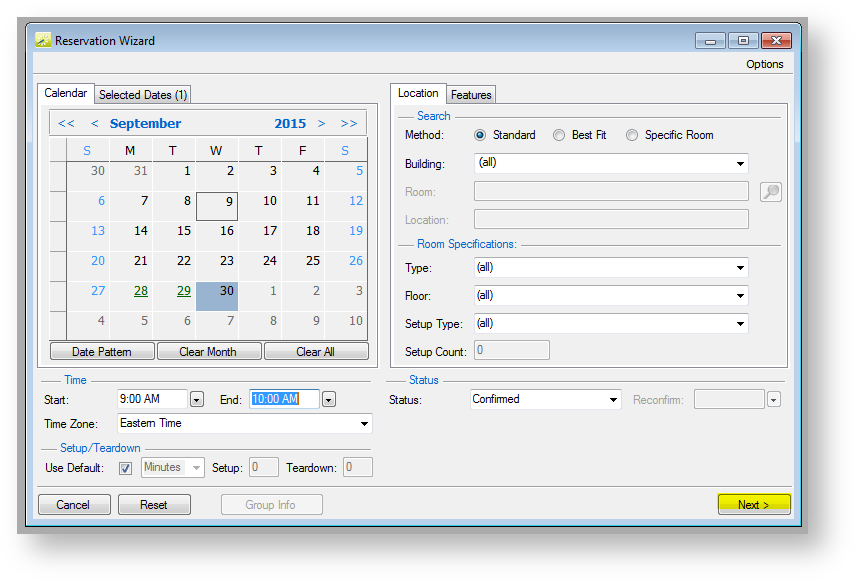
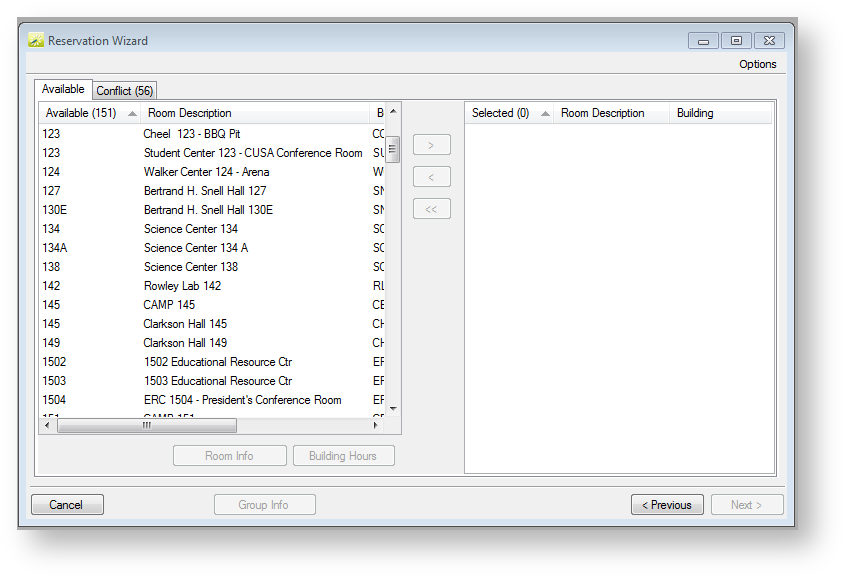
The search will run, and you will now be able to select a room for your event.
-
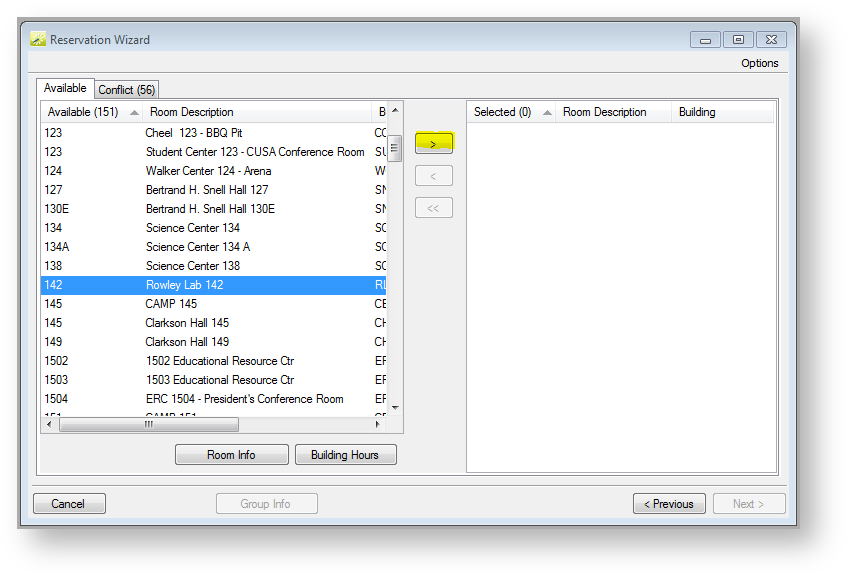
Select the room you wish to reserve, and click the ">" button to move it to the right. Then hit Next.
-
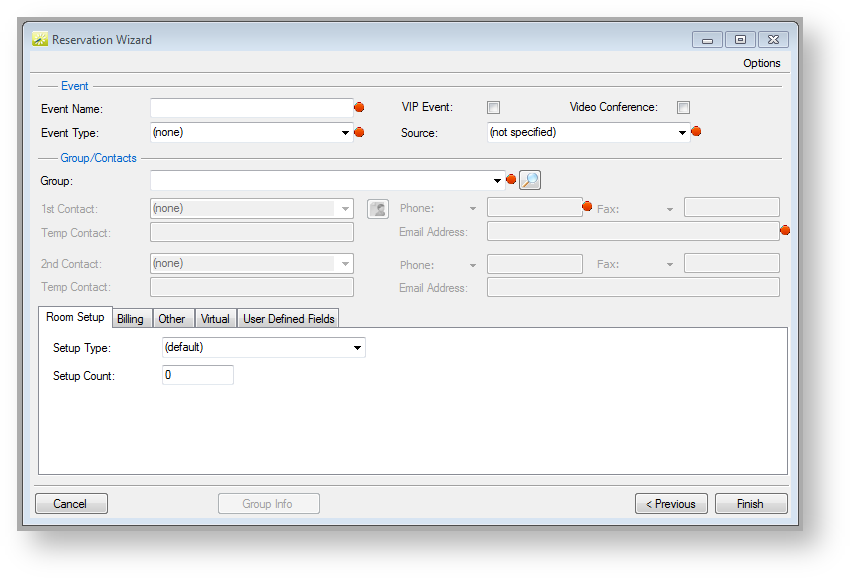
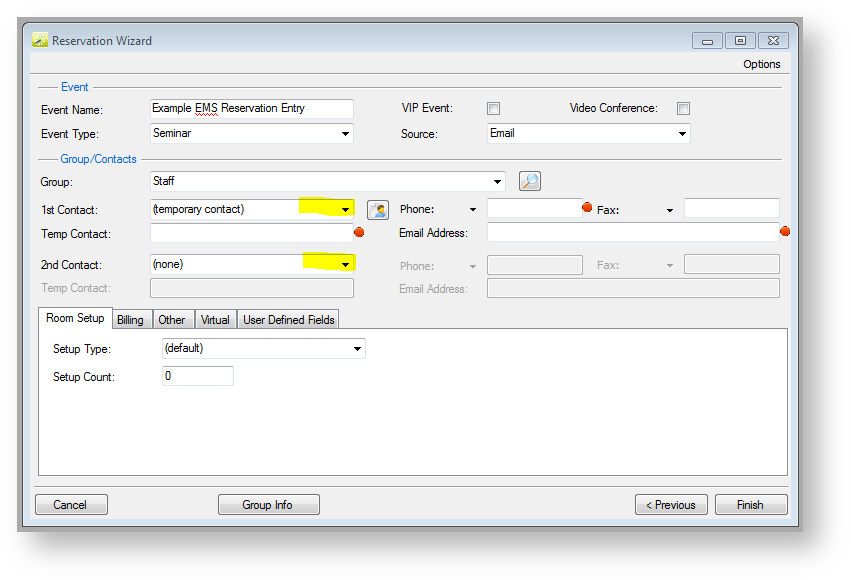
You will then be prompted to enter details about the event.
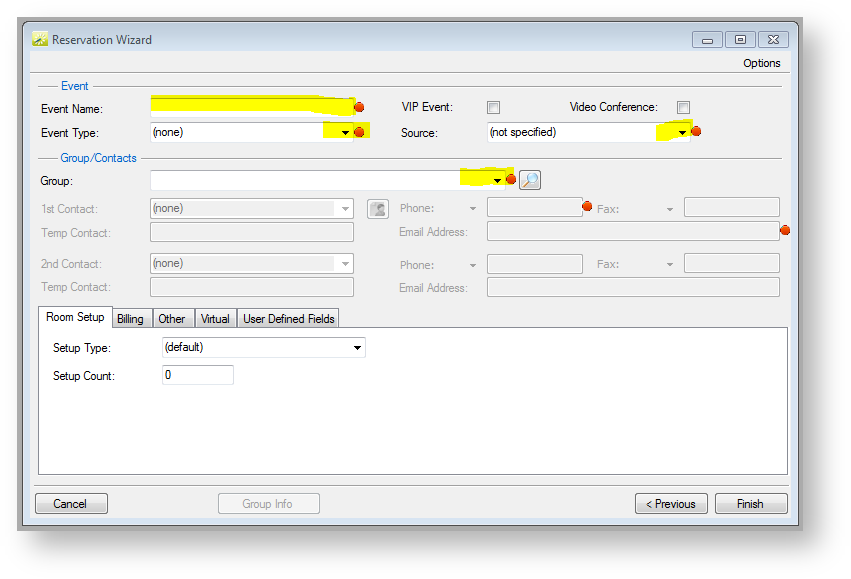
Type in the Event Name, and then pull down the appropriate Event Type, Source, and Group. (Group should be Faculty, Staff, or Student for internal reservation requests.)
-
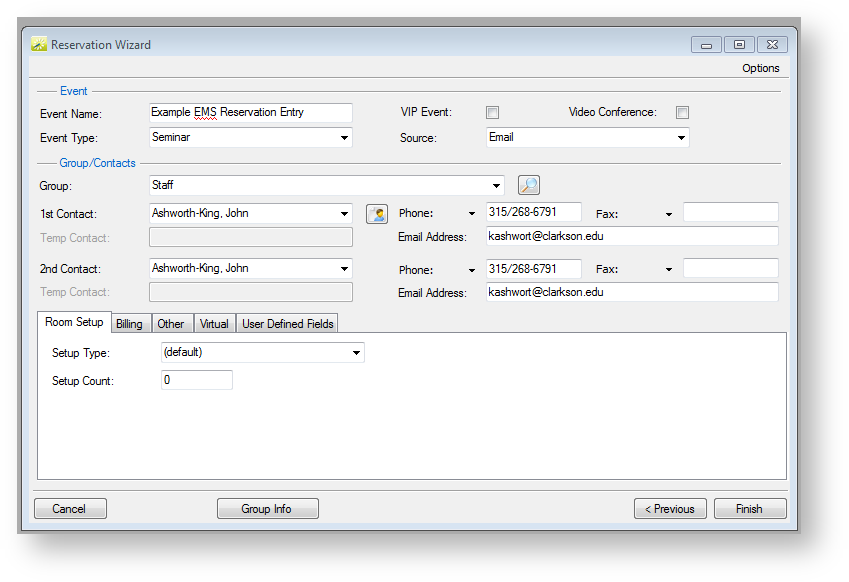
Once a Group has been selected, you can then Pull Down the appropriate member of that Group for the 1st and 2nd Contact. (Tip: you can type to advance to that letter, for example typing A,S,H advances to Ashworth-King)
-
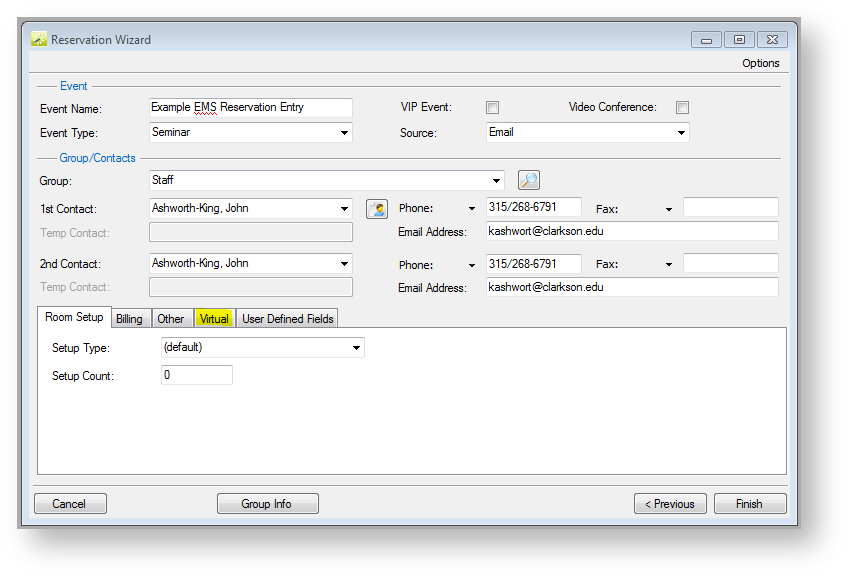
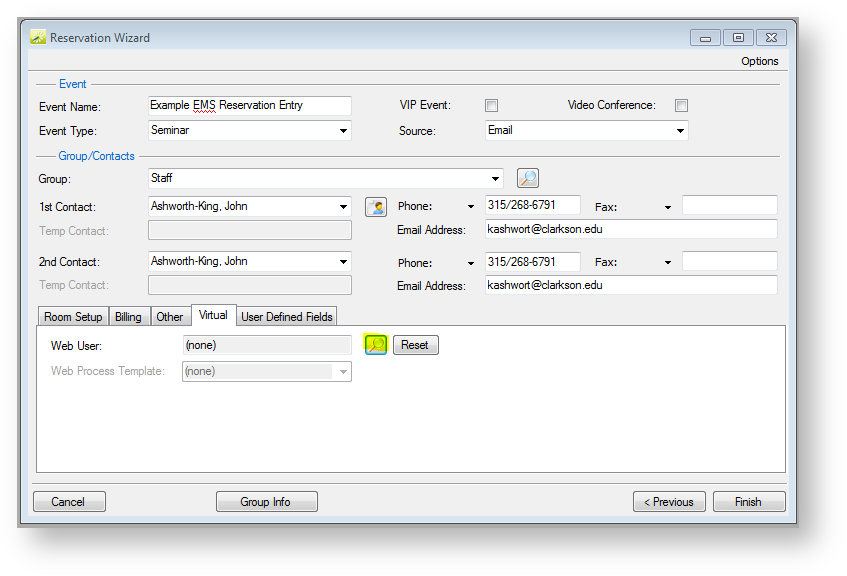
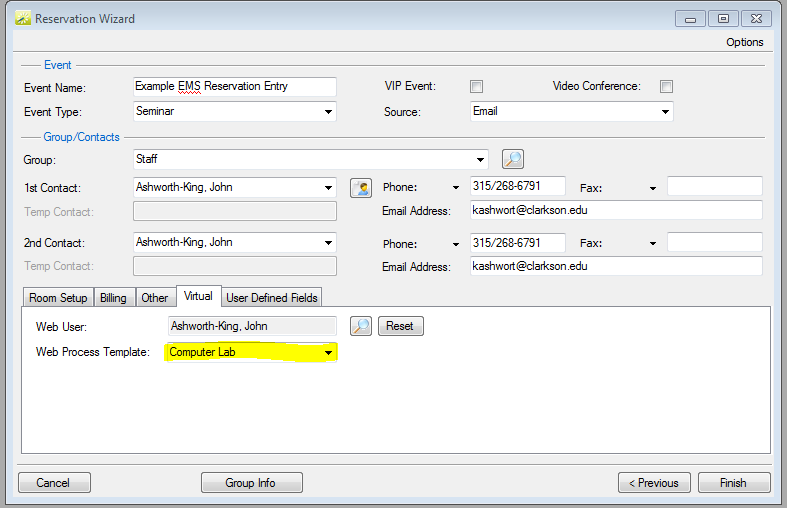
You can associate that reservation with a web user, so they see it in Virtual EMS. To do that, go to the Virtual Tab
-
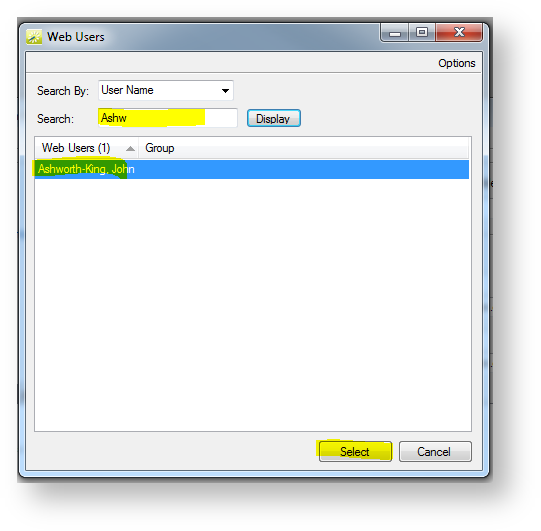
Type in the Last Name of the user, and select him or her, and hit Select.
-
The select the most accurate Web Process Template for the reservation.
-
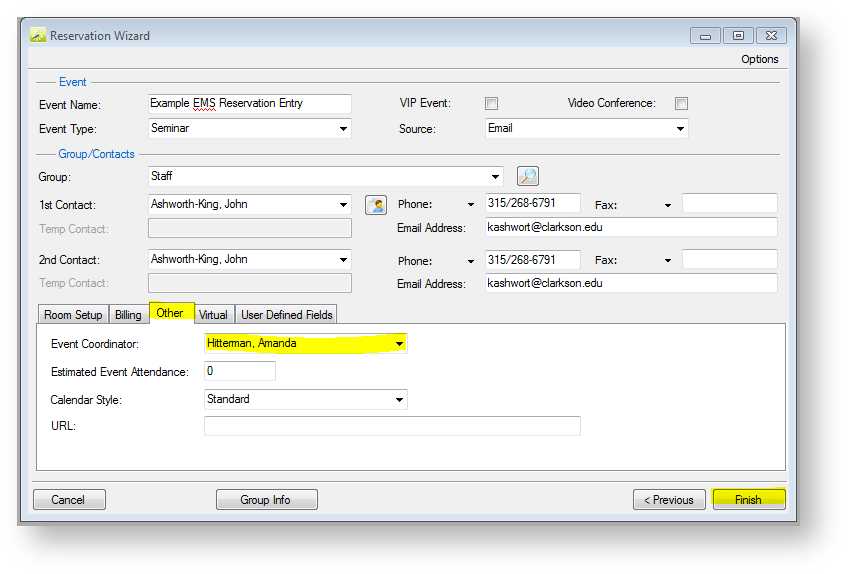
Click on the Other tab at the bottom. Select your name from the Event Coordinator List (or the Event Coordinator you are making the reservation on behalf of), and hit Finish.


