Making a Reservation using Virtual EMS
For step by step directions to make a reservation in EMS or to complete the Room Reservations Google Form, please watch this video.
-
Open your web browser.
-
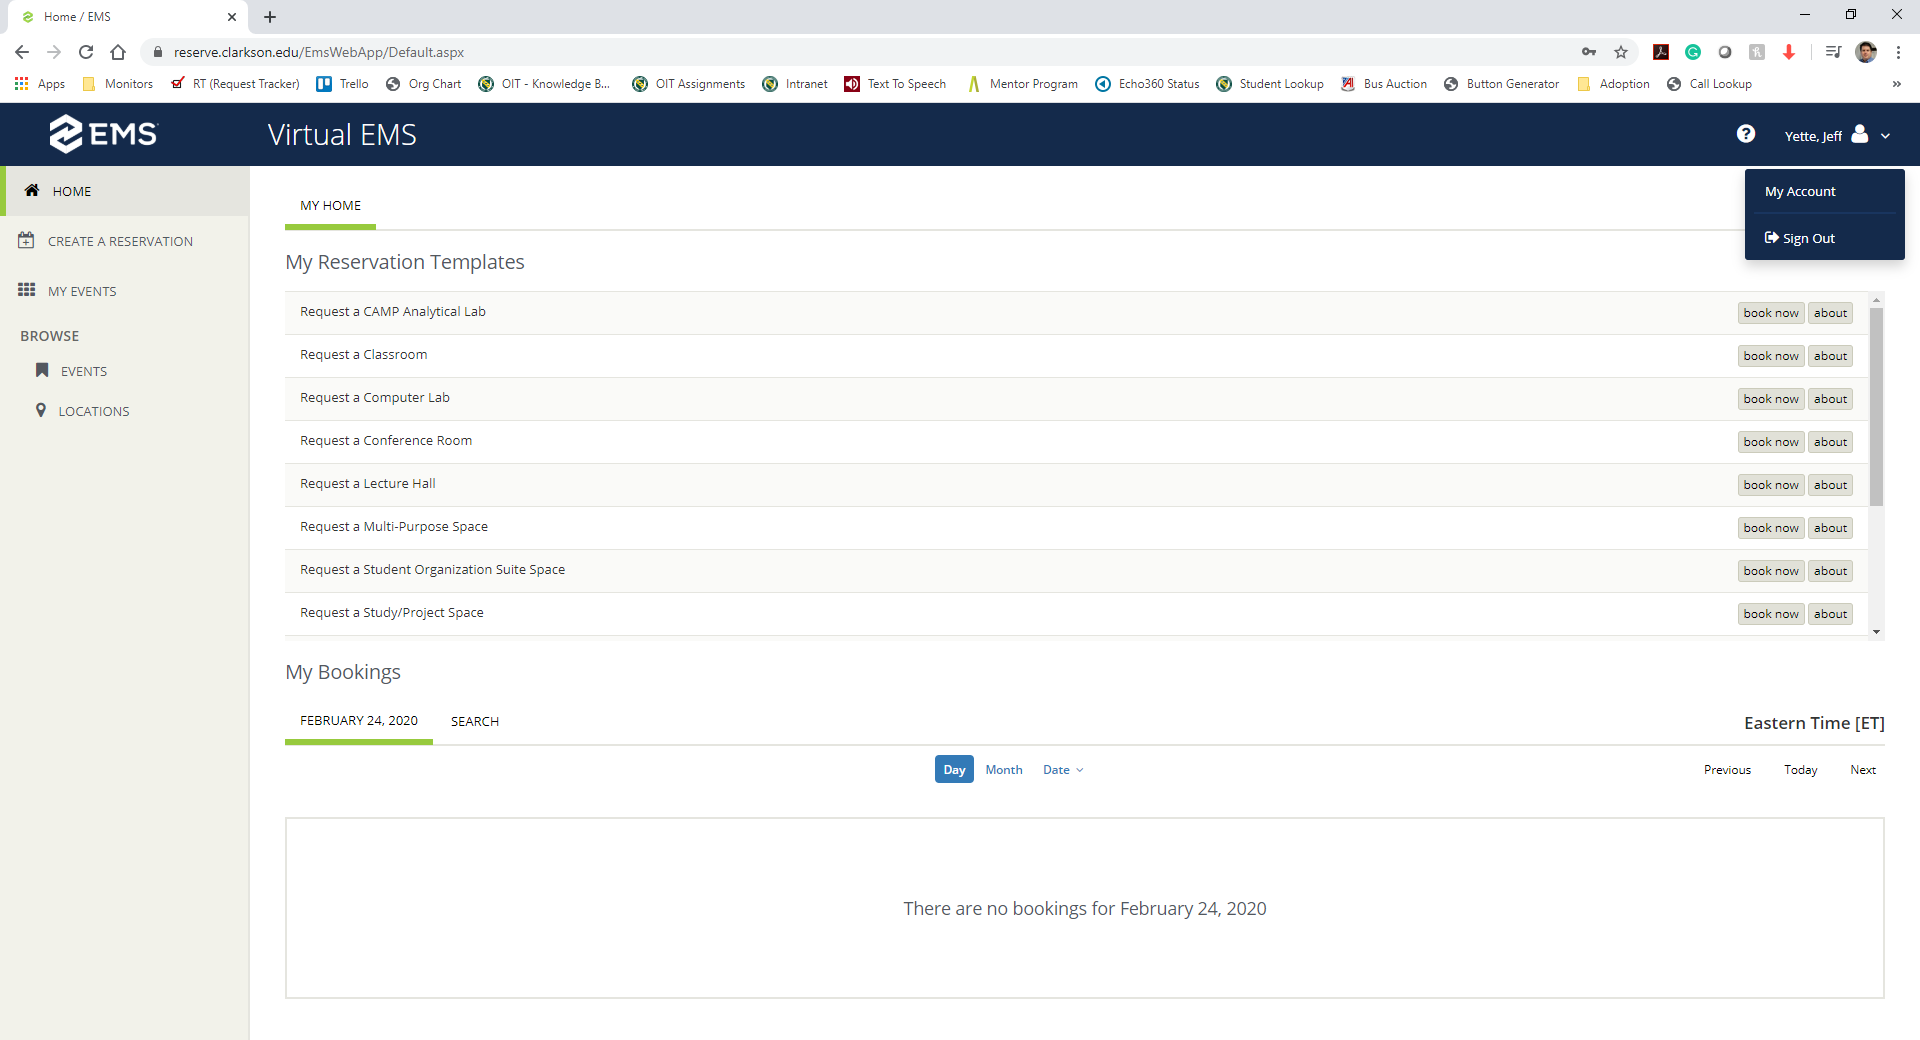
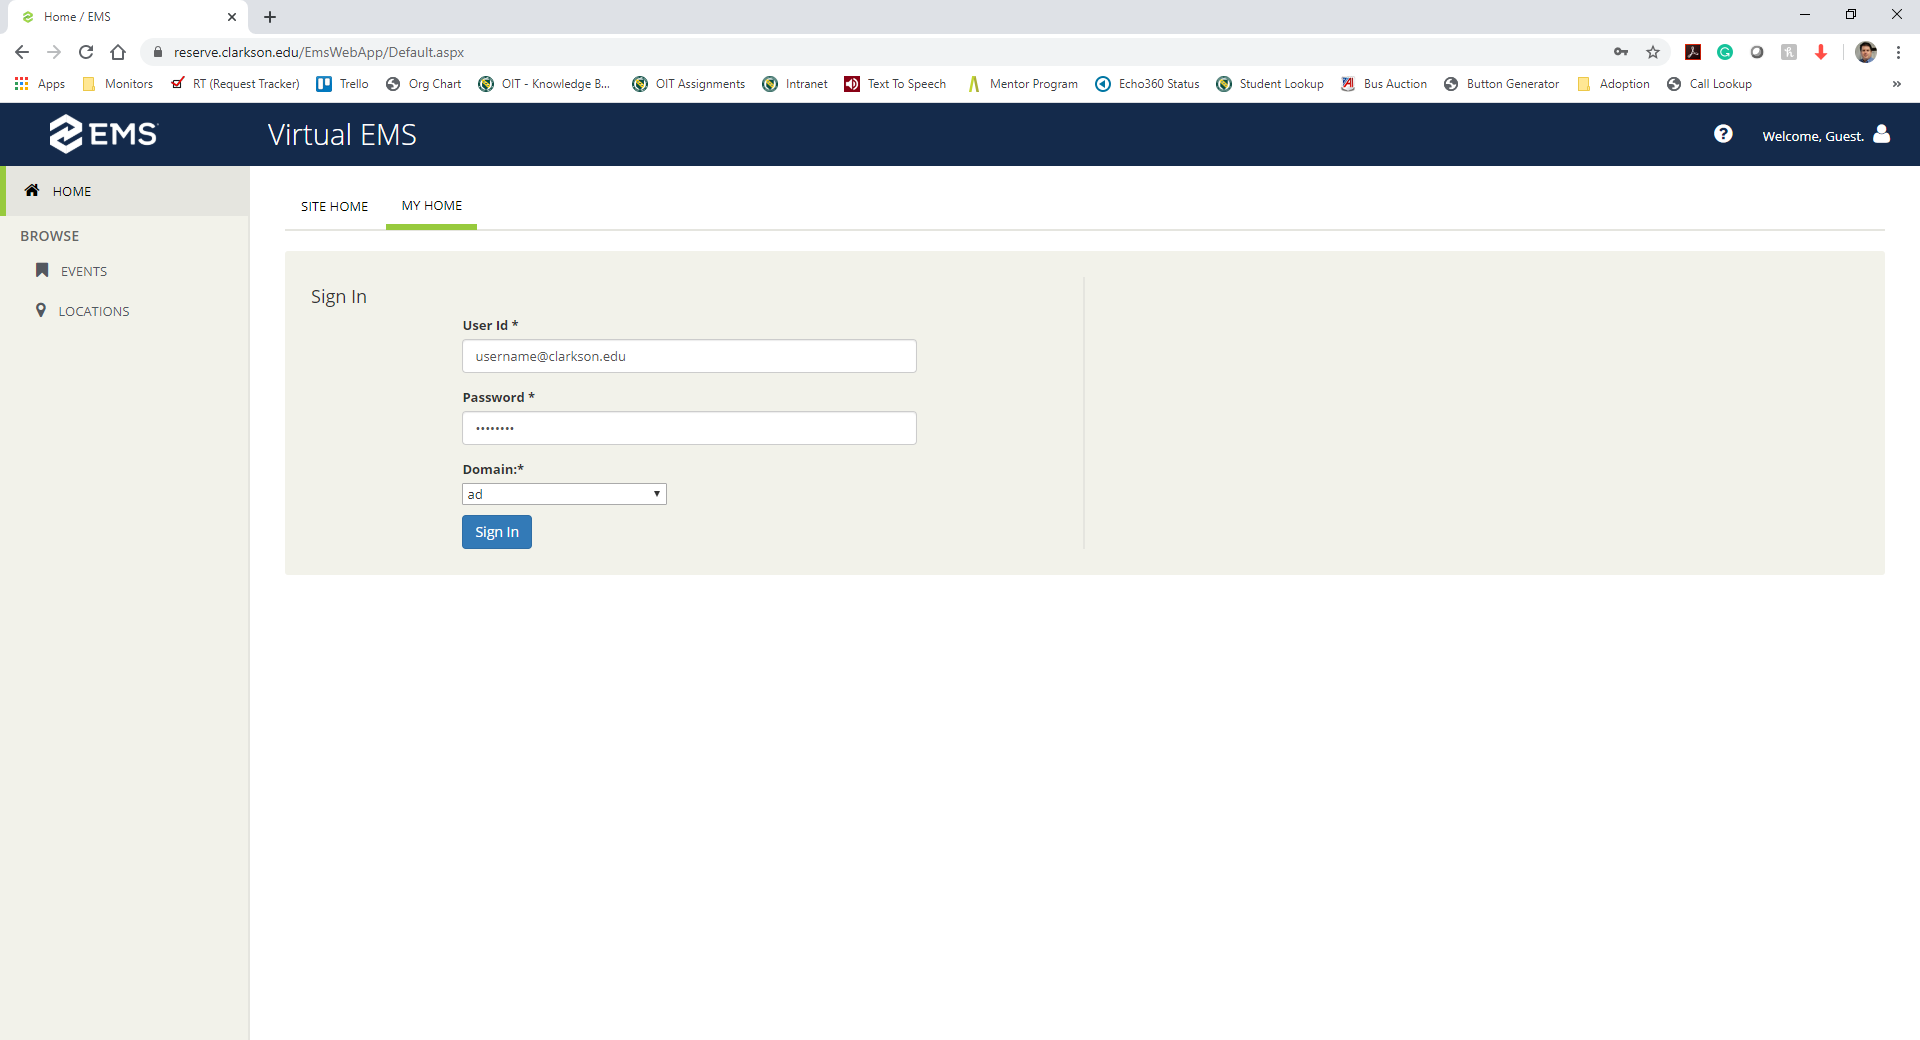
Go to the URL https://reserve.clarkson.edu/EmsWebApp/ and log in with your Active Directory credentials. If you are presented with the login screen, click on Welcome, Guest in the upper right corner, and then click on Sign In.

-
You are now logged into Virtual EMS and should see your name in the upper right corner of the screen. Now that you are logged in, you are able to make a reservation. To make a reservation, click on the book now button next to the type of room you would like to reserve.


-
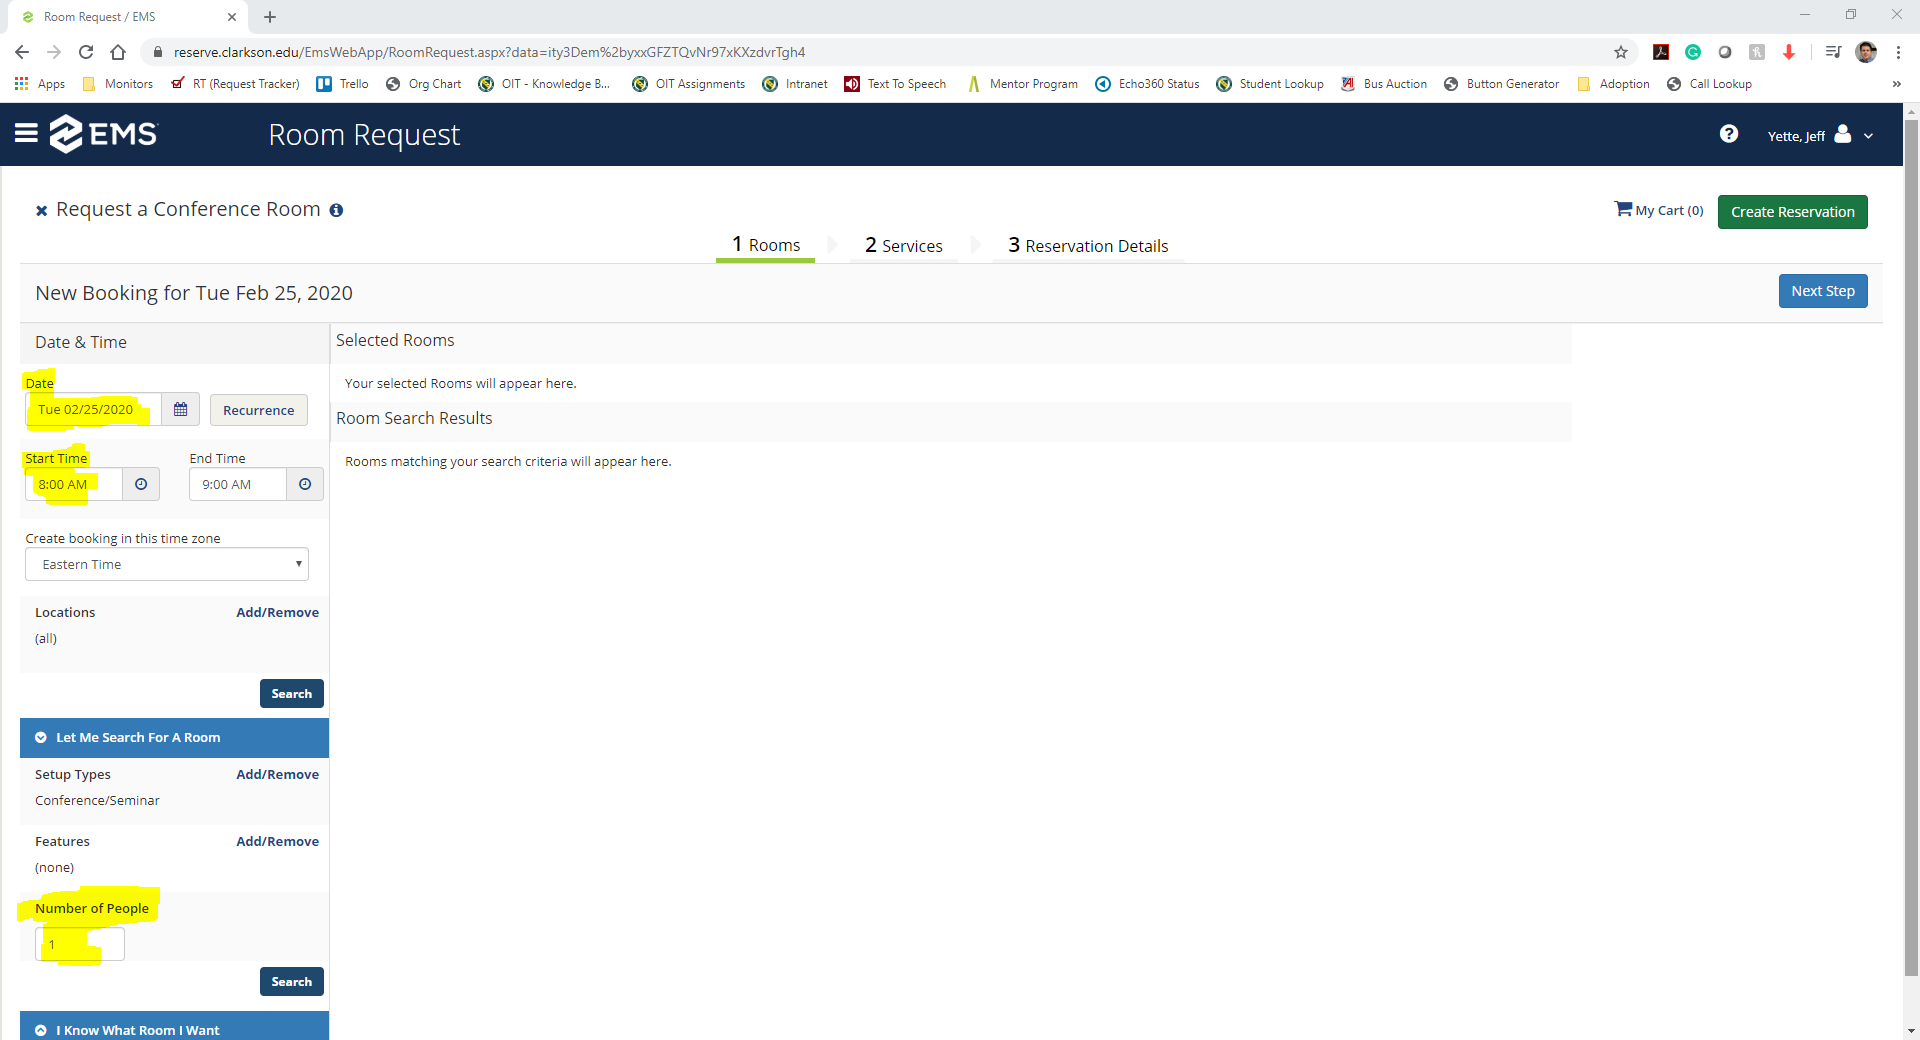
You will now be within a reservation window. You will need to select the Date, Start Time, End Time, and Number of People for your reservation.
You may also restrict your search to rooms with certain Features, such as a projector. Then click any of the Search buttons to receive a list of rooms matching your search criteria.

Note: you must indicate an attendance of at least one person! The search will automatically exclude rooms that will not support the number of participants. For example, searching for a room that can hold 30 attendees will not display rooms with a maximum capacity of 18 or 24. Similarly, if you select a feature such as Projector, it will exclude all rooms that do not have a projector from appearing in your list.
-
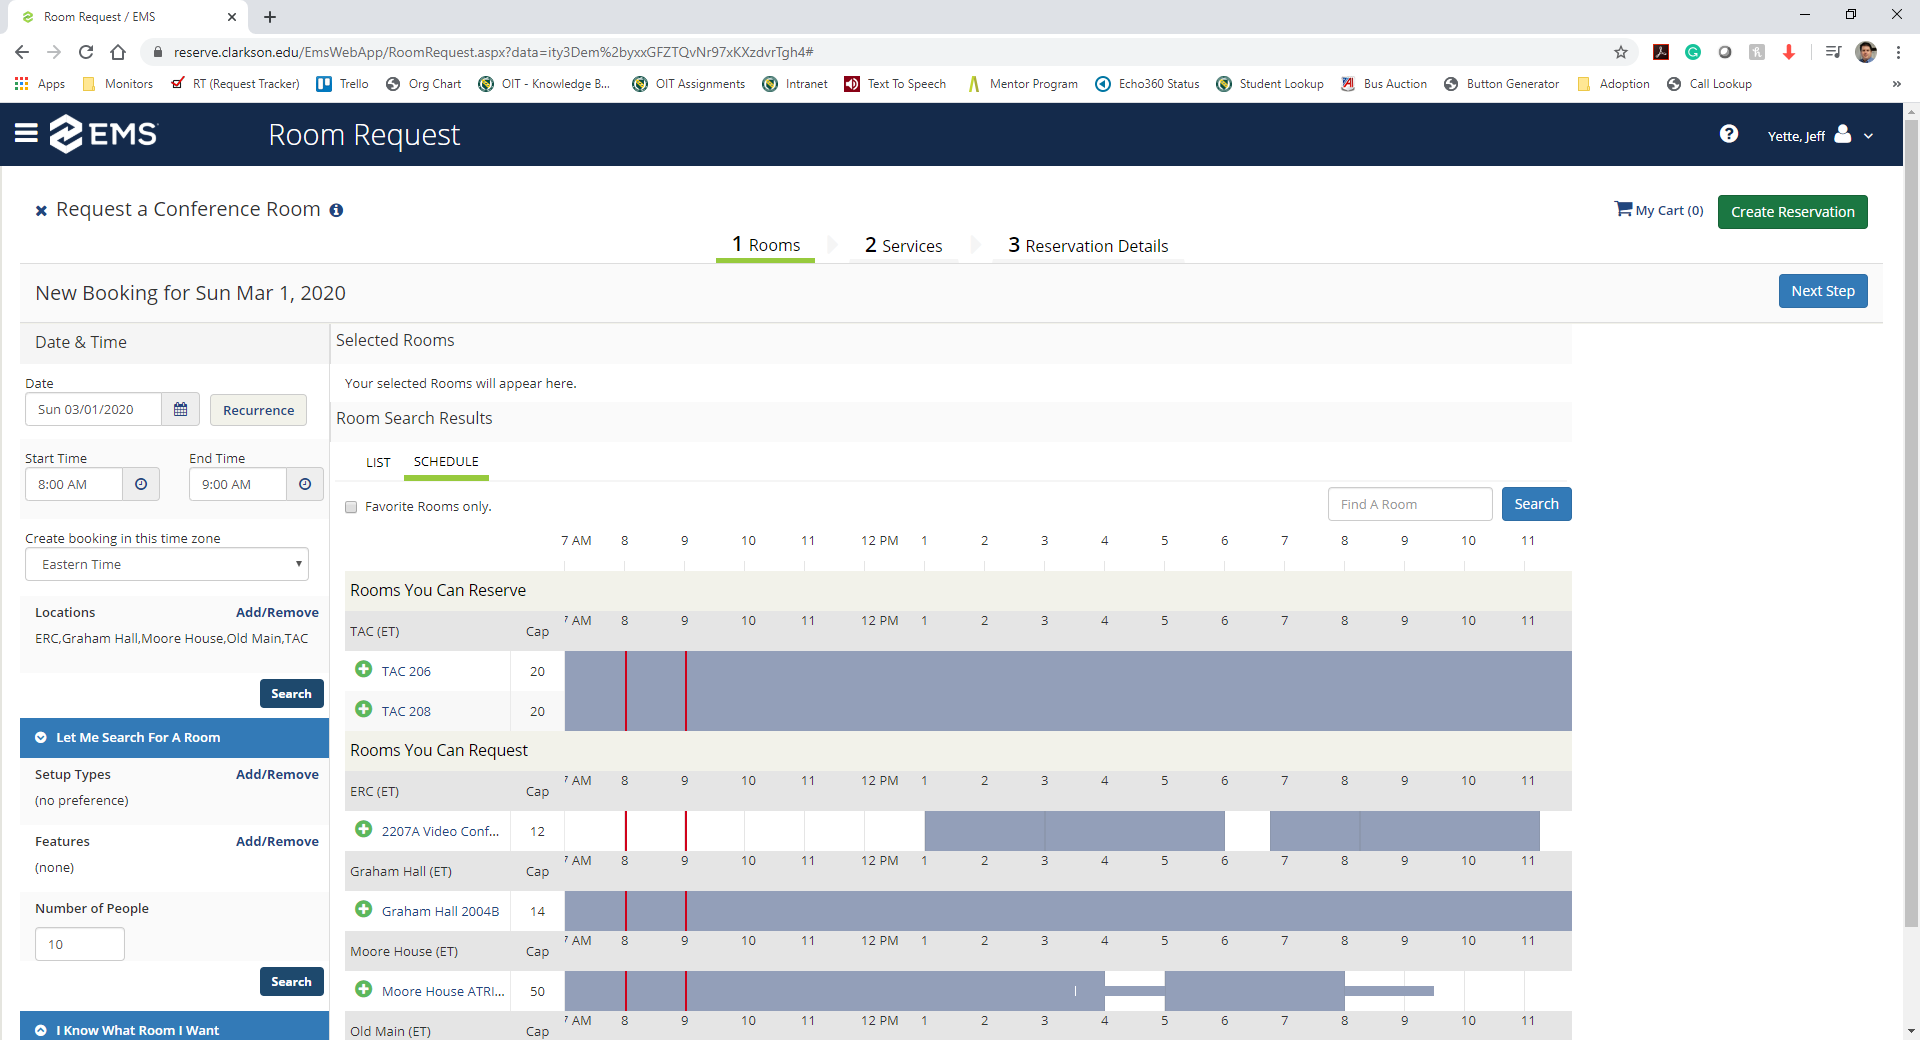
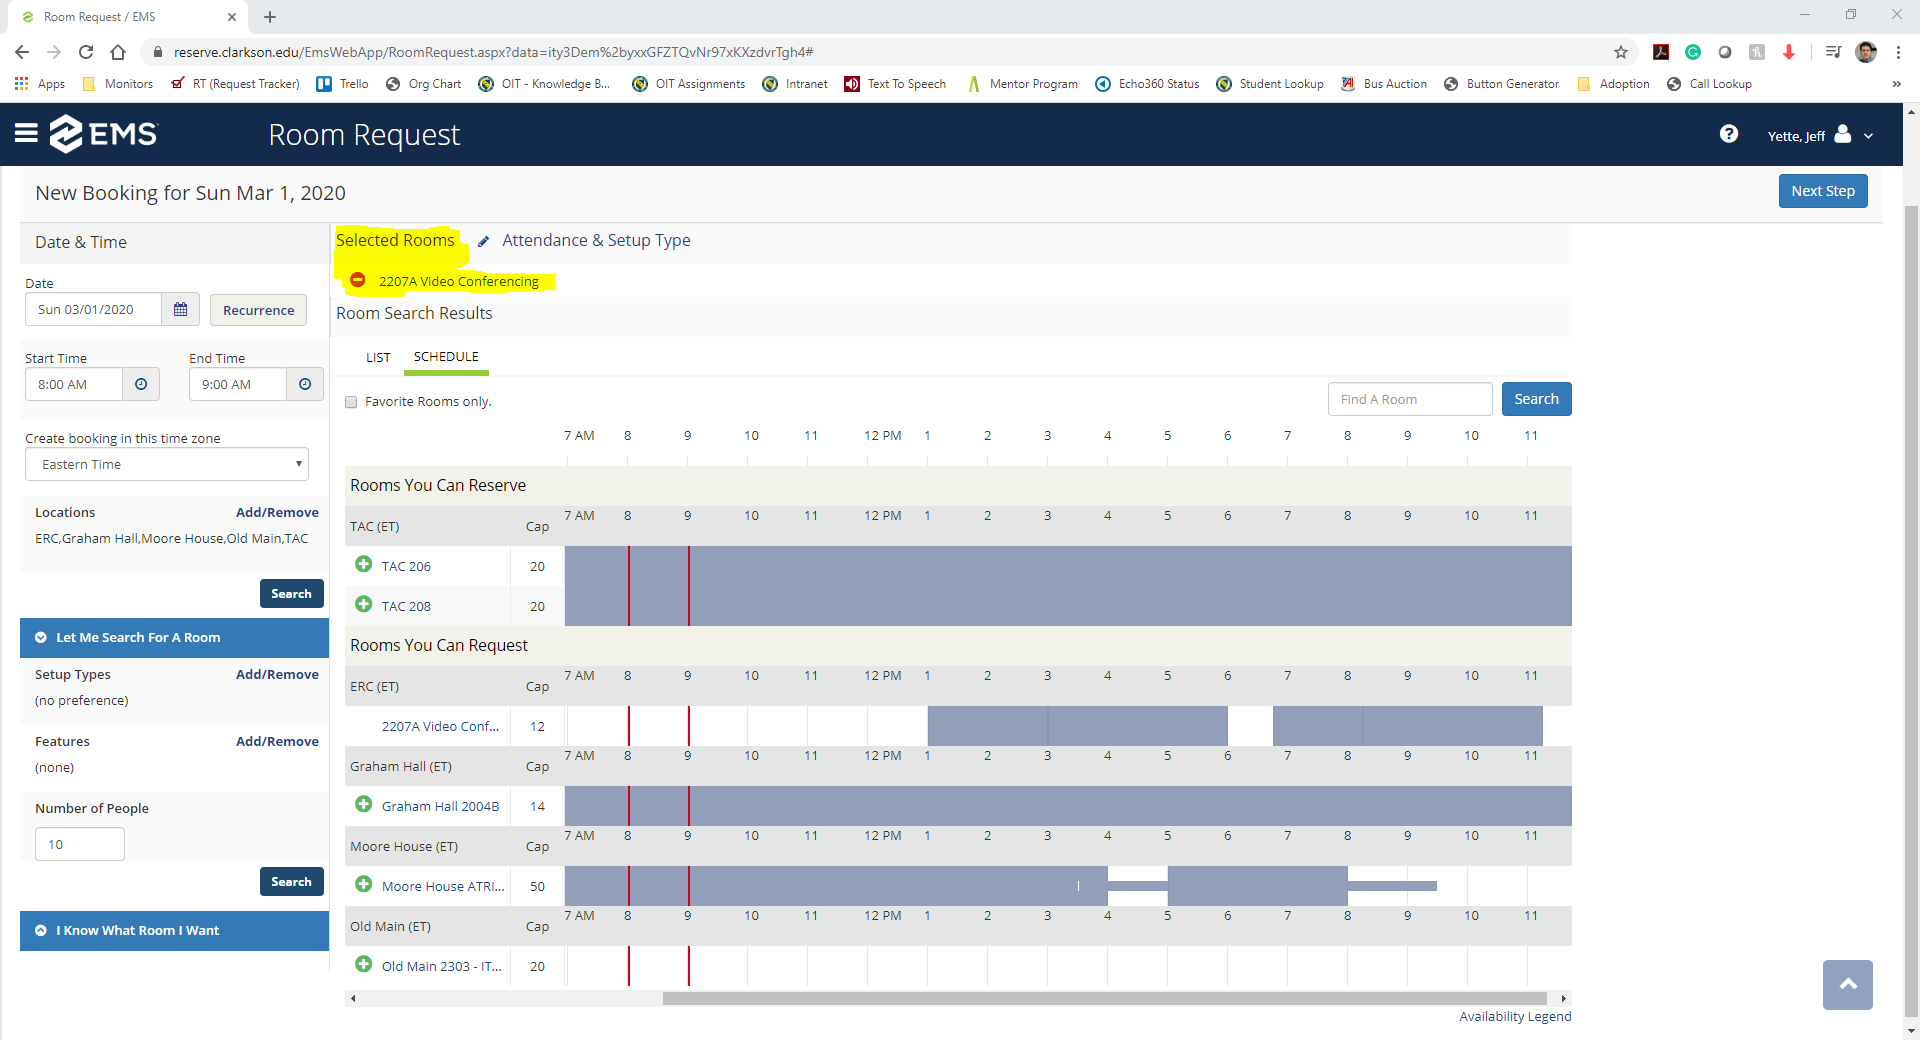
Now you will see the list of rooms meeting your search criteria. Hit the + icon to select the room you would like to reserve.


-
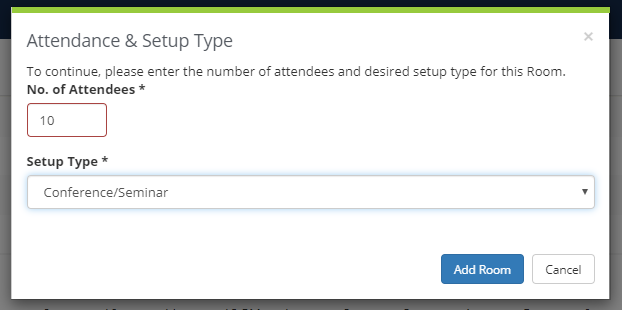
You should get a pop-up window asking you to confirm the No. of Attendees and the Setup Type. Once they are correct, click the Add Room button.


-
At this point, you will see your room listed near the top under Selected Rooms. You can add additional rooms to this event reservation by clicking the + next to other rooms. Once you have selected all of the rooms, click on the Next Step button in the upper right corner.


-
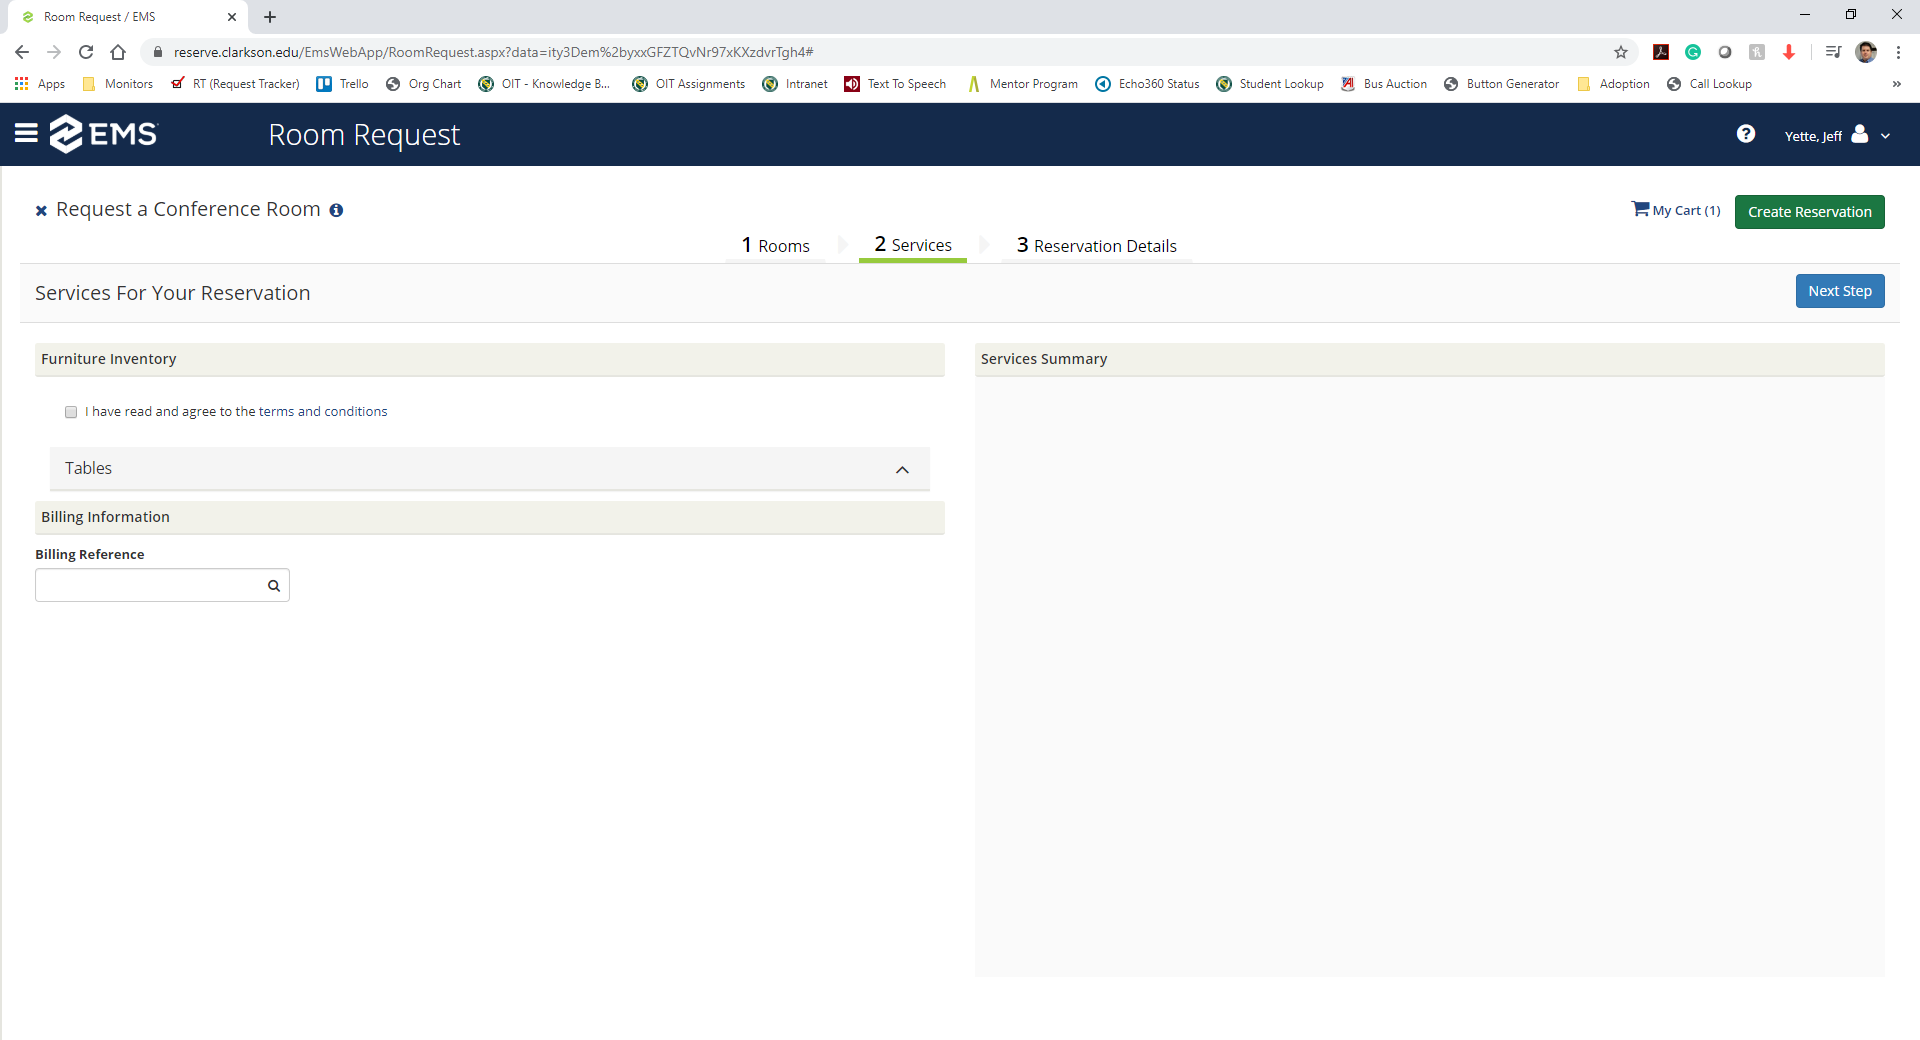
You now can select the services you need for your event such as furniture, catering, and AV support. Once you have selected your services click on the Next Step button in the upper right corner.

-
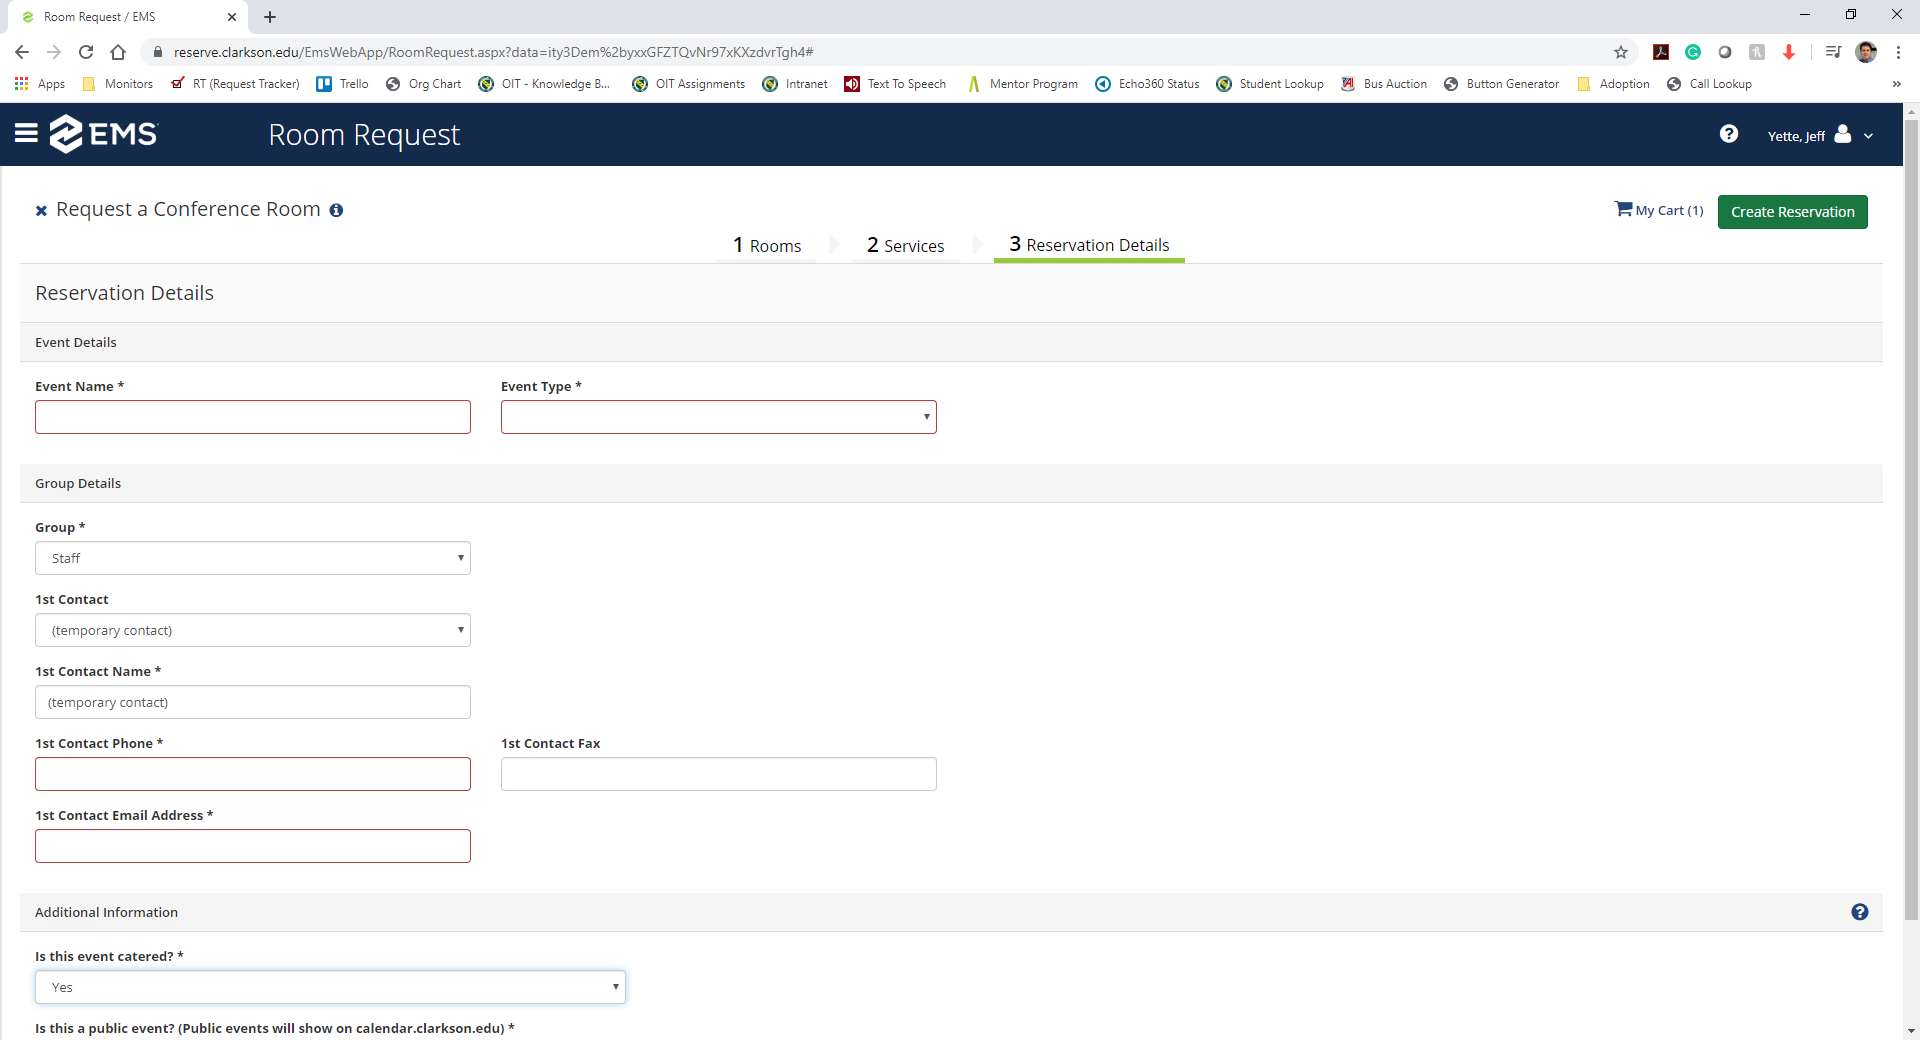
You will now need to enter the Event Name, Select your Event Type from the pull-down menu, and select your name from the 1st contact: field. If you type in the field, it will bring you to those letters, for example, typing ASH brought the author of this article to his last name. By selecting your name from the menu, your phone and email information will automatically be entered by Virtual EMS.


-
When you are done verifying all the information is correct, Click on the Create Reservation button in the upper right corner.
-
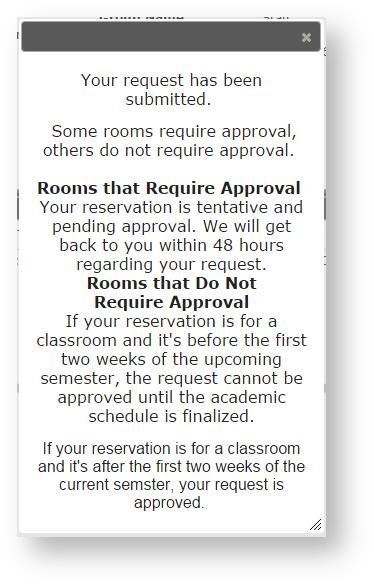
You will receive a pop-up notification after making your reservation successfully.


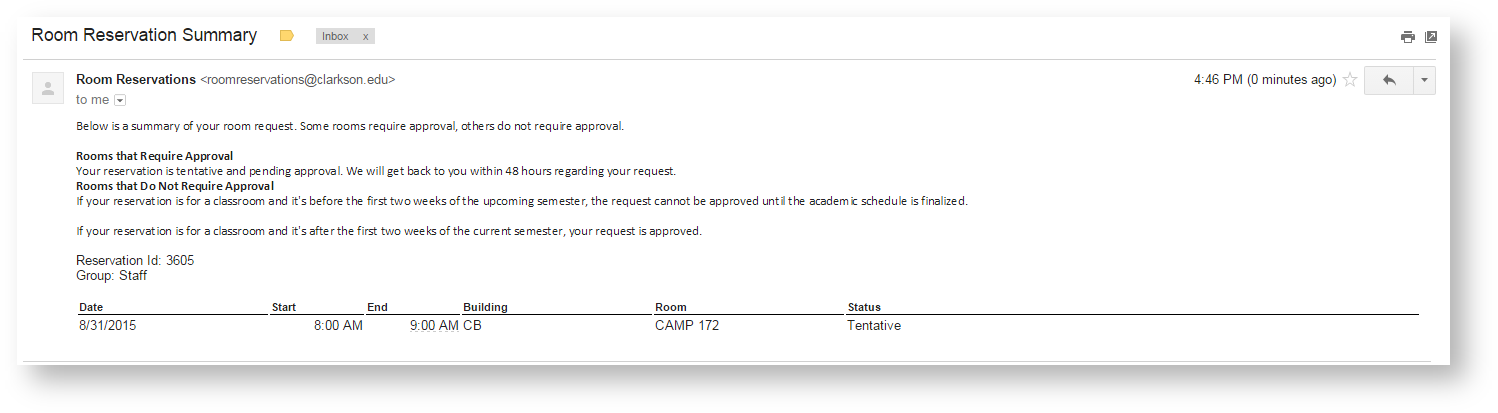
You will also receive an email confirmation within a few minutes of making the reservation.