
Clarkson VPN Installation Instructions
To access some Clarkson IT resources while not on the Clarkson wired or eduroam wireless networks, you will need to install and login to the Clarkson VPN.
VPN is an opt-in service but is available for all Clarkson community members. If you have not already contacted the HelpDesk to request access, please do so before completing the installation.
If you have a Clarkson-owned Windows computer and do not have the FortiClient icon in the taskbar, please contact the HelpDesk for assistance.
Choose an arrow below to expand for installation instructions:
Install on Windows 10 or 11
Note: you will need an Administrator-level account to complete this process.
- Download the Fortinet Client
- Run the Fortinet Client installer
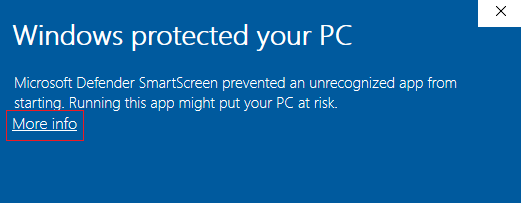
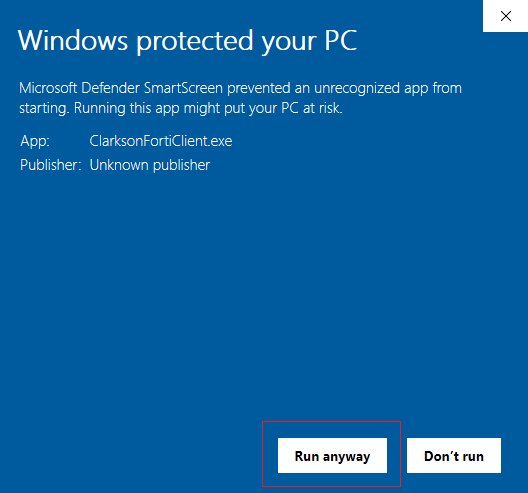
- If you are prompted by Windows Defender, select "More info", then "Run Anyway"
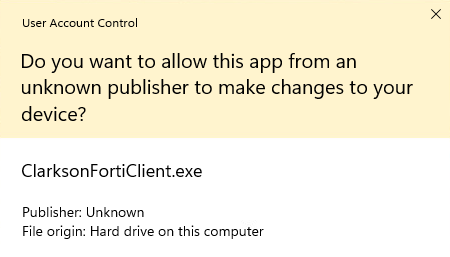
- Windows may ask you to login with an administrator account to approve changes being made to your system
- After entering your admin account information, the install will prompt about the license agreement. Select "Yes, I have read and accept the License Agreement"
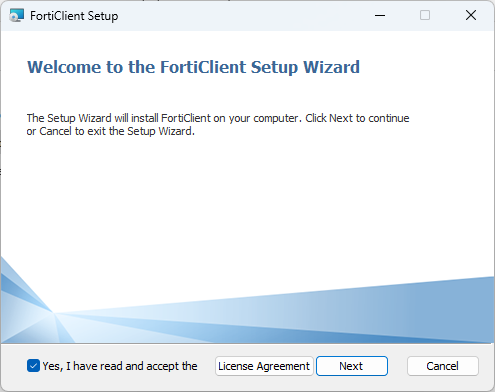
- Click "Next"
- Accept the default installation location by clicking "Next" again

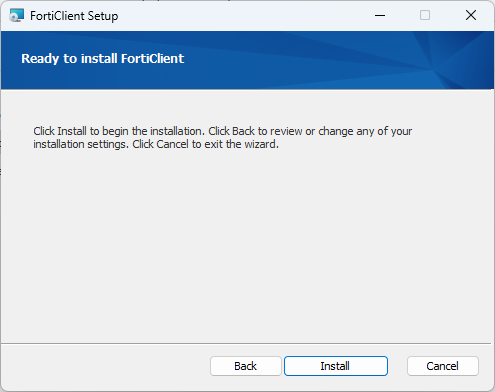
- Click "Install"

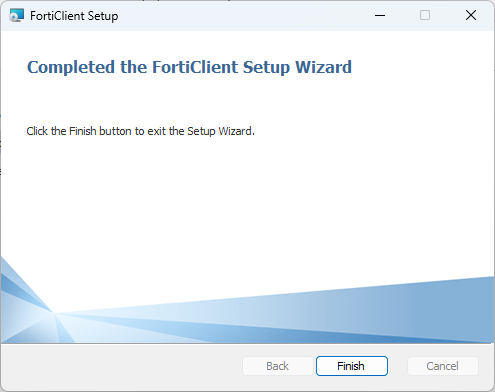
- Then the installation completes, click "Finish"

- You should see the FortiClient icon in the taskbar:
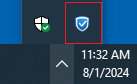
- Setup complete! To connect, see the Connection Instructions


To Uninstall the CISCO VPN client, follow the steps for uninstalling here.
Install on MacOS
Note: These instructions have been written based on MacOS 15 (Sequoia).
- Download the FortiClient VPN application.
- Open the downloaded "ClarksonFortiClient.dmg" disk file.
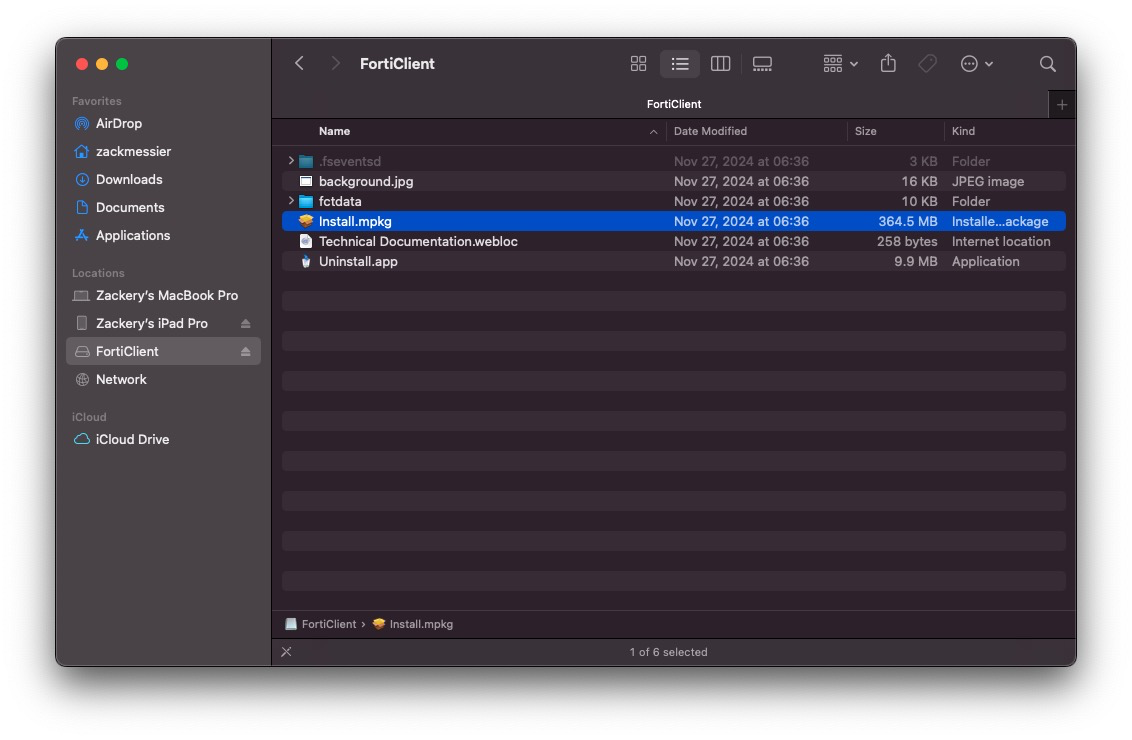
- Open "Install.mpkg", this should show in your Finder under
/Locations/FortiClient/.

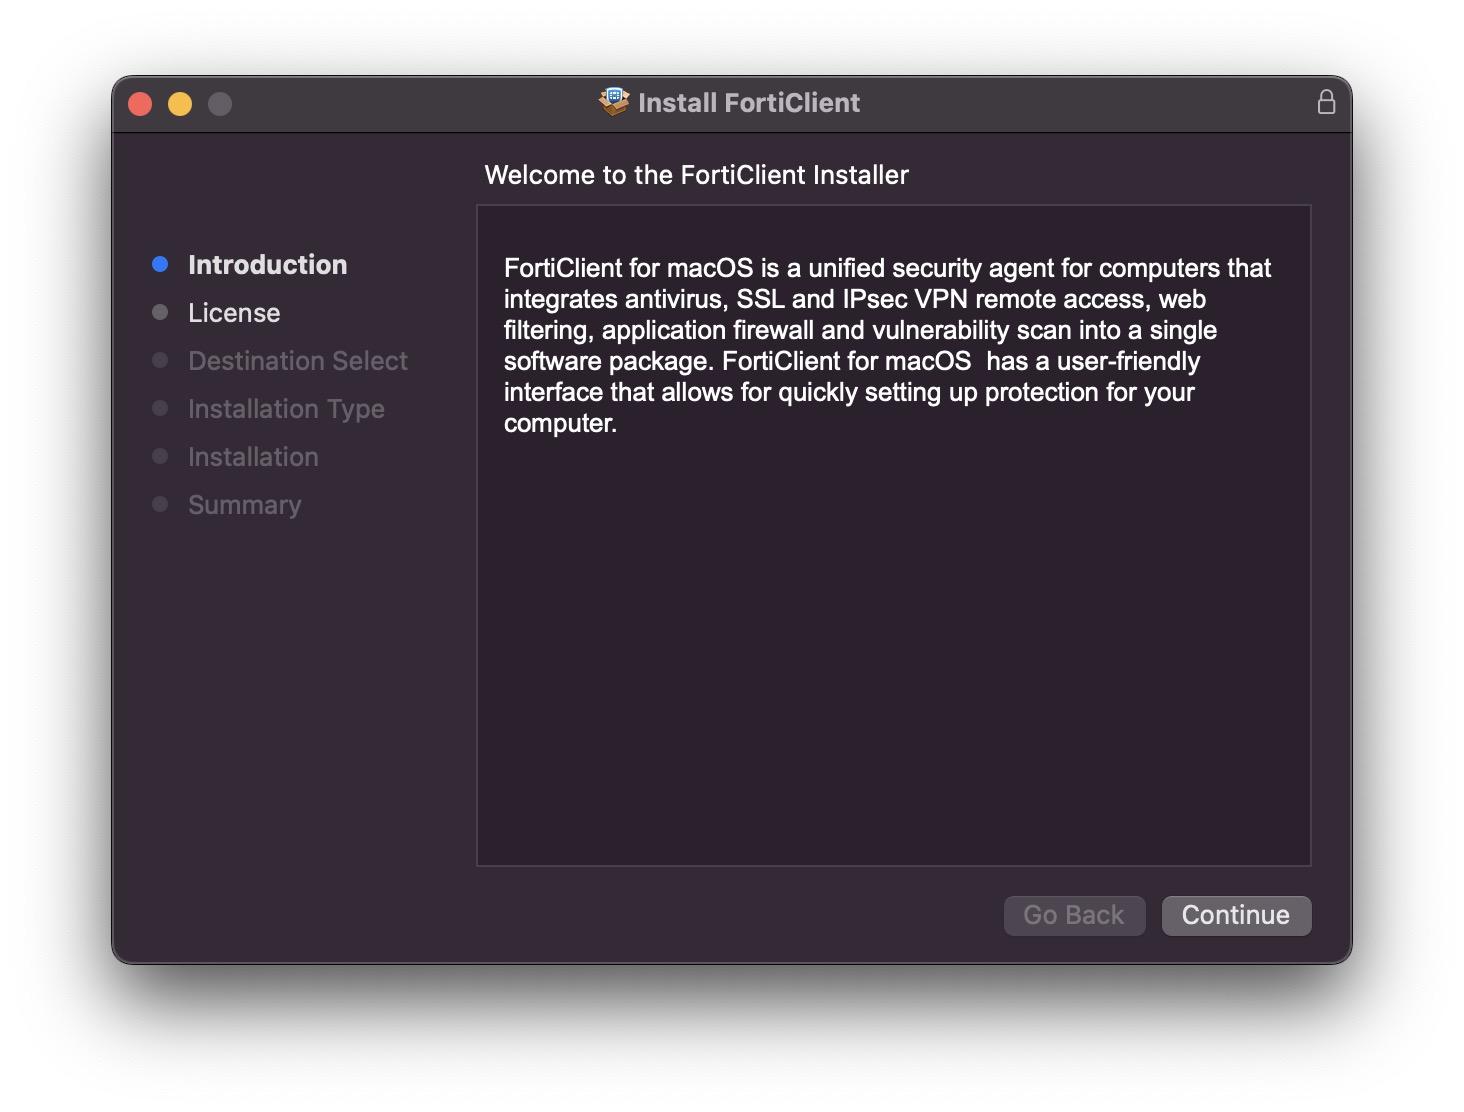
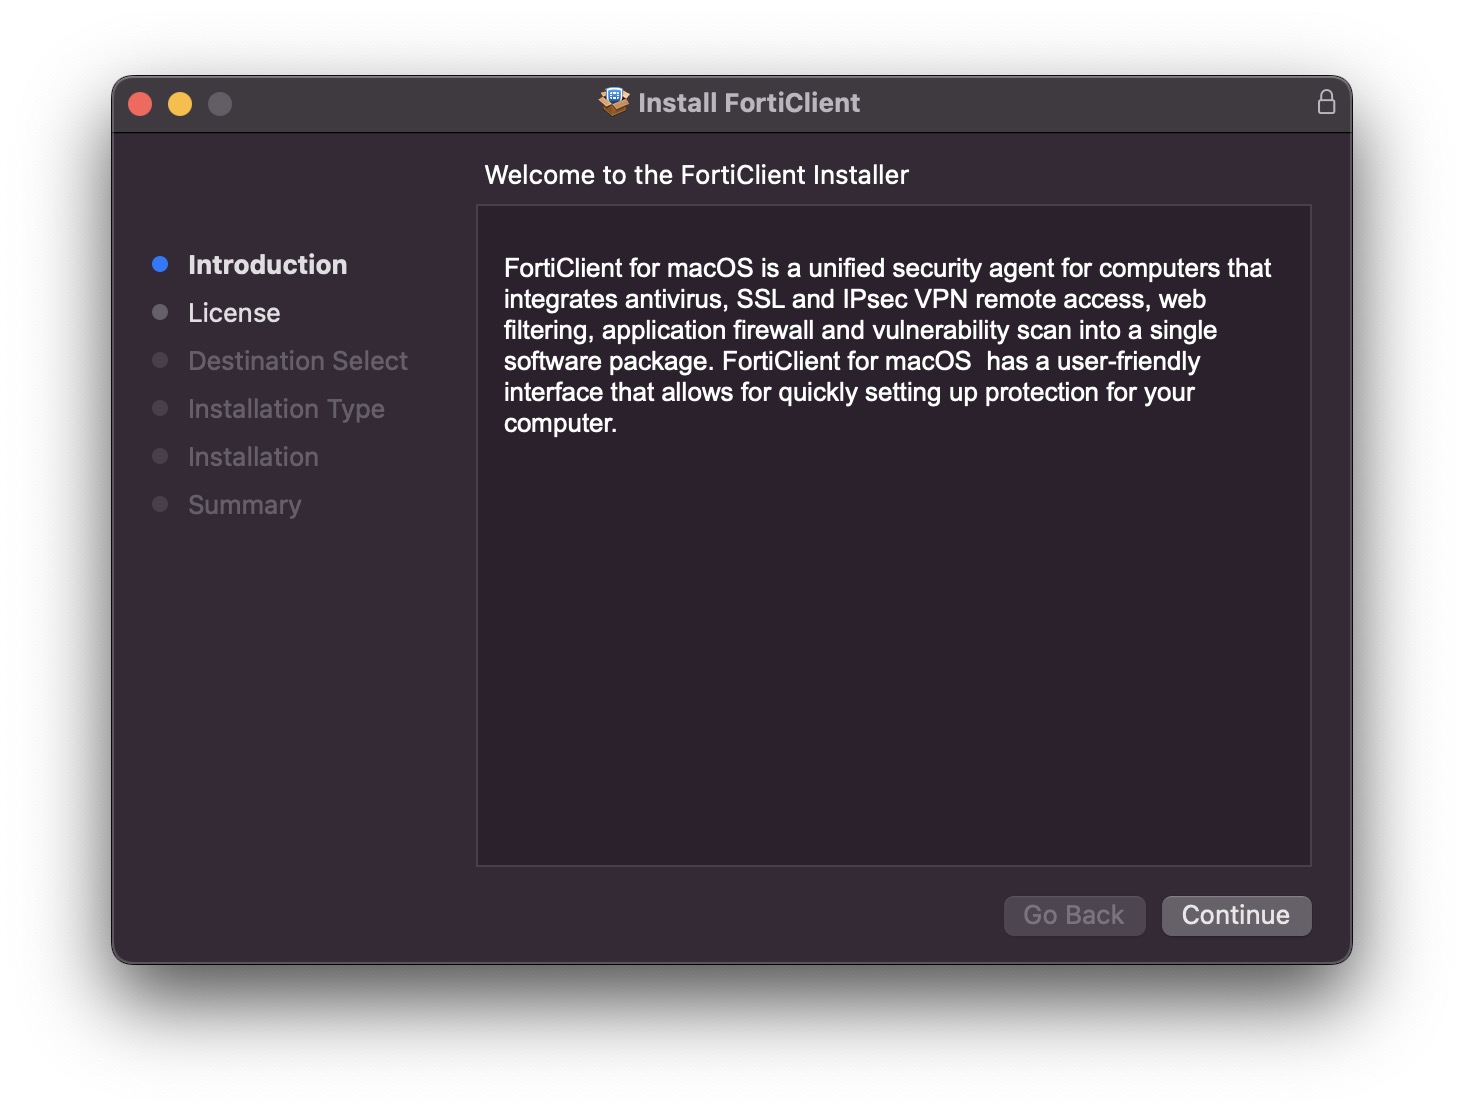
- The application installer should open. Press continue.
- Read and accept the Terms and Conditions.

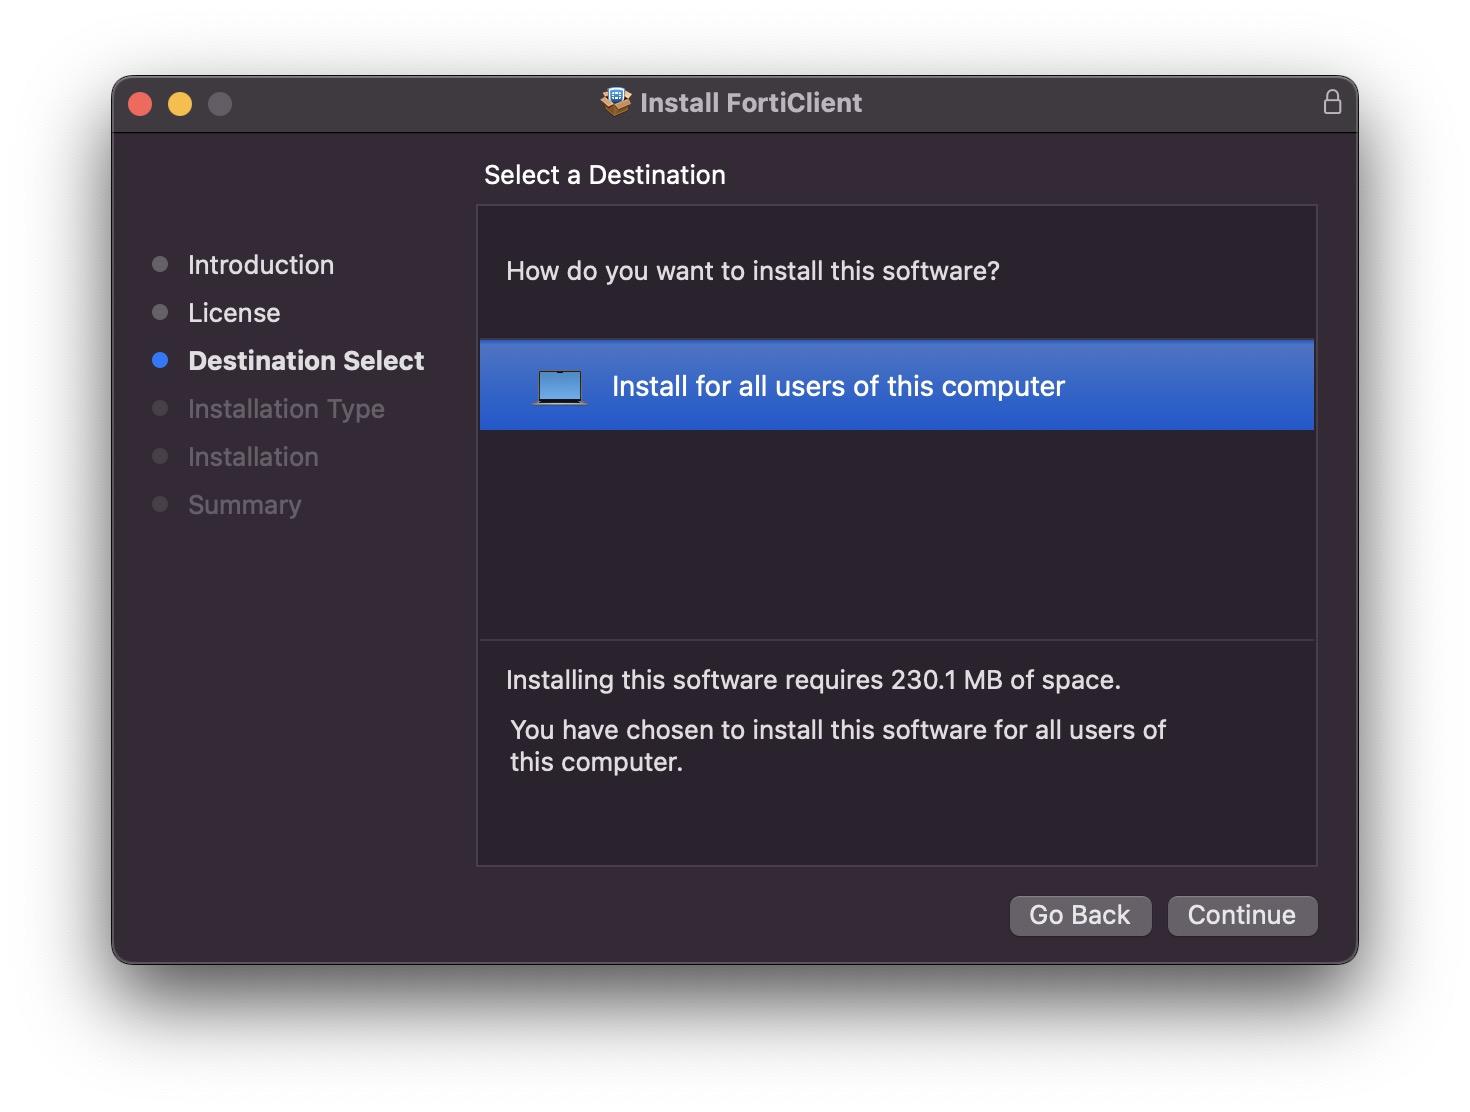
- Select "Install for all users of this computer"
- Press the "Install" button. When prompted, enter your Mac password (or use your fingerprint.)
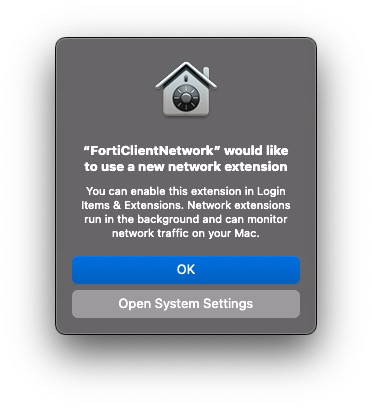
*There may be a popup that will appear that will inform you that "FortiClientNetwork" would like to use a new network extension. Simply press "OK" to dismiss this popup.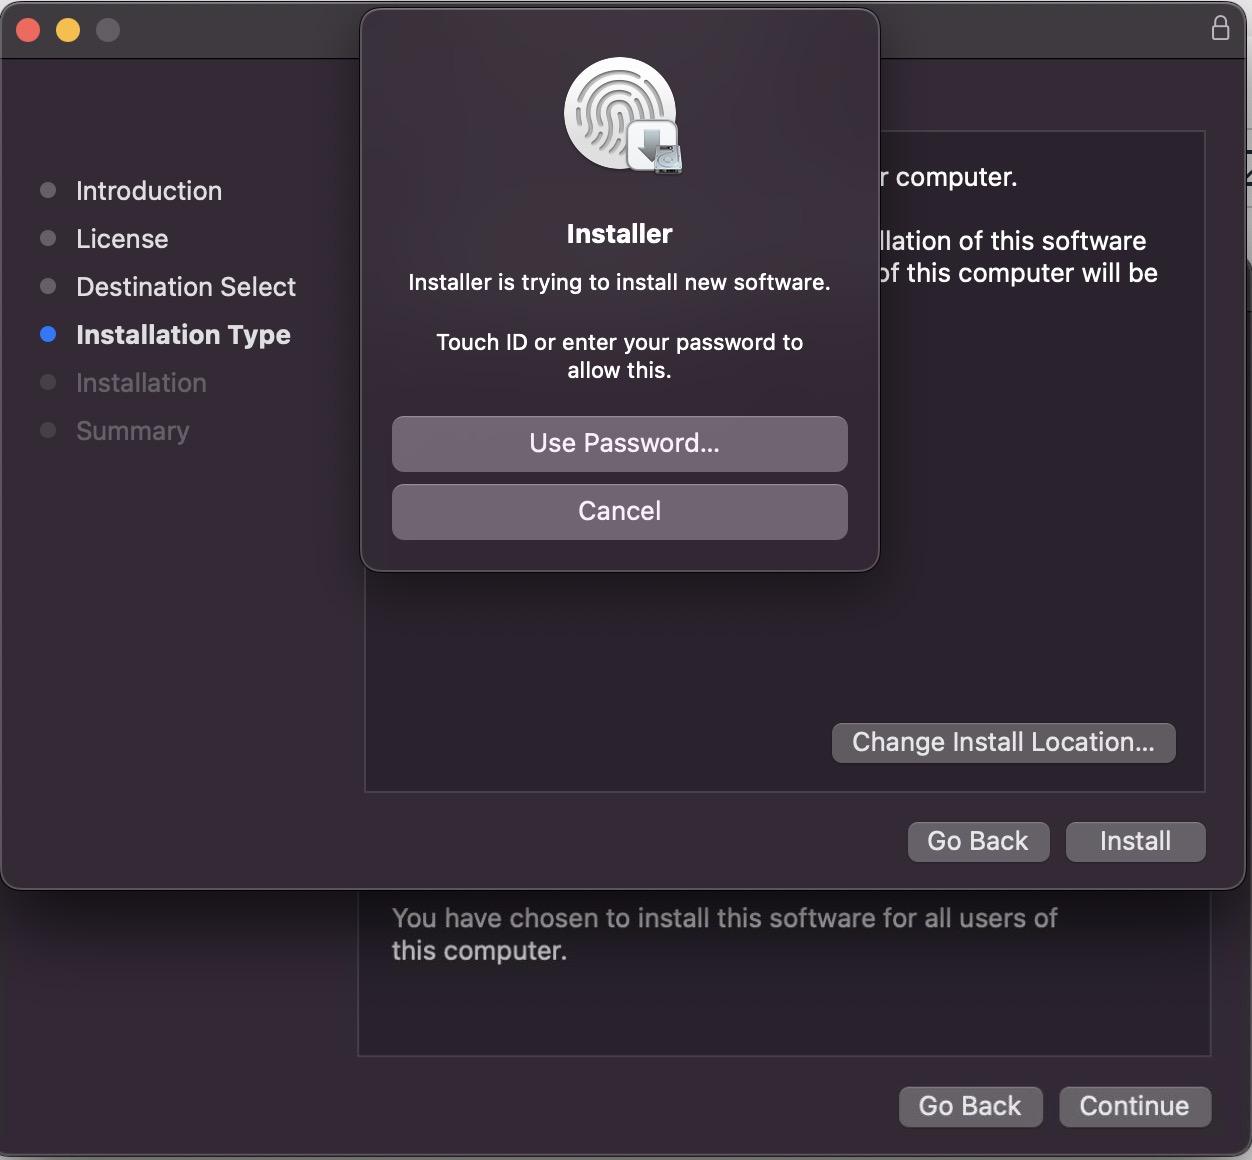
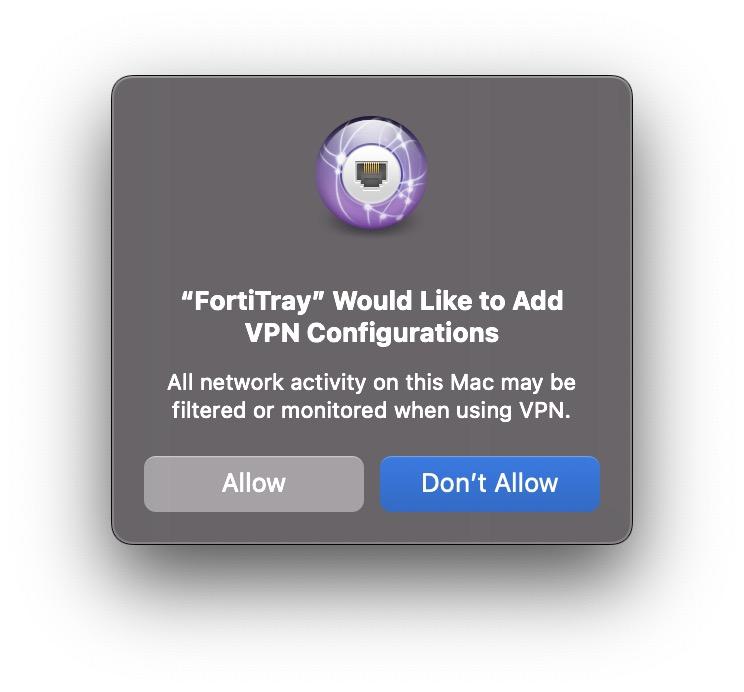
- When asked if "FortiTray" would like to add VPN Configurations, press "Allow".
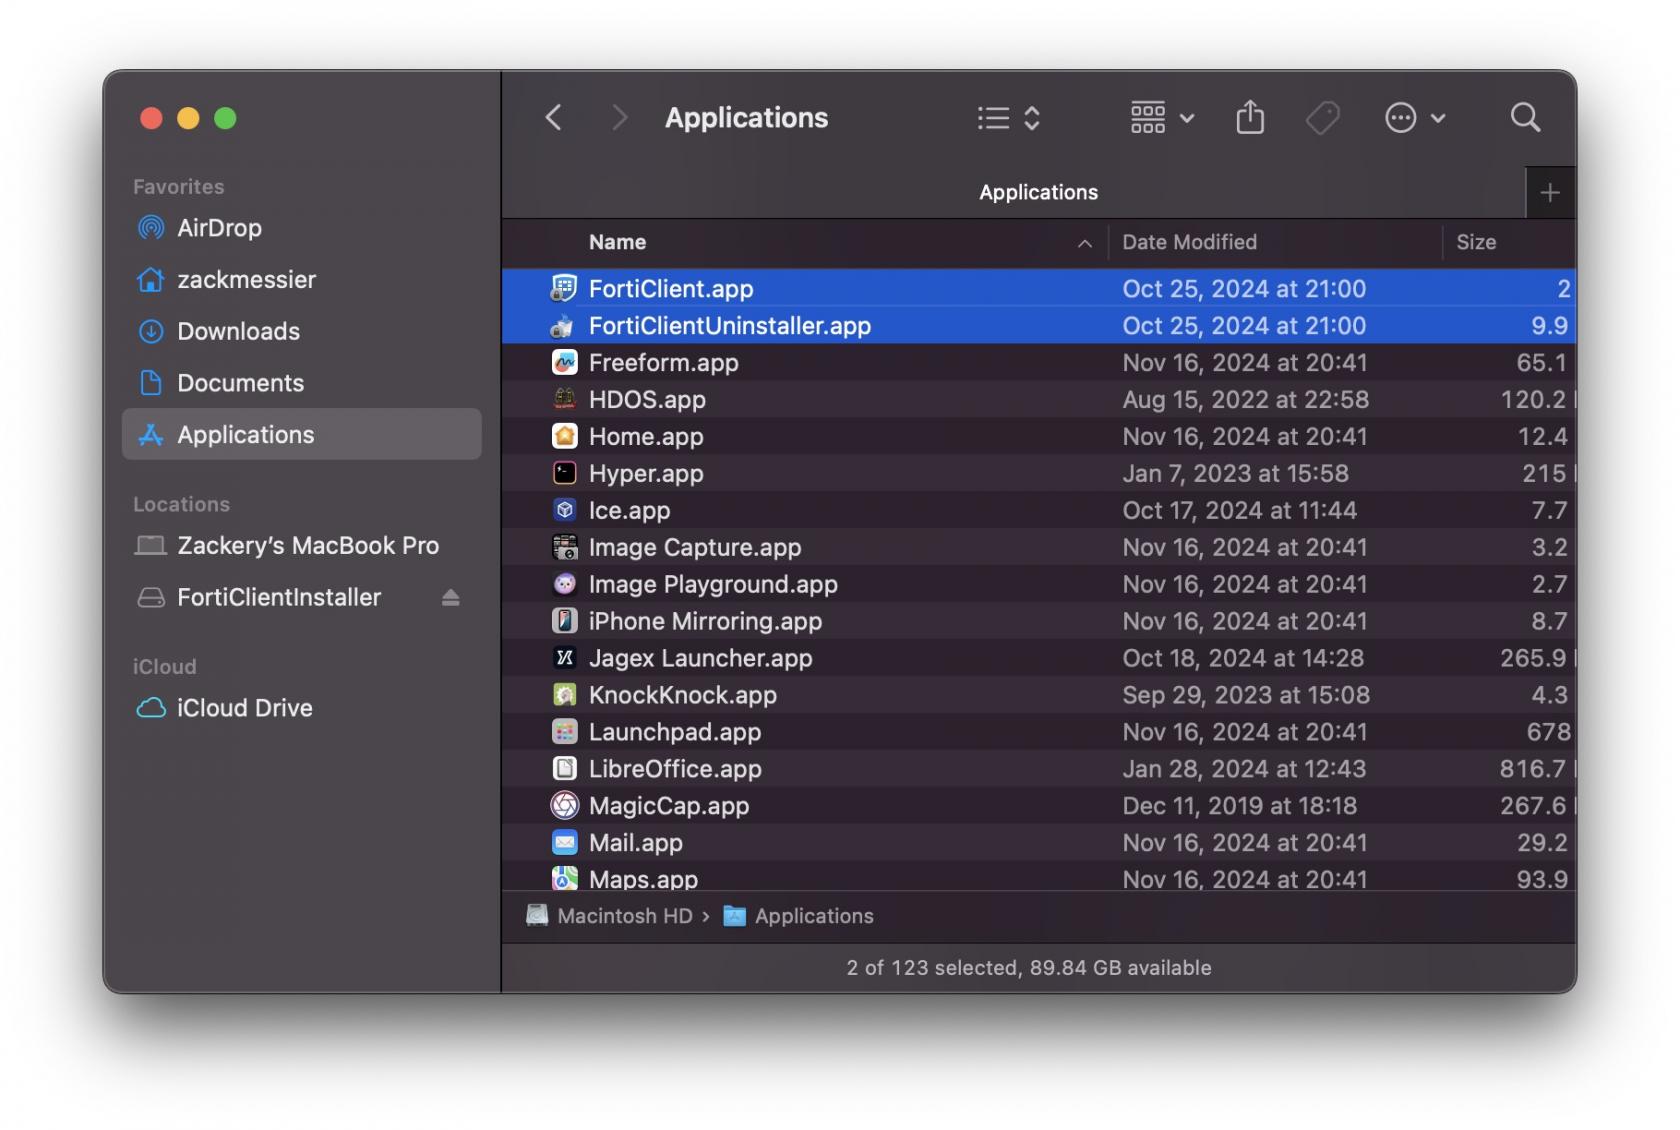
- Close the installer. You should now see "FortiClient" in your MacOS applications folder.
- Setup complete! To connect, see the Connection Instructions


Install on iOS
- Install the FortiClient from the App Store - note that you should not install the FortiClient VPN.
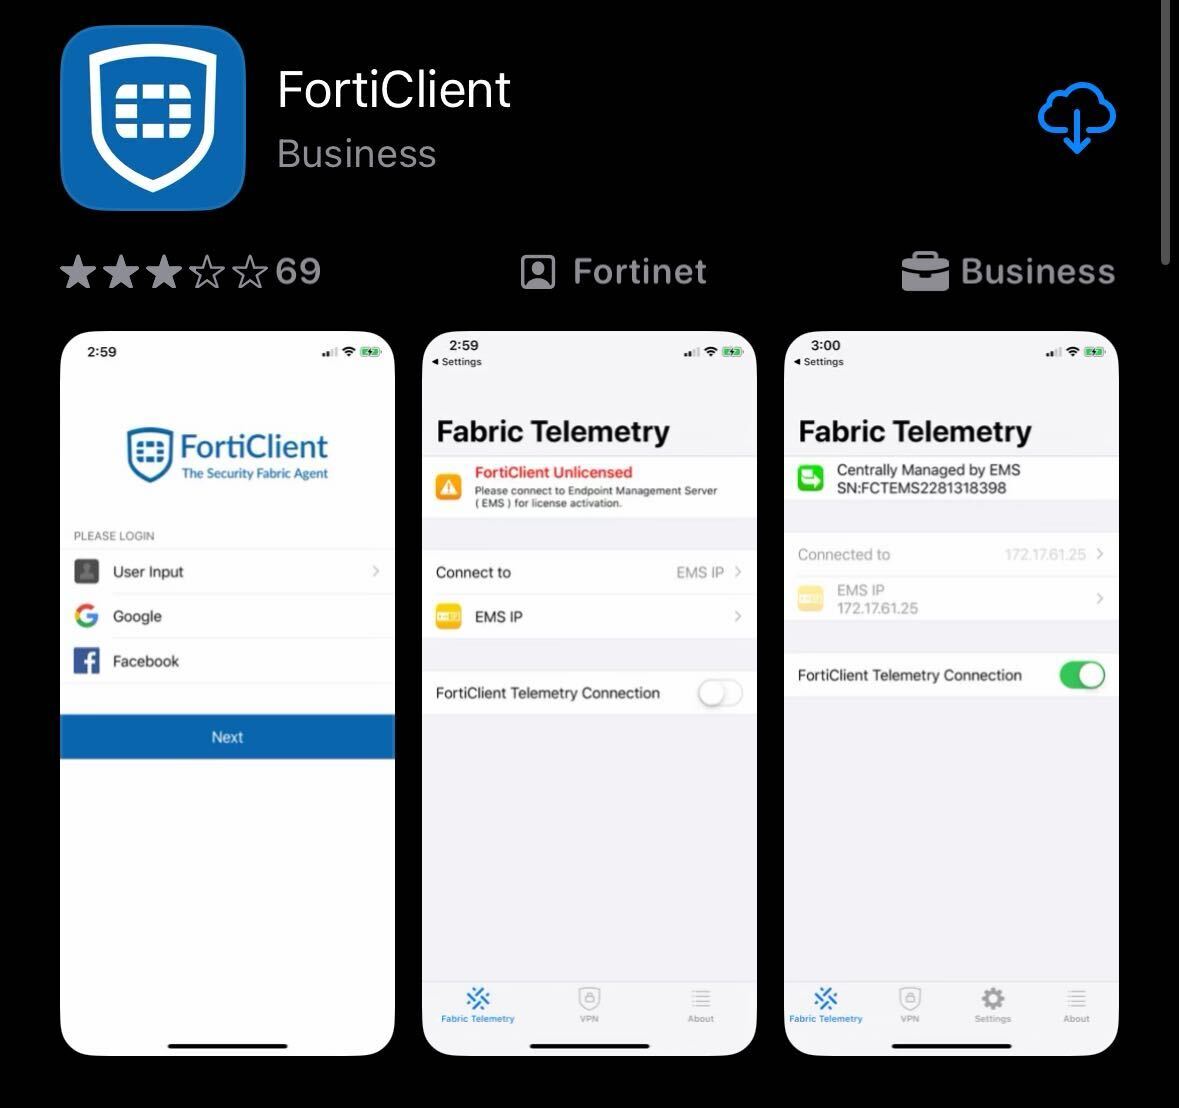
- Once installed, launch the FortiClient app. When prompted, permit notifications, accept the privacy policy and tap "Next" to bypass the login screen.
- When prompted, allow FortiClient to add VPN configurations
- Tap "Connect to EMS IP"
- Tap Scan QR Code, allow FortiClient to access your device's camera and use this QR Code:

- FortiClient should indicate it was connected successfully and receive its configuration:
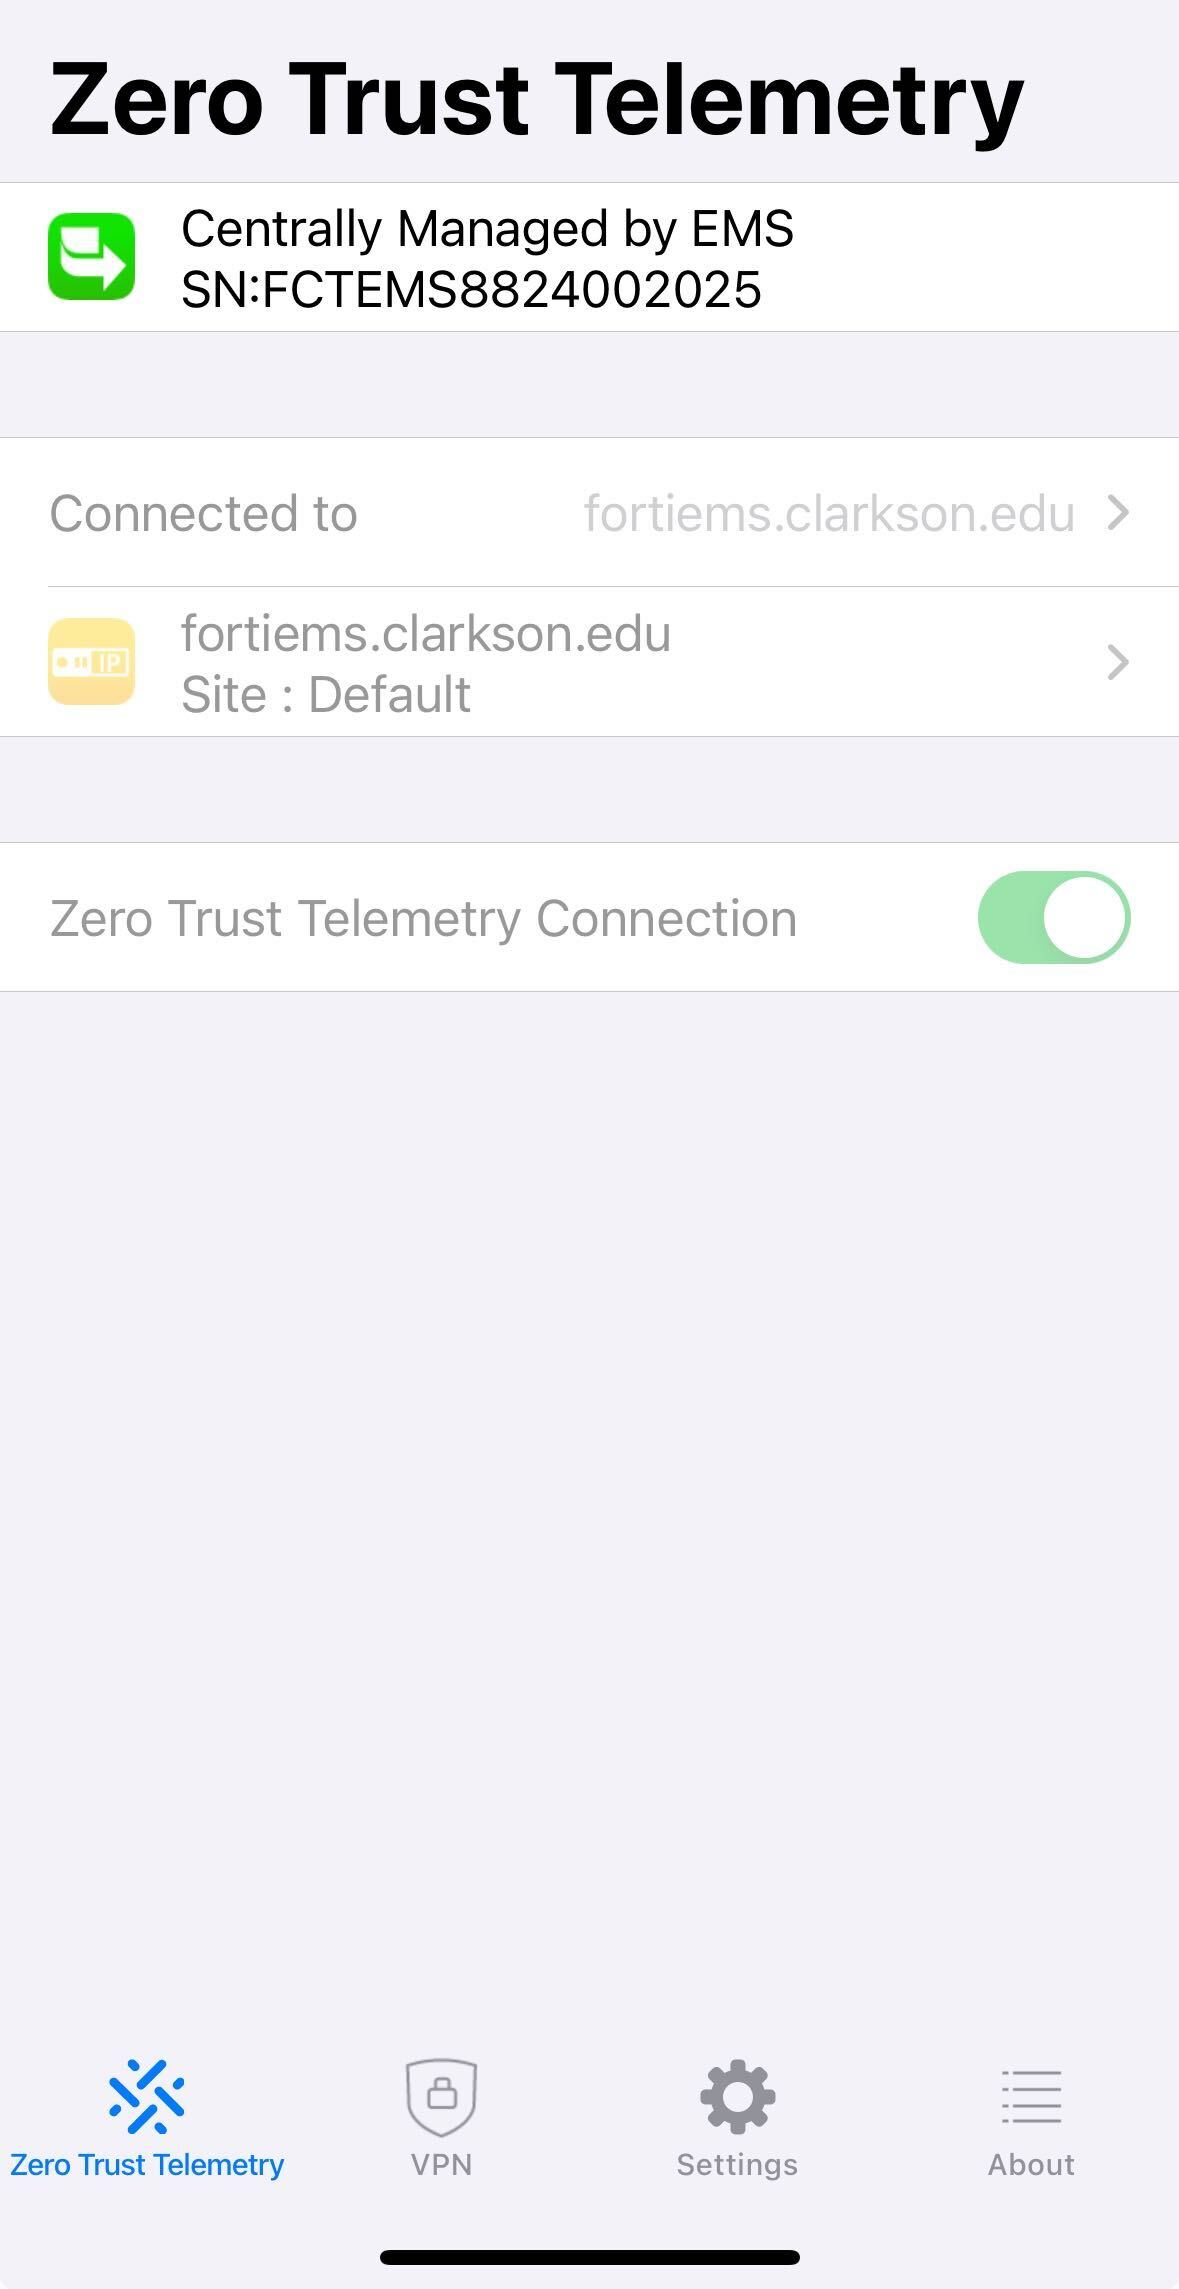
- Select the "VPN" tab at the bottom of the app:

- Tap "Connections" and select the "Clarkson VPN" profile
- Tap the "VPN" tab at the bottom of the app
- Setup complete! To connect, see the VPN Connection Instructions.


Install on Linux
Install on Red Hat Enterprise Linux or derivatives or Fedora
- Add the repository:
sudo dnf config-manager --add-repo https://repo.fortinet.com/repo/forticlient/7.2/centos/8/os/x86_64/fortinet.repo - Install FortiClient:
sudo yum install forticlient
Install on Ubuntu 18.04 LTS or 20.04 LTS
- Install the gpg key:
wget -O - https://repo.fortinet.com/repo/forticlient/7.2/ubuntu/DEB-GPG-KEY | sudo apt-key add - - Add the following line in
/etc/apt/sources.list:deb [arch=amd64] https://repo.fortinet.com/repo/forticlient/7.2/ubuntu/ /stable multiverse - Update package lists:
sudo apt update - Install FortiClient:
sudo apt install forticlient
Install on Ubuntu 22.04 LTS
- Install the gpg key:
wget -O - https://repo.fortinet.com/repo/forticlient/7.2/debian/DEB-GPG-KEY | gpg --dearmor | sudo tee /usr/share/keyrings/repo.fortinet.com.gpg - Create
/etc/apt/sources.list.d/repo.fortinet.com.listwith the following content:deb [arch=amd64 signed-by=/usr/share/keyrings/repo.fortinet.com.gpg] https://repo.fortinet.com/repo/forticlient/7.2/debian/ stable non-free - Update package lists:
sudo apt update - Install FortiClient:
sudo apt install forticlient
Once your client is installed, you will need to register it with the Endpoint Management Server. To do this, use the command:
sudo forticlient epctrl register fortiems.clarkson.edu
You can confirm a successful registration by issuing
sudo forticlient epctrl detail
The output should look similar to this:
=====================================
FortiClient License Details
=====================================
License Expiry: Fri Jul 18 00:00:00 2025 EDT
VPN Expiry: N/A (EMS Connected)
=====================================
FortiClient EMS Details
=====================================
IP: fortiems.clarkson.edu
Site: default
Host: fortiEMS.ad.clarkson.edu
SN: FCTEMS882412345
Status: Connected
Last Access Time: Mon Dec 16 13:03:36 2024 EST
Once you've reached this point, your Linux machine is ready to connect.
To connect, see the VPN Connection Instructions.