Uploading Content to the Digital Signage System
Step-by-step guide
-
Point your browser to the digital signage system login page: http://concerto.clarkson.edu
-
Login using your Clarkson username and password.
-
At the Dashboard screen, click on the "Add Content" tab.


-
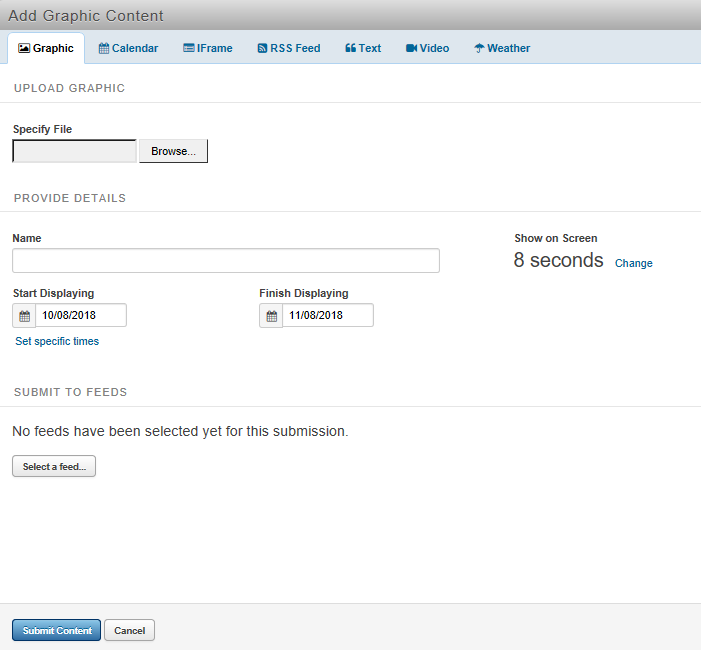
You should now be on the "Add Graphic Content" page. The majority of the content you will be creating will be images (either .jpg, .png or .gif format) but you are also able to add iCals (calendar), iFrames, RSS Feeds, Text, Video (link to youtube, etc), and Weather (Where On Earth ID (WOEID)).
-
For adding images you will need to fill out the following.
- Click "browse" and choose the file you wish to upload
- In the "Name" box, enter text to describe your content.
- In the "Show on Screen" choose the content duration.
- This is the amount of time your content will be displayed on a digital sign before being rotated out for another message. The default is 8 seconds.
- For content that includes lots of details, the default duration is too short.
- Enter your Start and End dates by selecting the calendar icon.
-
Lastly, choose an appropriate feed to add your content to. The feed that you select will dictate which screens your content appears on. Unless you a feed moderator, your content will need to be approved before it is displayed on any signs.