
Connect to the VPN with macOS
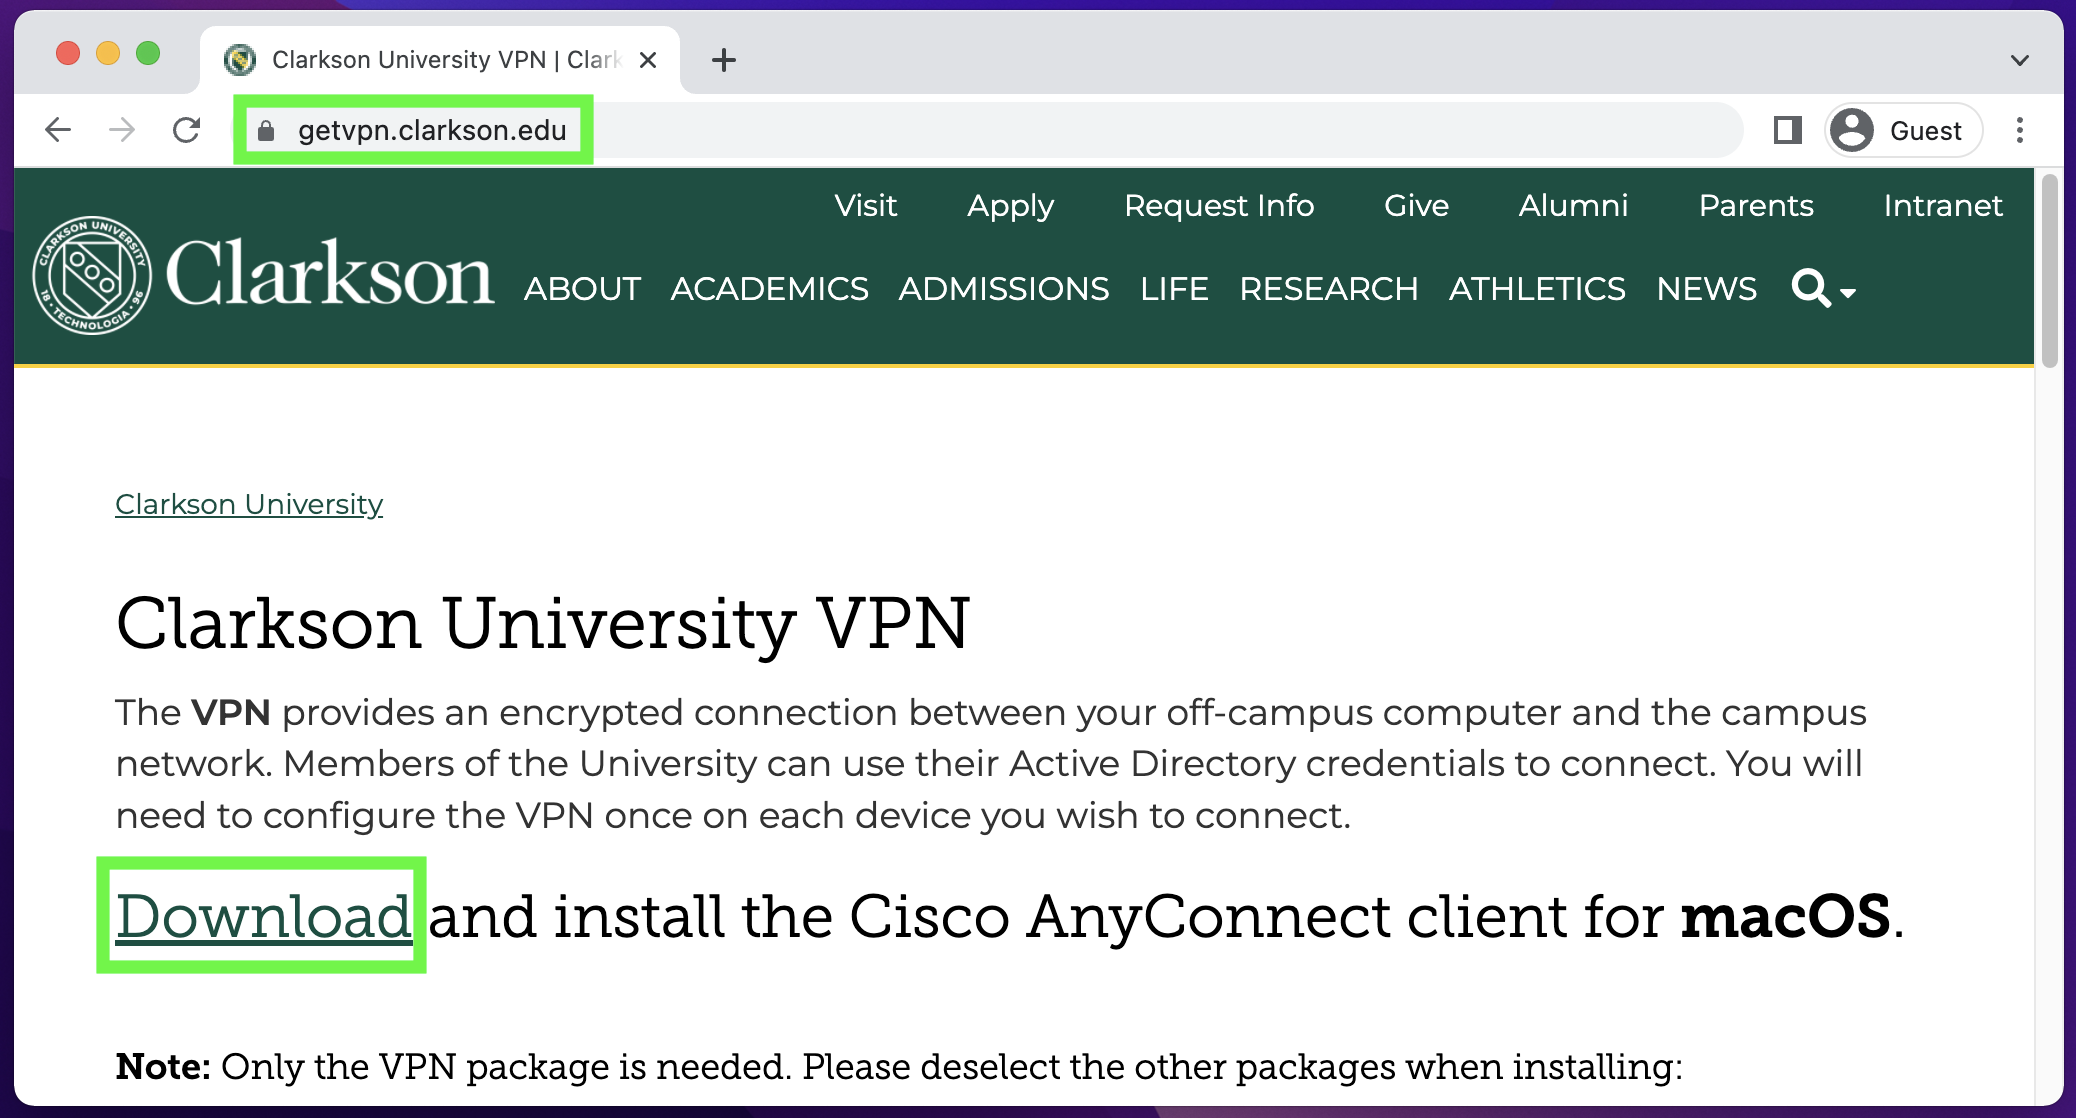
2. Select Download. This will download the AnyConnect installer to your Mac.
3. When the download is complete, open the DMG and run AnyConnect.pkg. 

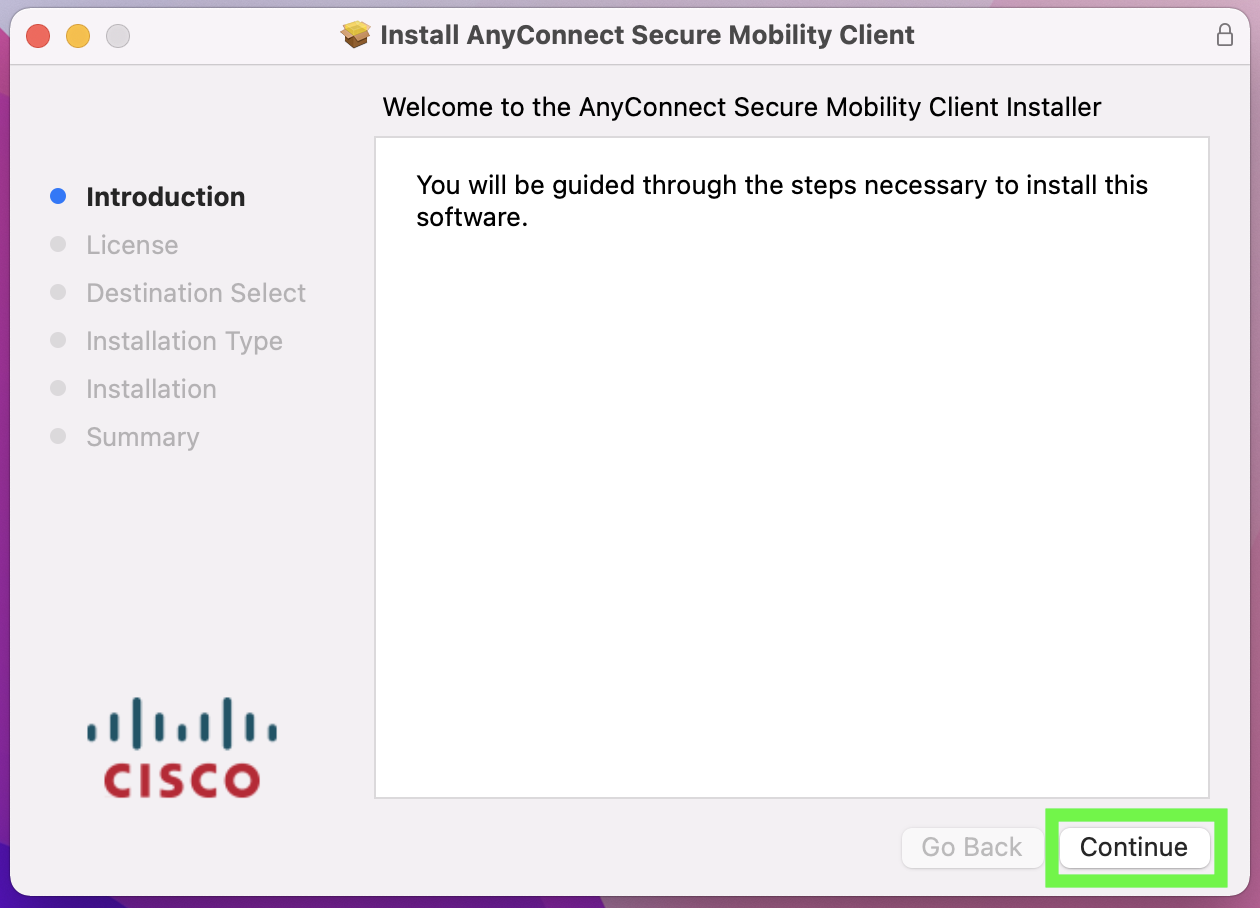
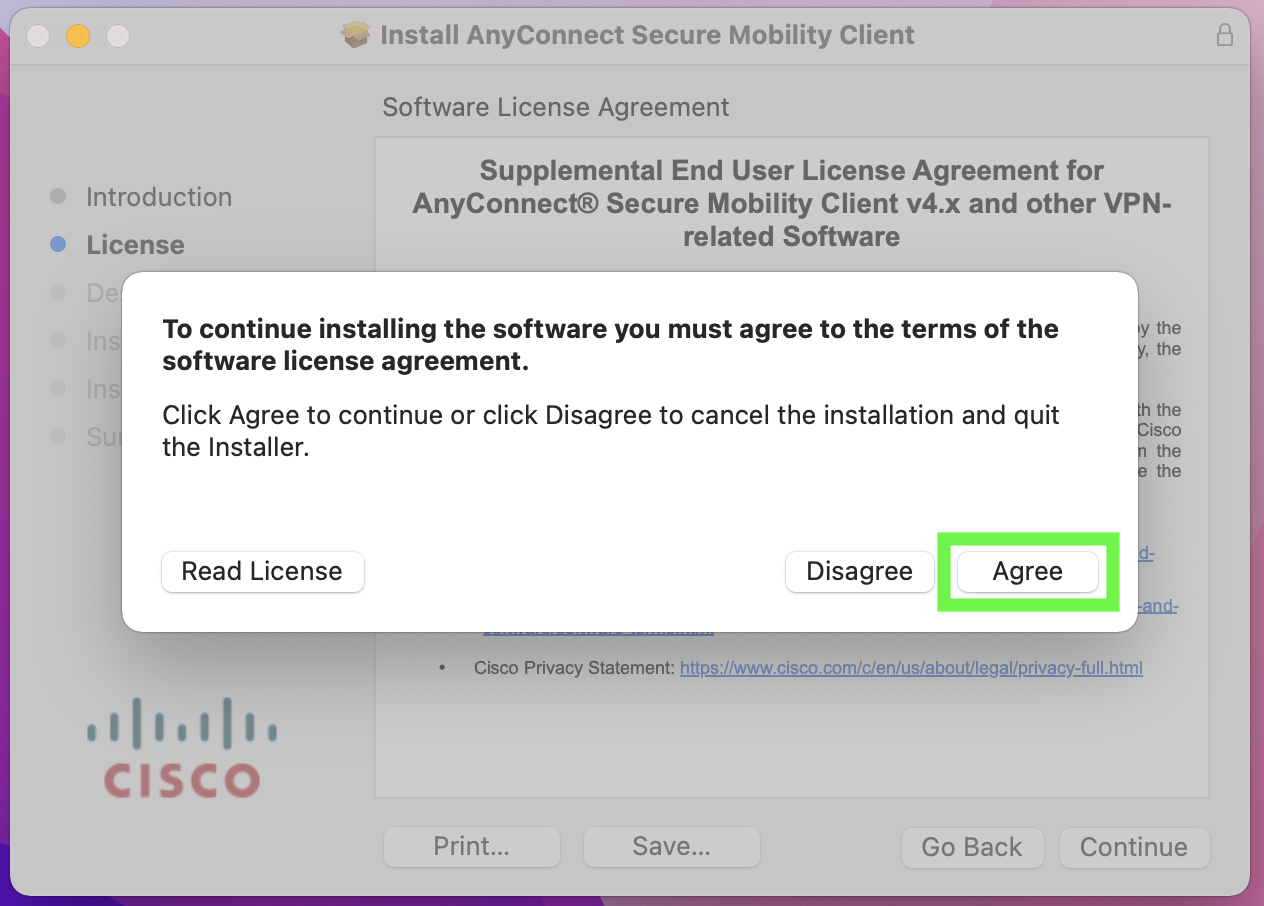
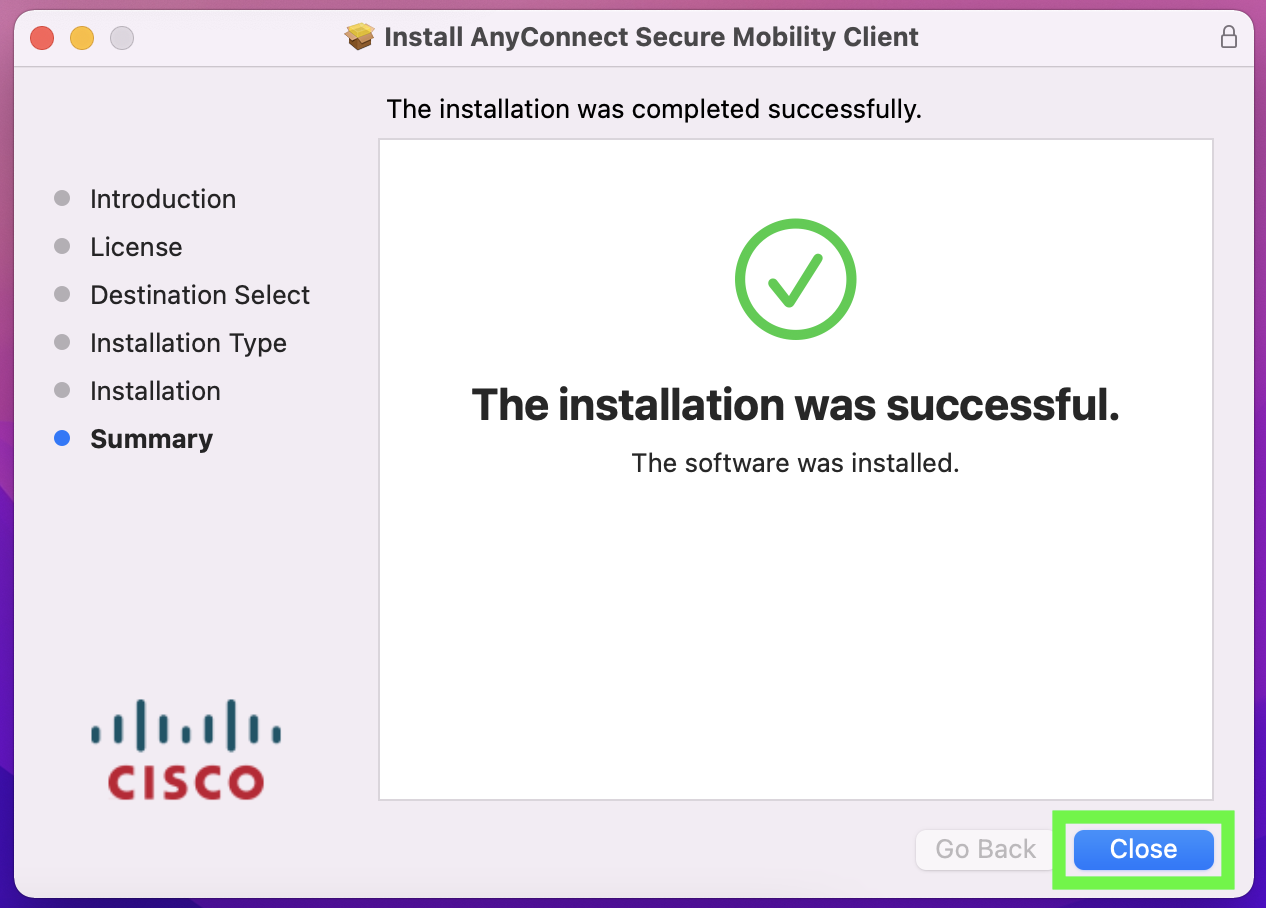
4. Follow the prompts to install AnyConnect.


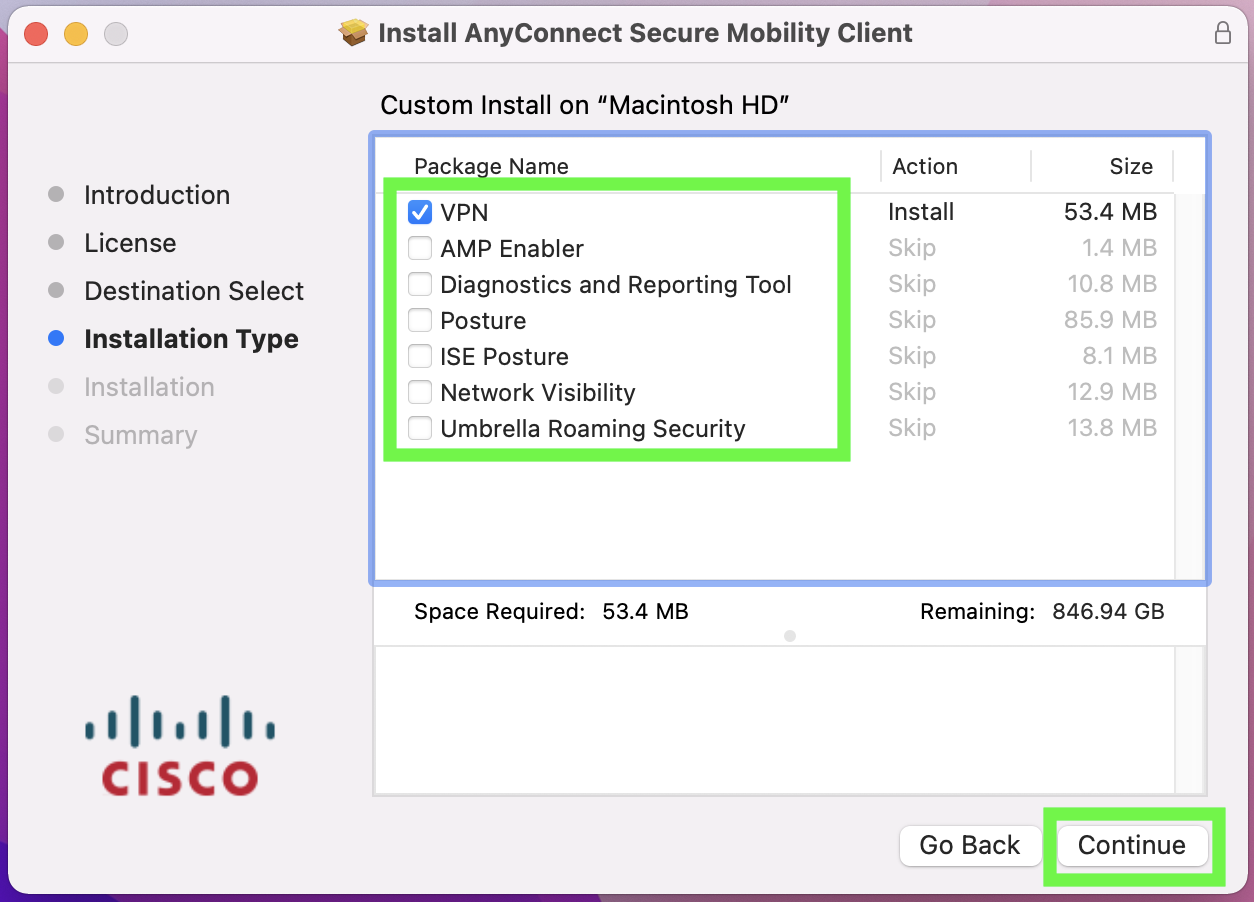
**NOTE: On Installation Type, select ONLY VPN from the check list. The other items are unnecessary.


5. If prompted to move the installer to the trash after installation, you may do so.


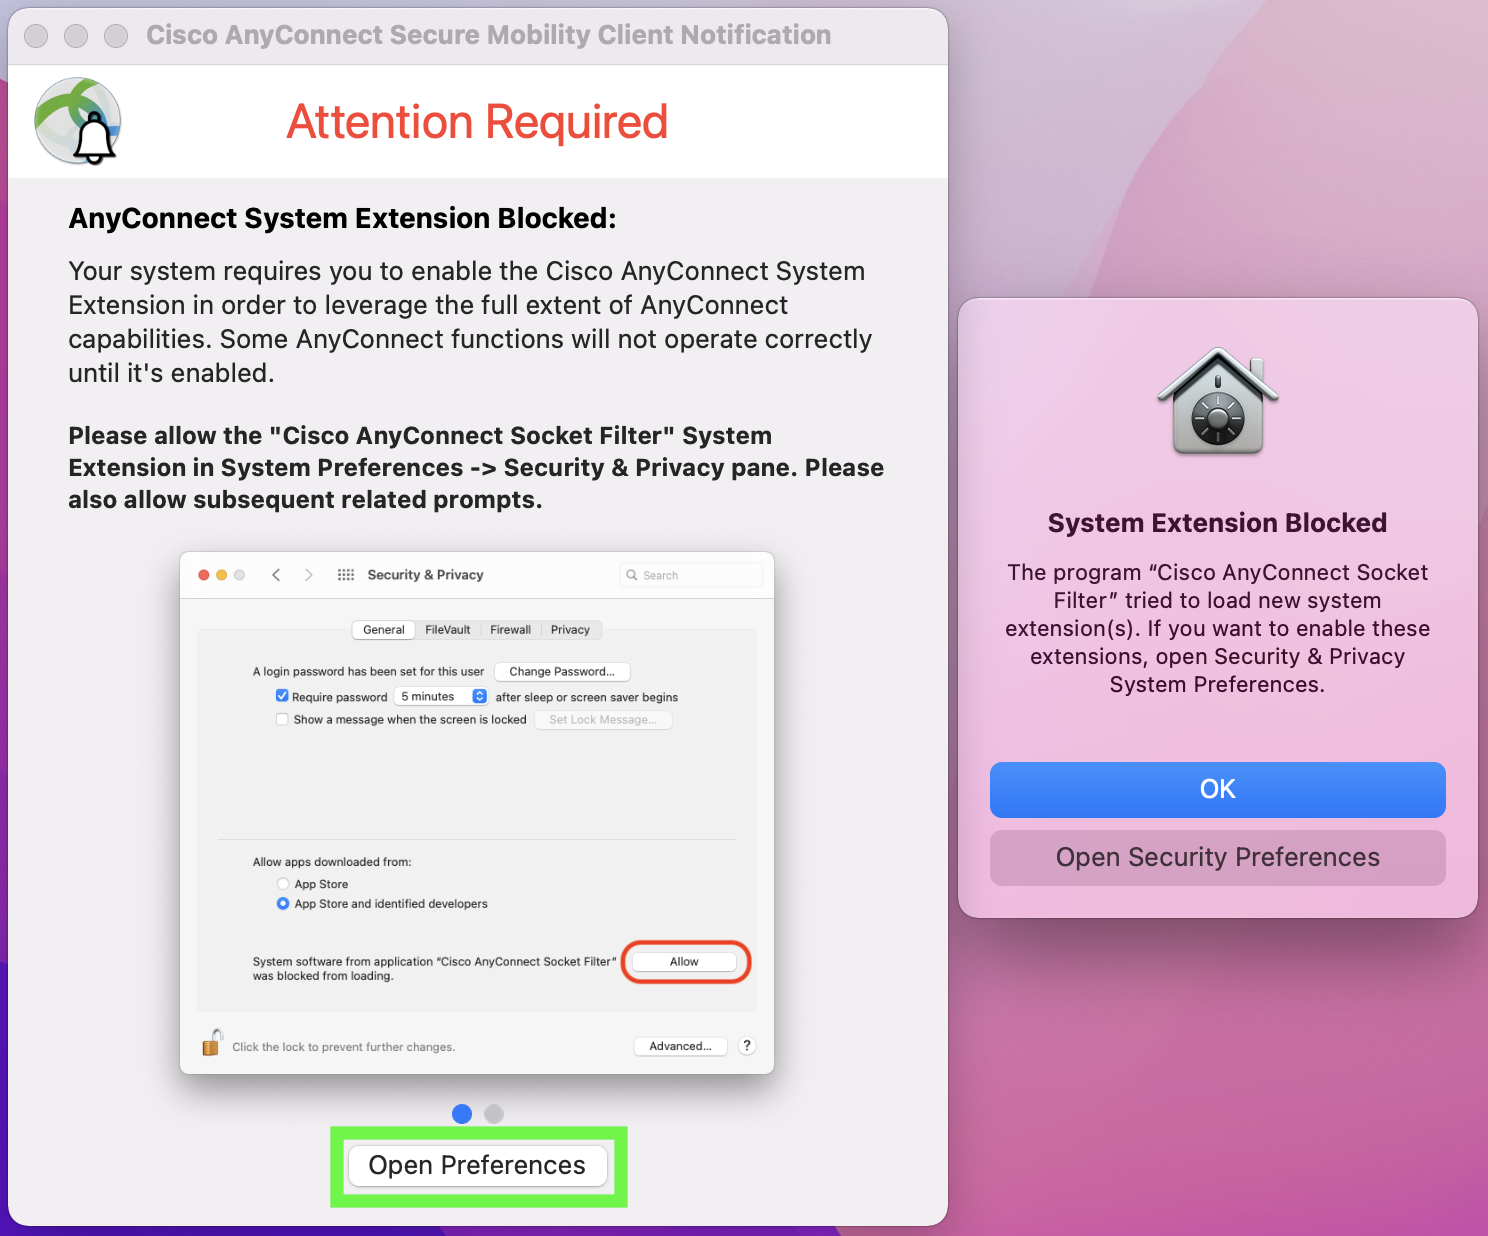
6. macOS requires you to Allow the AnyConnect Socket Filter System Extension. First, click Open Preferences.

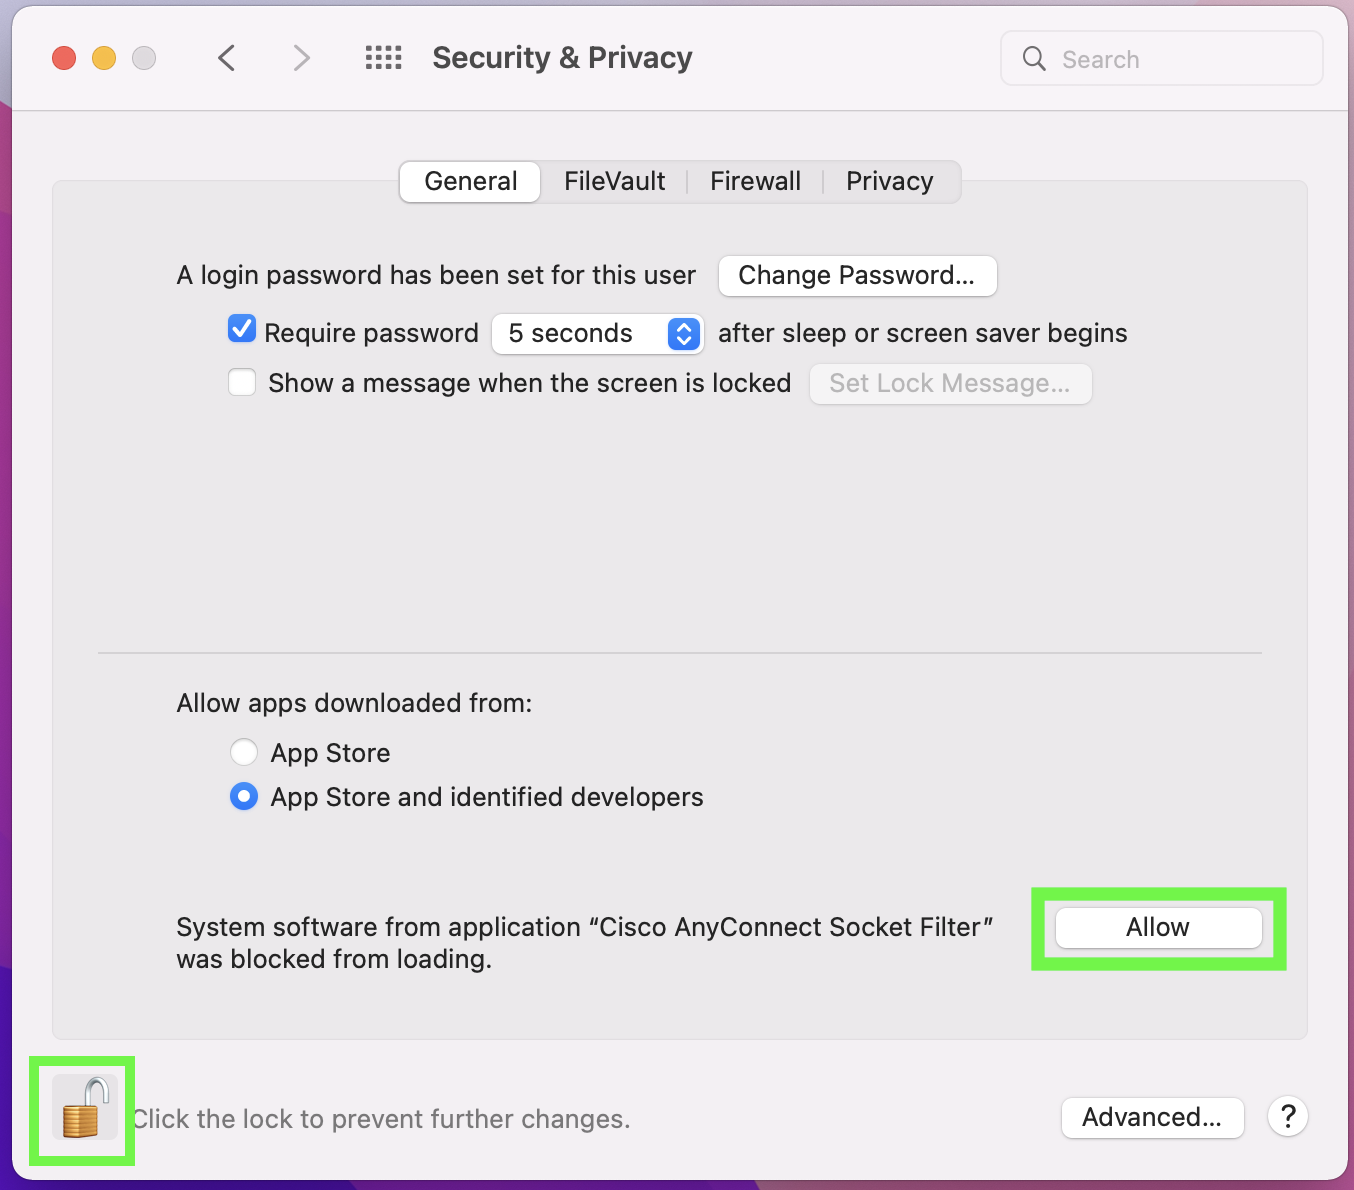
7. Click the lock, enter your Mac's credentials, and then click Allow, then Allow again.


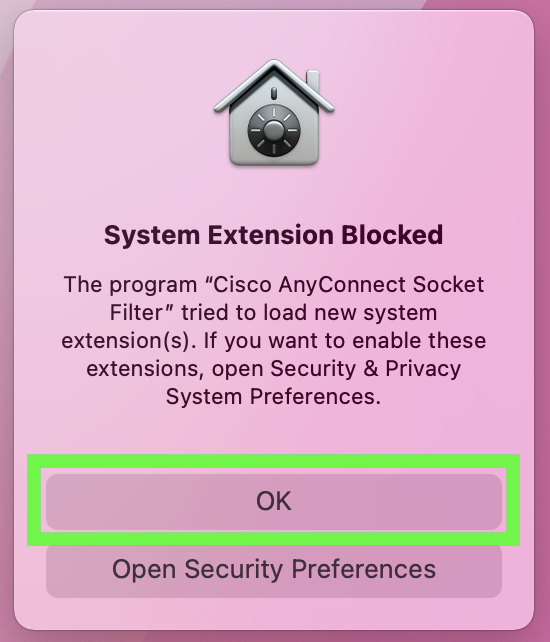
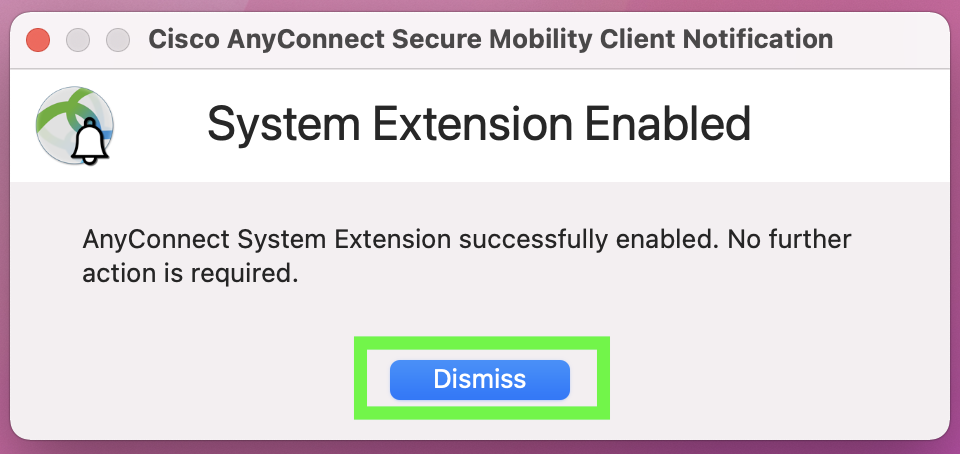
8. You may then dismiss the warnings that appeared after installation.


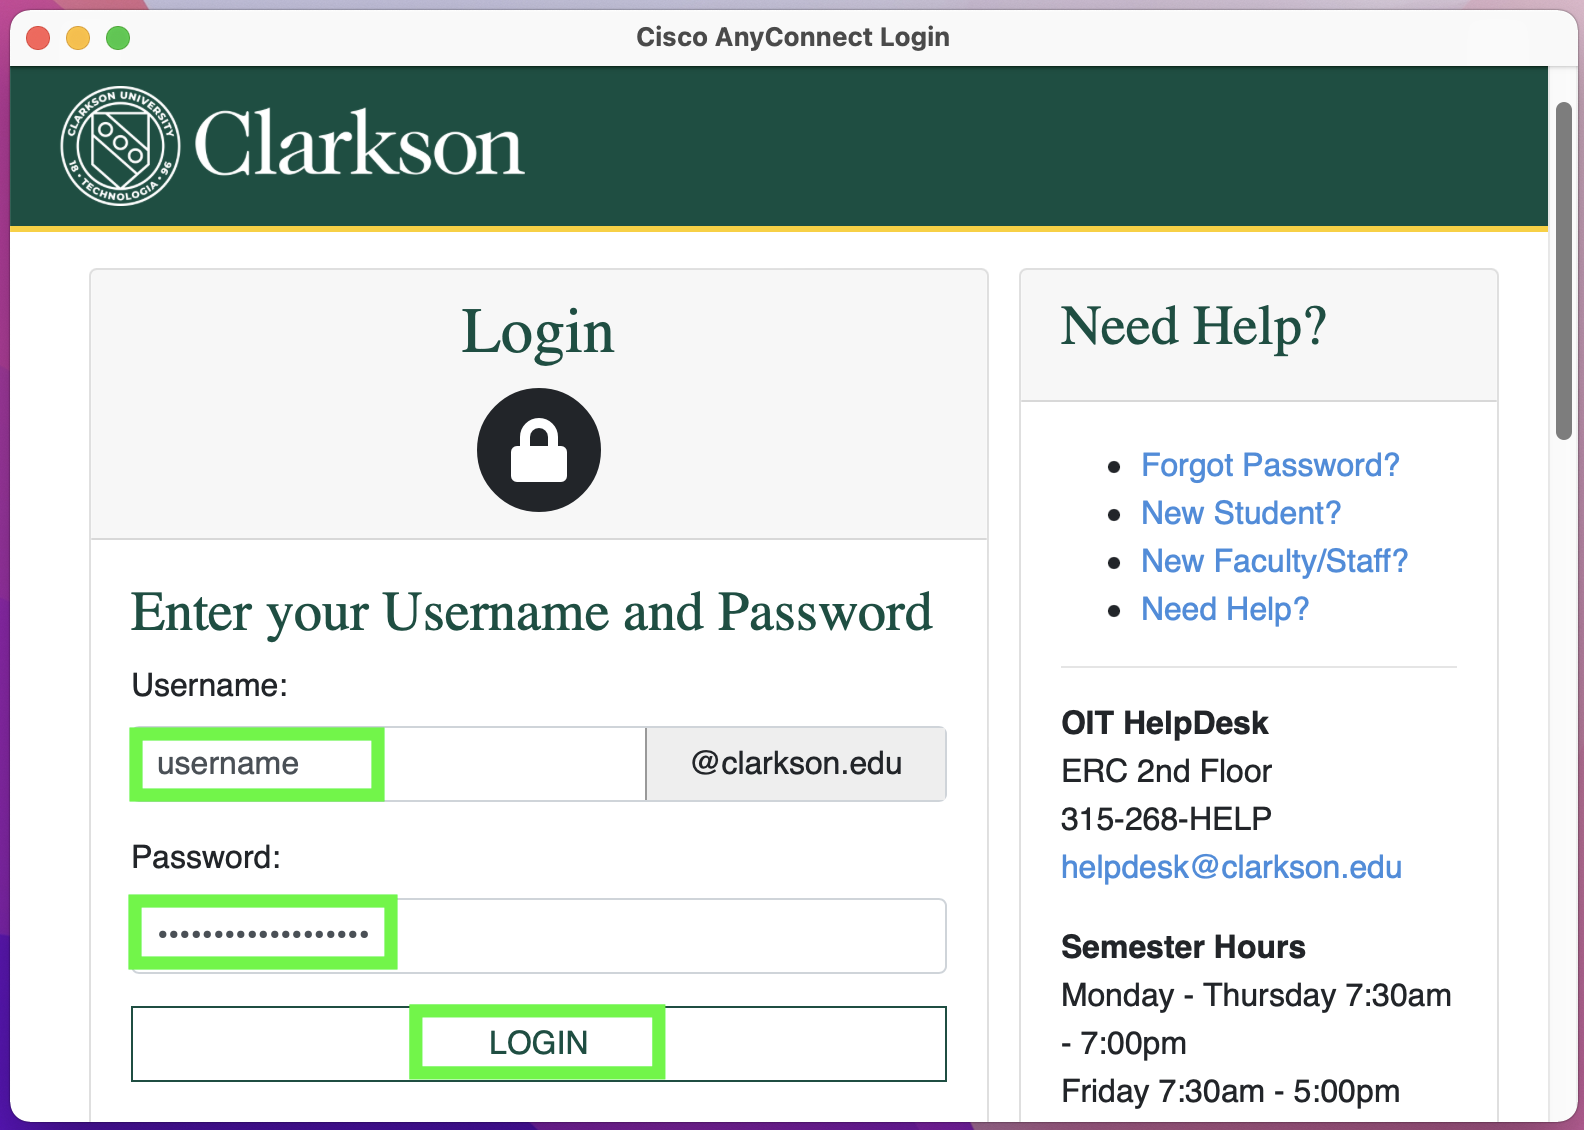
9. Open Cisco AnyConnect from the Applications Folder. Enter cuvpn.clarkson.edu and click Connect. (Note:vpn.clarkson.eduis also valid)

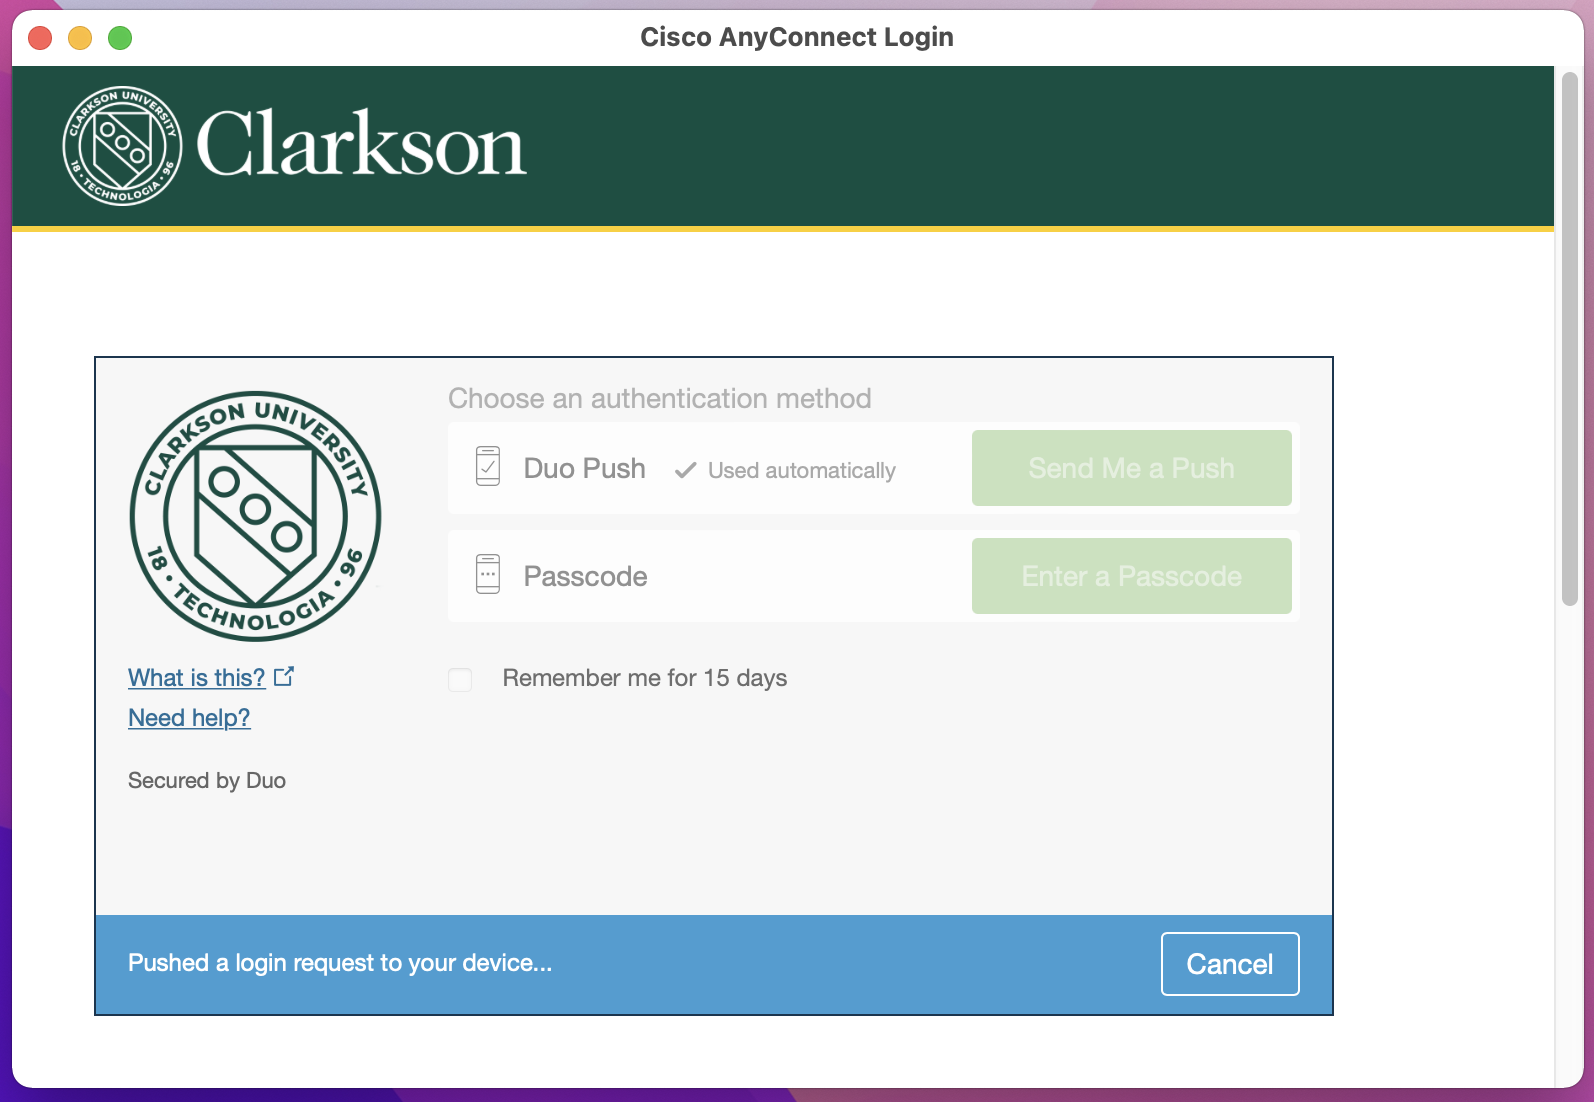
10. Proceed to login using the CAS and Duo prompts.


You are now connected to the VPN. By default, the AnyConnect window will automatically minimize when connected. You can retrieve it from the taskbar.

