Office Lens: Scan papers or documents with your smartphone
Particularly during remote teaching and learning, it is common for faculty and students to share a scanned version of a document or assignment for which they have a hard copy (e.g. notes, equations, handwritten work, etc.). Office Lens offers a secure way to scan and share files.
- Download the Office Lens app from the App Store or Google Play and launch the app on your smartphone.
- Office Lens will show to consecutive screens in which it will ask you to Allow the app to access photos, media, and files on your device and Allow the app to take pictures and record video. For each of the two options, choose Allow.
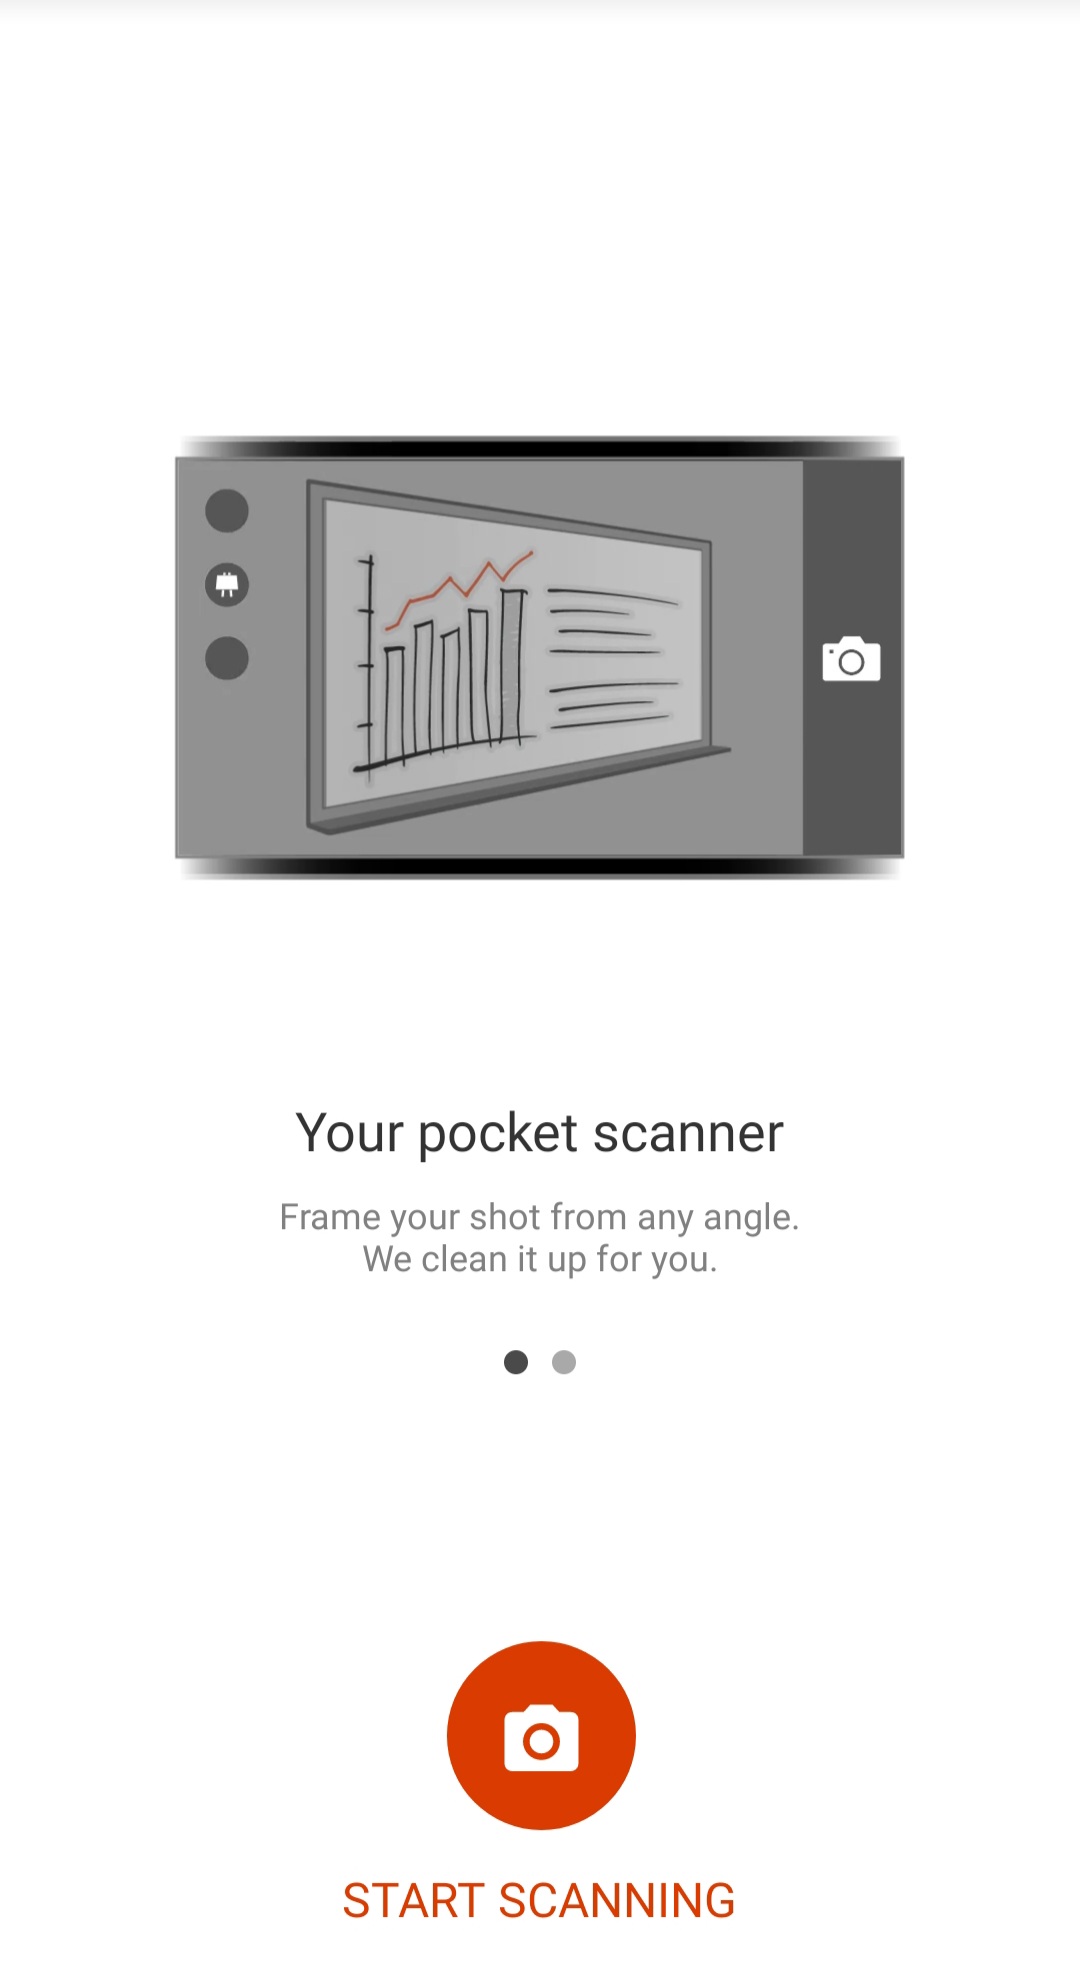
- On the next screen, read the brief instructions for using your phone as a scanner. You can frame your shot from any angle and the app will clean the shot for you.

- Click the camera icon to start scanning. A new screen will show up allowing you to take a picture of the document you will be scanning.
- To adjust the borders of your document, make sure to turn on the option Let me adjust borders after each scan at the top of your screen.
- When you have confirmed that the image on the screen is what you would like to scan, click Confirm.
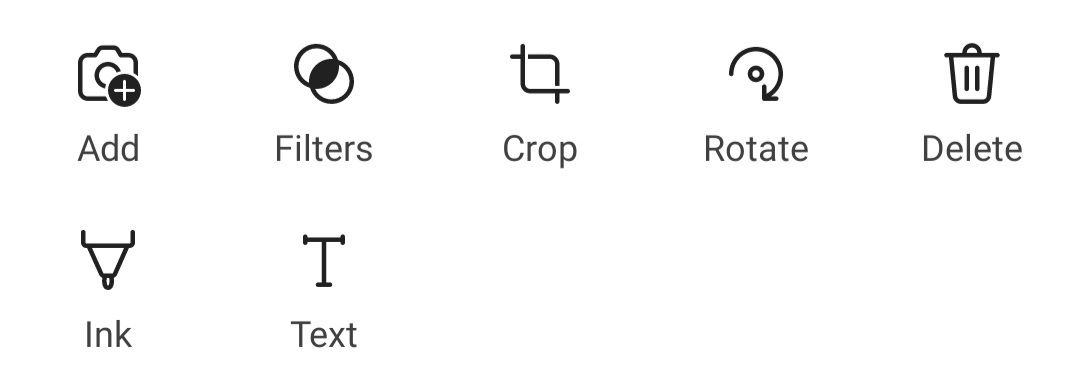
- You will now be able to edit your document or picture by using the editing tools that appear near the bottom of the screen. When you are finished editing or if you have no edits to make to the document, click Done.

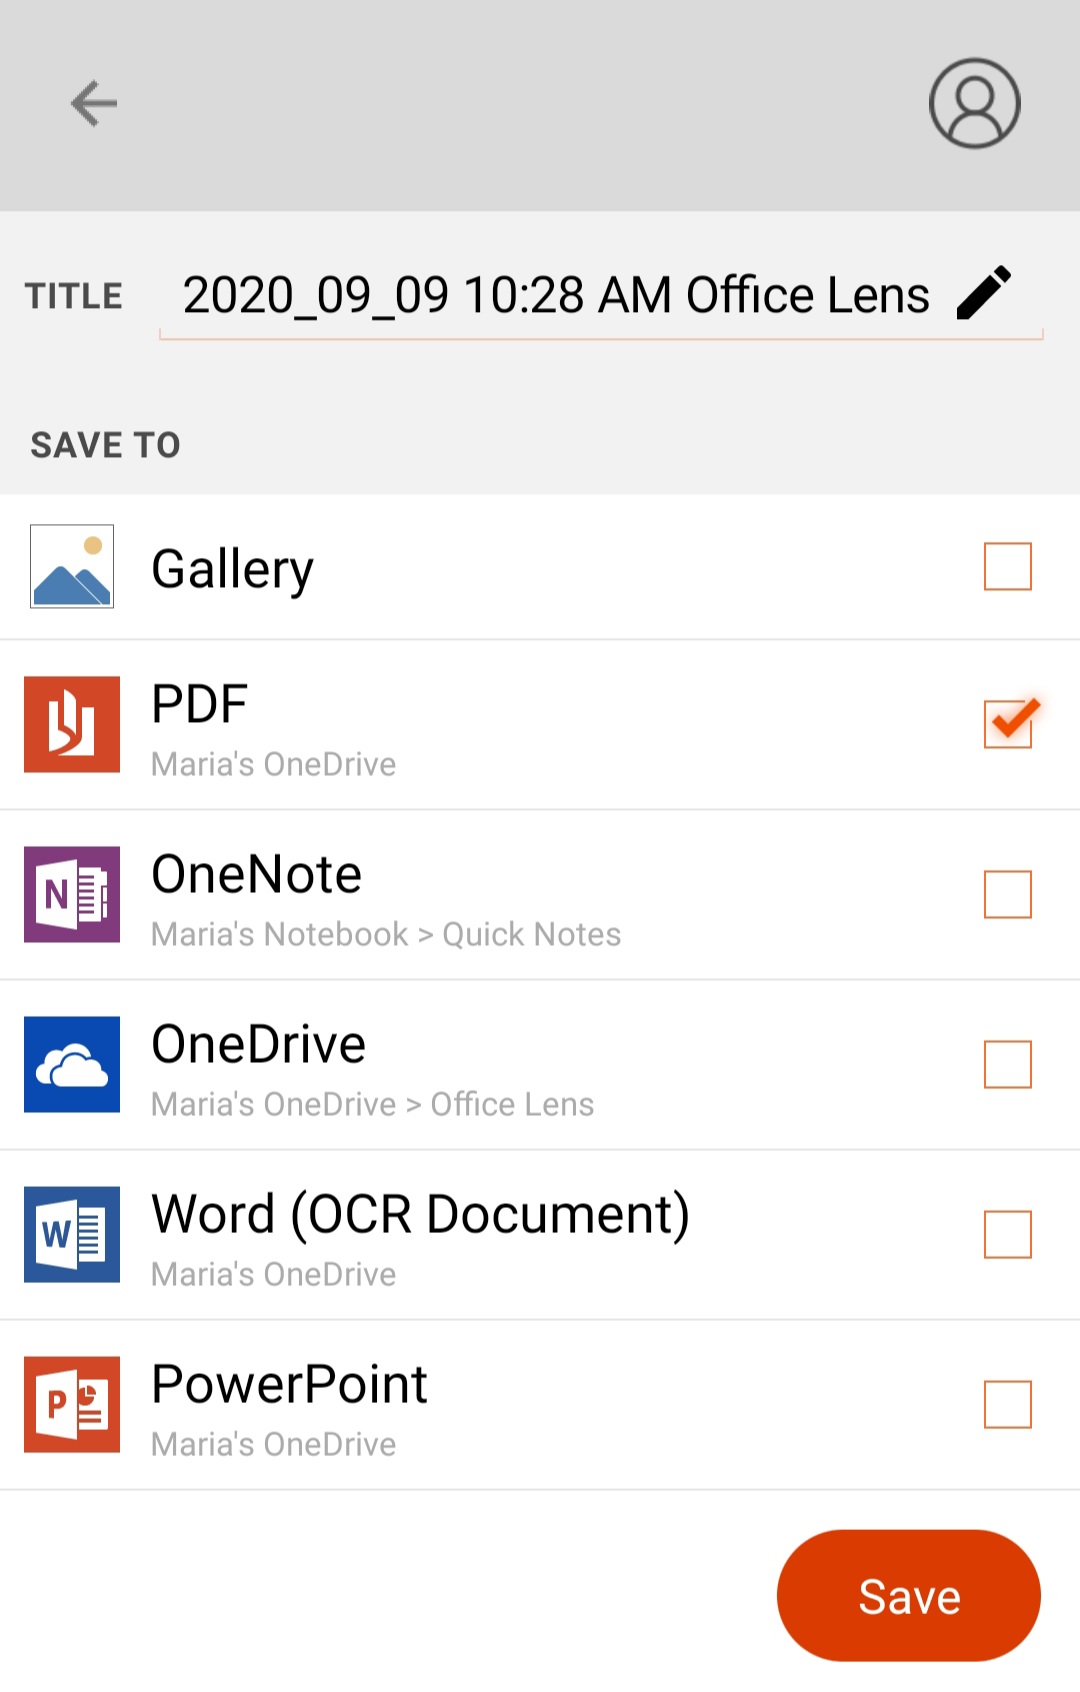
- Select a title for your new document and choose the type of file for your scanned document. To convert the scanned document or image into a PDF, select PDF and click Save.

- You can also share your file through other apps by going to the More menu and navigating to My Files. To share the file, touch and hold the desired document and share using your smartphone’s sharing options.
