Move videos to Echo360 for Migration Prep
Course sections in Moodle that have videos that have been uploaded directly into the section as opposed to linking out to an external source can cause the section to be unusually large. To reduce file size of the backup for the Moodle 4 migration, it is recommended that the videos be moved to Echo360 and re-linked.
Create a copy of the course with the videos
- Create a blank course in Moodle in the following category: Courses -> Miscellaneous -> Instructional Design -> Sandboxes
- From the new course, import in the section that the instructor has chosen for the migration.
Download the videos
- Search through the course and download each video that has been uploaded directly into the Moodle course. Many times it will look like this:
Set up a new section in Echo360
- As an admin in Echo360, go to Courses, then click New Section.
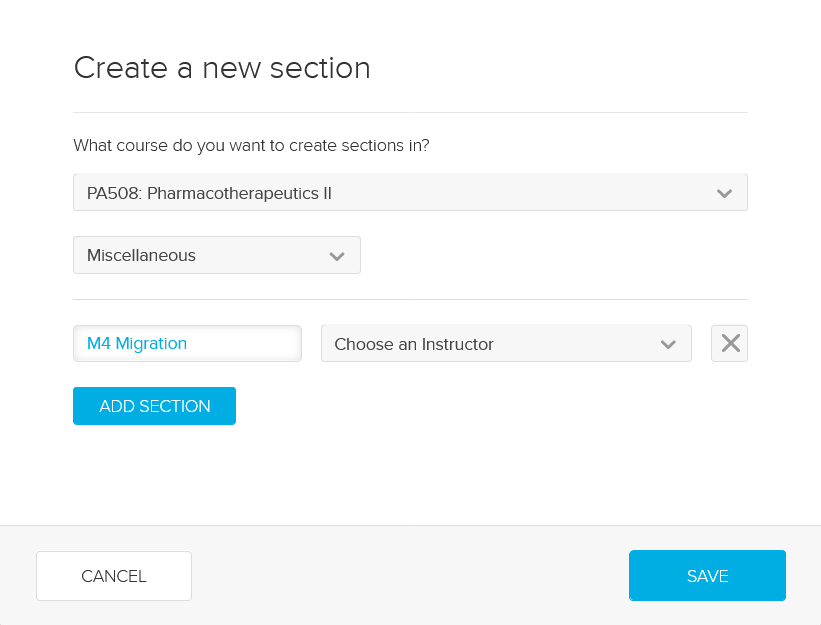
- When the Create Section box displays:
Upload videos into Echo360
For each video that needs to be uploaded:
-
- Locate the video in the Moodle 3 course and copy the title of the video/link.
- In Echo360, click New Class.
- Paste the title of the video into the Name field.
- Click Save.
- Click the plus sign to the right of the video's title and choose Add Video.
- Click Upload File.
- Locate the file on your computer and click Upload.
- Note: The video will take a few minutes to upload and process, depending on it's size.
- Change each video's ownership to the instructor:
- Click the green play button to the right of the video.
- Select Details.
- Click the Details tab.
- Click the pencil icon to the right of the owner name.
- Type the name or email of the instructor and click Done.
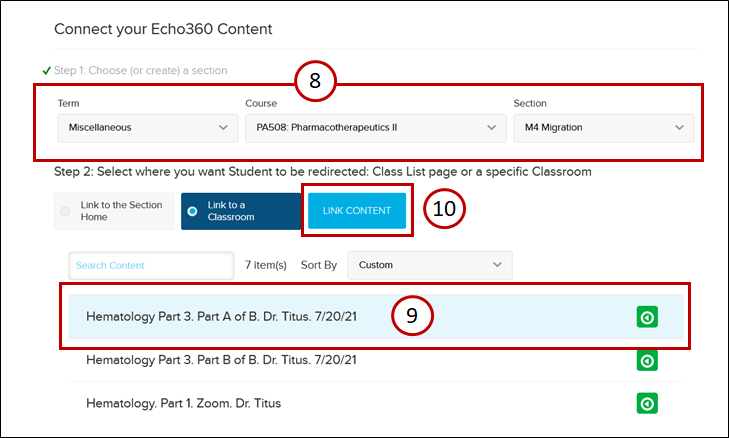
Link the videos from Echo360 into Moodle
You must be enrolled in the Moodle 3 course as a Teacher to complete these steps. When the videos have fully processed in Moodle, for each video that needs to be linked:


