
What you need to know about electronic Payroll Authorizations
Requesting access to create a Payroll Authorization
If this is the first time you have created a Payroll Authorization, you will see (3) options. A fourth option will be available if you have saved Payroll Authorizations, to allow you to modify them.

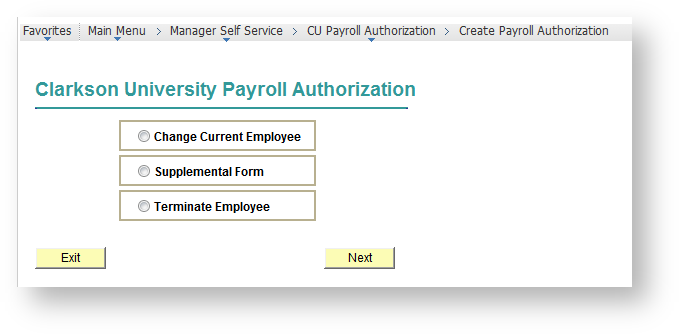
Change Current Employee: **This option is used to create a Payroll Authorization for an existing employee of the University. Use this option if you would like to create a **new **Payroll Authorization for an **exisiting **employee who does not already have a saved/submitted authorization.
**Supplemental Form: **This option is used to create a supplemental Payroll Authorzation. A Supplemental Form is used to pay employees for duties that are "supplemental" to their normal positions. Example: a staff member who teaches one class per semester.
**Terminate Employee: **This option is used to create a Payroll Authorization to terminate an existing employee's relationship with Clarkson. Terminations can be used to end temporary employment, due to resignation or to end a courtosey appointment, just to name a few examples.
Once you choose an option, you will see the different types of employees that you have access to create Payroll Authorizations for. The options are Faculty, Exempt, Hourly, Research and Assistant Coach. You may only see one or a combination of these, dependent on your access.

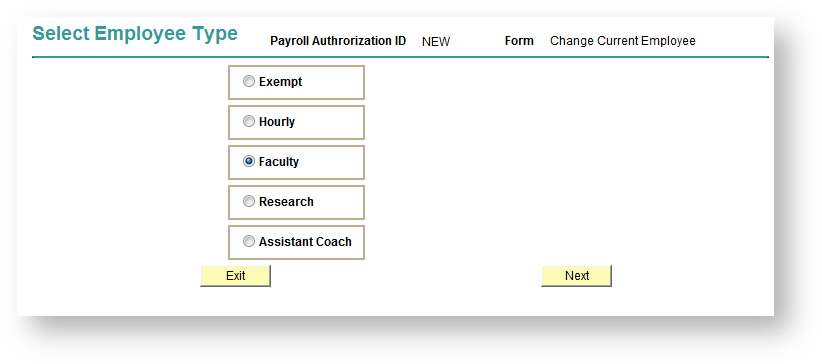
Once you have selected the employee type, click next. You will see a drop down menu with all of the employees of that employee type in your department (or any departments you have access to). Choose the employee you would like to create a Payroll Authorization for and click Next.
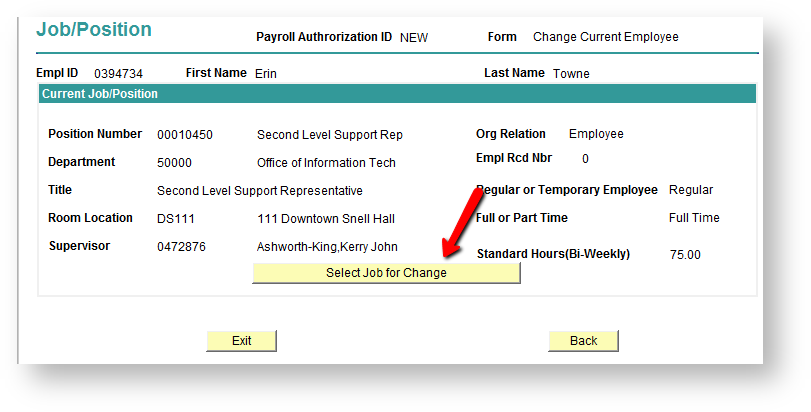
The next screen will show you an overview of that employee's job(s). If they have more than one job, all of them will be listed. Click "Select Job for Change" on the job that you wish to create a Payroll Authorization for.

On the following screen, you will see all of the employee's current information populated. Below is a breakdown of each section and what it should be used for.** Place a check next to any field that you wish to change to make it available for edit. Removing the check will revert your changes back to what was originally populated.

For each Payroll Authorization, you will need to enter a date that the changes will become effective. If the employee is considered "temporary" you must also enter a Termination Date.

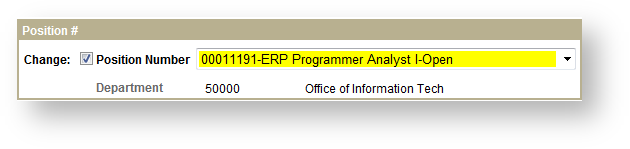
Position # will be changed when someone is moving into a position that already exists at Clarkson, but that is not currently filled or has been recently vacated due to resignation or promotion. Notice that when a change is made to a field, that field is highlighted yellow.


A title change and a position change are not always the same thing. A title change may include adding "assistant" or "associate" to a faculty member's title, without changing the position.


If a Supervisor change is needed, choose the appropriate person from the drop down menu.

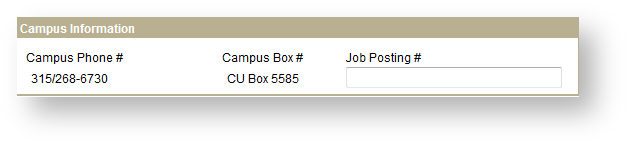
The Campus Phone # and Campus Box # are static fields. Remember, employees can change their CU Personal Information themselves. This should not require a Payroll Authorization.

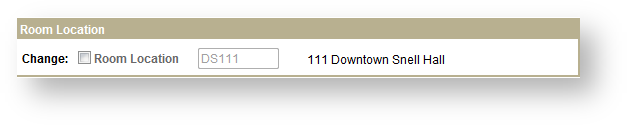
Room location can also be changed in CU Personal Information, but can be changed with a Payroll Authorization if other changes are going to made as well (Title change, salary changes, etc).


The employment type can be set to Regular or Temporary. If you change the type to Temporary then the Termination Date field will be highlighted red, as a termination date is required for all Temporary employees.

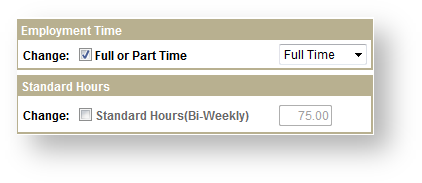
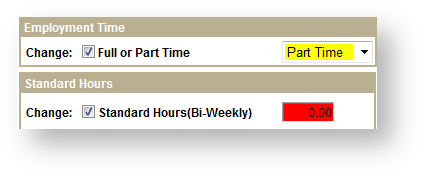
The Employment Time can be changed to Full Time or Part Time. With Full Time set the Standard Hours (Bi-Weekly) will be set. If you change the status to Part Time, the Standard Hours (Bi-Weekly) will be set to zeros and you will be required to enter a number of hours for that field.

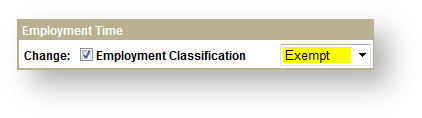

The Employment Classification can be changed to Exempt or Hourly. You will notice that in the Compensation section at the bottom of the page, if the Classification is set to "Exempt" it will say "Amount to be Paid" and if toggled to Hourly will say "Hourly Rate".

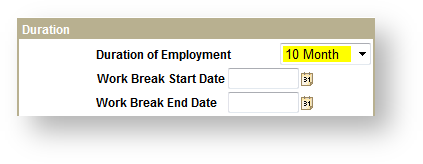
Finally, you can choose the Duration of Employment from 9 month, 10 month, 11 month and 12 month employment. If you choose an option less than 12 months you will be prompted to enter dates for the Short Work Break Start and End Dates.
Next, we'll review the Compensation section of the Payroll Authorization. If you would like to make changes to this section make sure to put a check in the "Change" box. A start date will be required for the compensation change, seperate from the Effective Date that is listed above. This is because a Compensation change may occur independent of other changes (such as a title change).

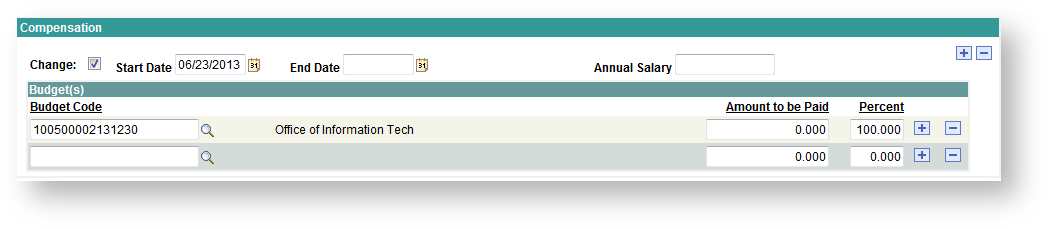
Enter the total Annual Salary for an Exempt employee. If you will be charging to more than one budget, you can add additional Compensation lines by clicking on the + sign need to the first budget line. Once you have entered the Annual Salary, you can change either the amounts to be charged to each budget, or the percentages (which ever works better for you) and the s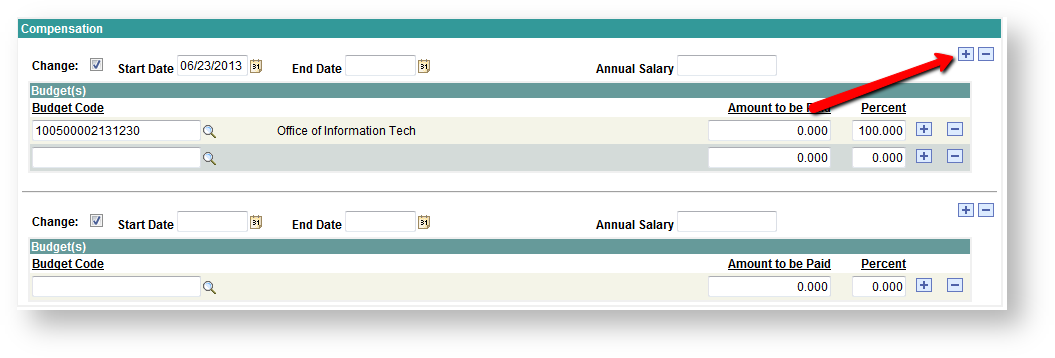 ystem will automatically calculate the rest.
If you will have two date ranges with different Compensation amounts, you can add a completly new Compensation frame by clicking on the + in the upper right hand corner if the frame.This may be used for things like a Sabbatical where 50% pay would occur for one semester and 0% for the other.

Finally, you can attach any files that you feel would be important (contract letters, offer letters, etc). You can also add remarks to the Payroll Authorization that will carry on through the approvals process.

When you have completed all changes you click on the Save button and click next. On the next screen, you will be able to view your changes. All changes will be highlighted in yellow. This will be a theme throughout the process. Each person to approve the Payroll Authorization will also see the changes highlighted in yellow.
If there are mistakes that you would like to correct, click Back to make those changes. Otherwise, click Submit Payroll Authorization and it will start the workflow for approval.