
Creating An Expense Report 9.2
PeopleSoft Financials 9.2
PEOPLESOFT 9.2 TRAVEL AND EXPENSES:
CREATING EXPENSE REPORTS
There are essentially three steps to creating an Expense Report:
-
Enter general travel and expense information (the header information),
-
Enter the detailed expense line(s),
-
Attach receipts.
-
The detailed expense lines are entered for various types of expenses, such as airfare, lodging, meals and mileage. Each line will require you to enter the date the expense was incurred and an amount (or number of miles if a mileage expense type is used). You will also need to enter a description, the name of the merchant, the currency (if other than your base currency) and other information as required. If the item was purchased on your One Card, then you will be able to pull all this information from your 'My Wallet' functionality. For Per Diems, you will need to indicate your location, and also if any meals were not taken.
-
Expense reports will also require receipts to be attached to the online document. You must obtain and submit receipts for all expenses over $25 and all meals, regardless of cost. Documents must be scanned into an electronic file and then attached to the expense report. The scanned and attached receipts are then available for review by Expense Report Approvers, accountants and managers as needed.
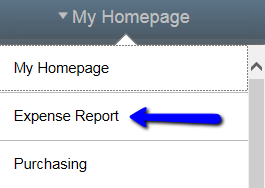
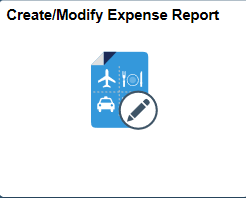
NAVIGATION: From the Homepage drop-down, select the Expense Report homepage. Then choose the Create Expense Report tile.

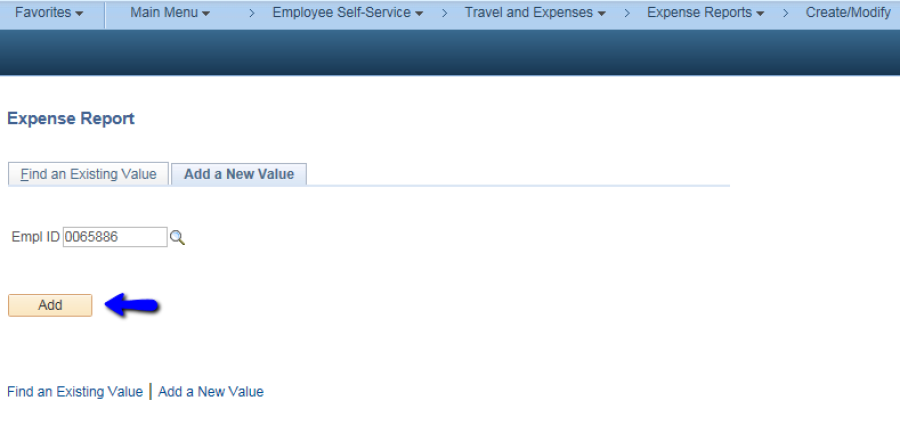
If you are creating an expense report for another person, click the magnifying glass to display the Look Up page. Select the correct employee from your list.
To create a new expense report, click Add.

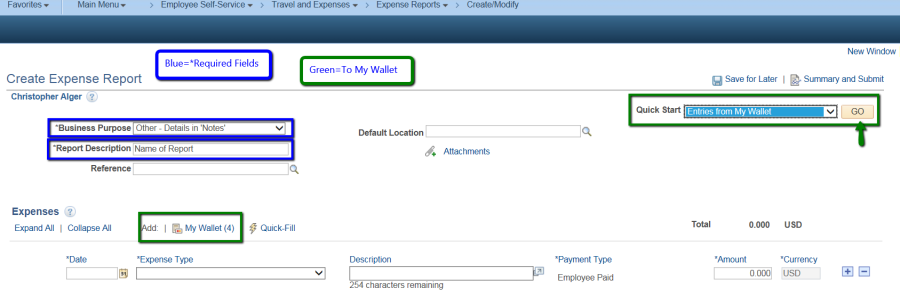

Charges on the OneCard will be found in My Wallet. The number of unassigned transactions will appear in the brackets. Also Populate From can be changed to Entries from My Wallet. Select the transactions to populate the expense report.
REMINDER: YOU CAN CHANGE THE EXPENSE TYPE WHEN YOU ARE IN MY WALLET. REVIEW THEM AND CHANGE THEM ACCORDINGLY. CLICK ON THE EXPENSE TYPE AND FIND THE ONE THAT CORRESPONDS TO THE ACCOUNT THAT WILL BE CHARGED. .

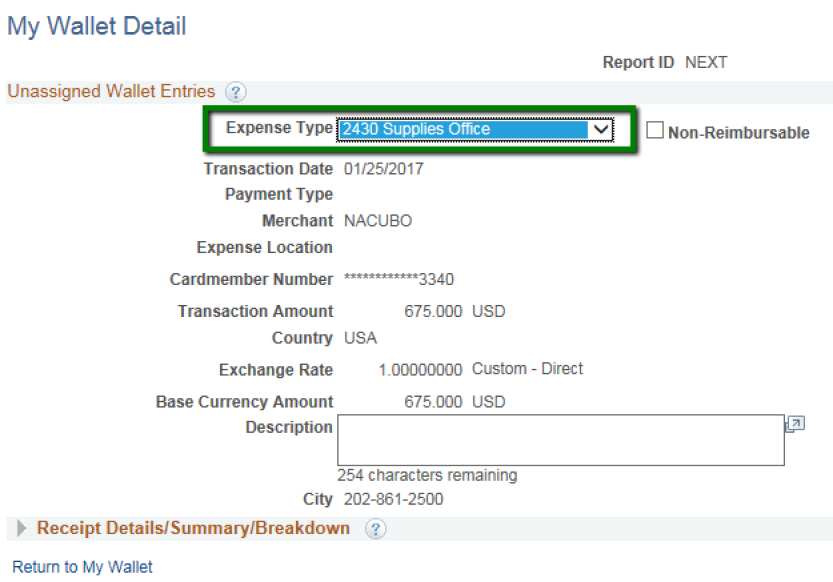
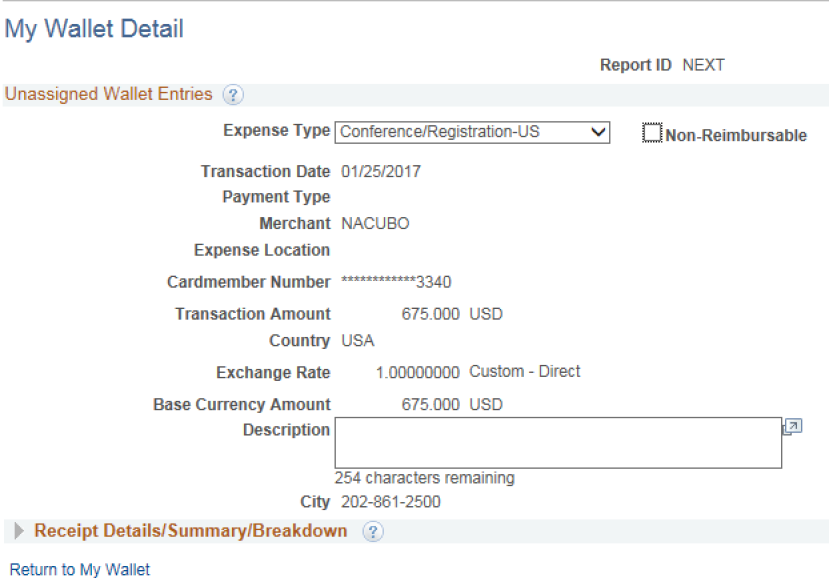

After you have changed the expense type, click Return to My Wallet.
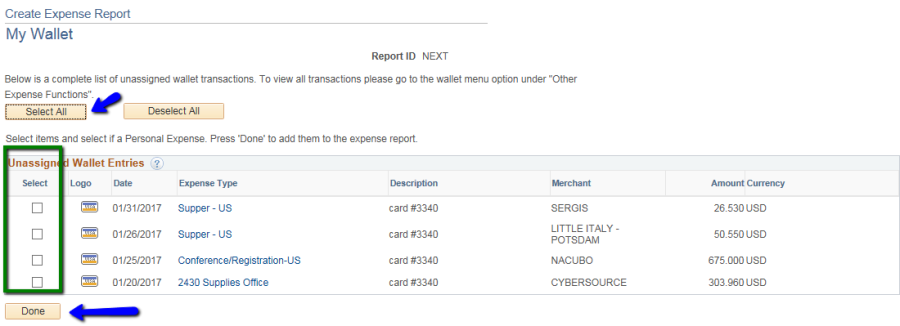
Click Select All and Done adds all of the Unassigned Wallet Entries. Check the boxes to select individually.
Your expense report will look like this.
A Description is required for every line.

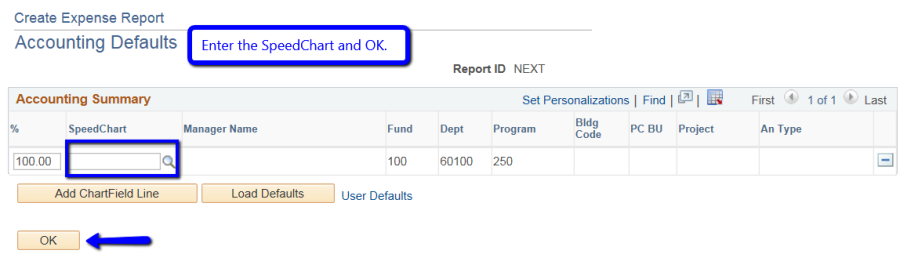
Expand Accounting Details-your default department budget will show. Use Accounting Details to change line by line each transaction to a different budget.


Enter the SpeedChart for the Department or Project budget to charge.
Using Default Accounting For Report in the Actions box will change every line to the same budget.


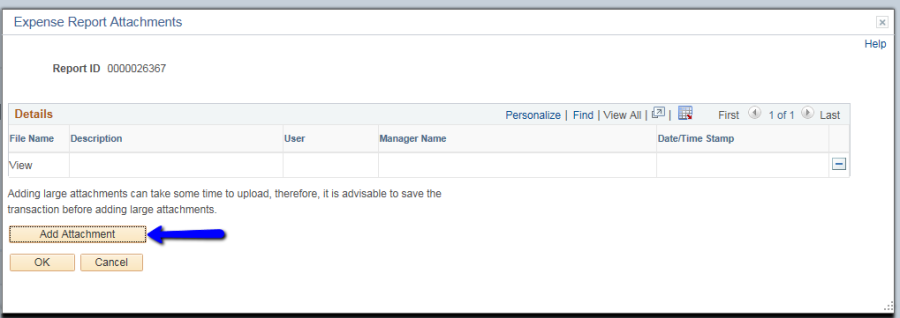
Add Attachments to your expense report.

Click Attachments, then Add Attachments and Browse to the drive or location of your file on your computer.

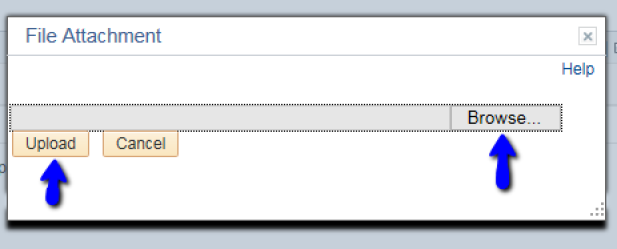
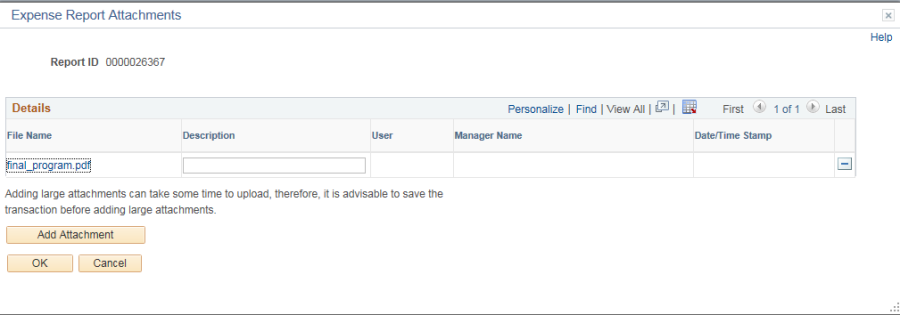
Find your file and Upload.
After completing these steps, Save for Later will save your report and assign a Report number.

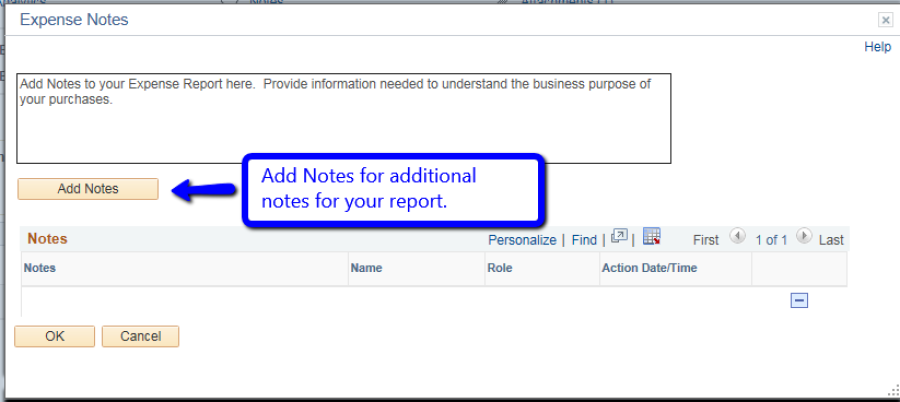
At this point you can add Notes to your report. Notes are similar to the Comments section in 9.1.
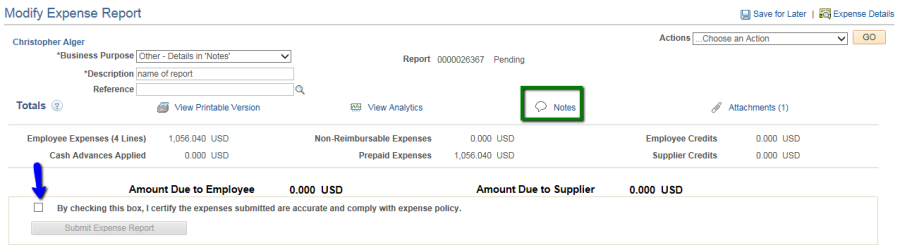

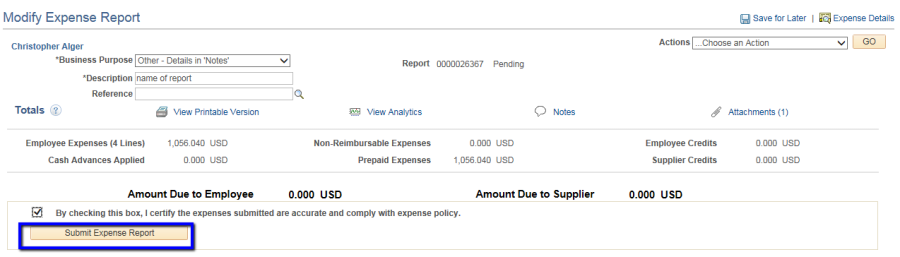
Check the box to certify and the Submit Expense Report will turn on.
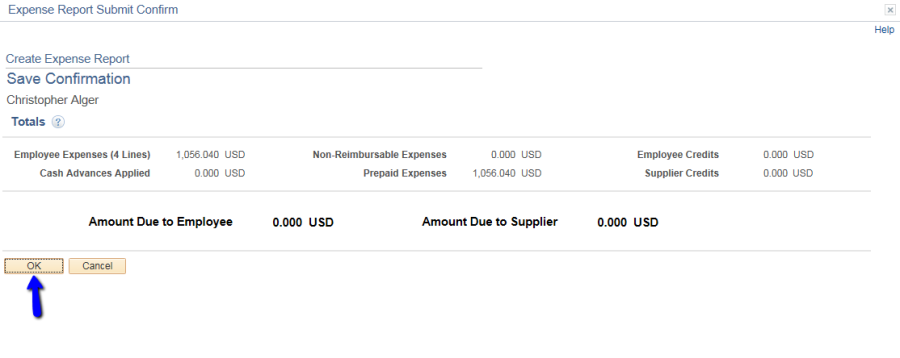
Click OK to confirm.
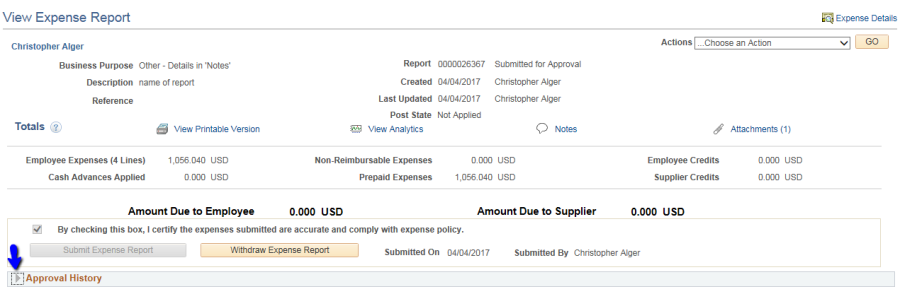

Click to expand Approval History.
