
Attendance Activity
Overview
Summary
Teachers (and students!) can take attendance during class and then students are able to view their own attendance record and teachers can run attendance reports by using the Attendance Activity. The attendance activity can be linked to the Grader Report. Teachers can use the default markings for attendance status: "Present", "Absent", "Late", or "Excused" or customize the markings.
This Guide Will Help You to:
- Add Attendance Activity to your course
- Add Class Sessions
- Take attendance
- Students take their own attendance
- Customize the Labels
Example
Part 1-Steps to add Attendance Activity to your course:
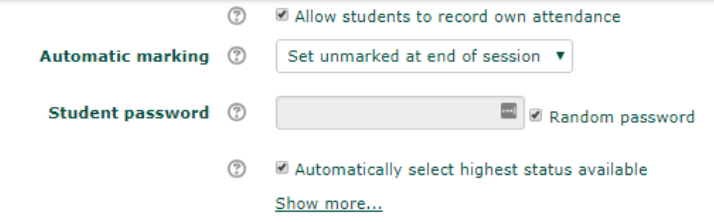
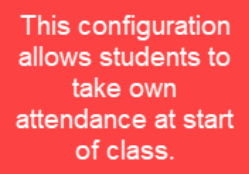
The following work flow allows students to record their own attendance in class using Moodle Attendance activity and an automatically generated password.
Part 1-Steps to add Attendance Activity to your course:
- Turn Editing On
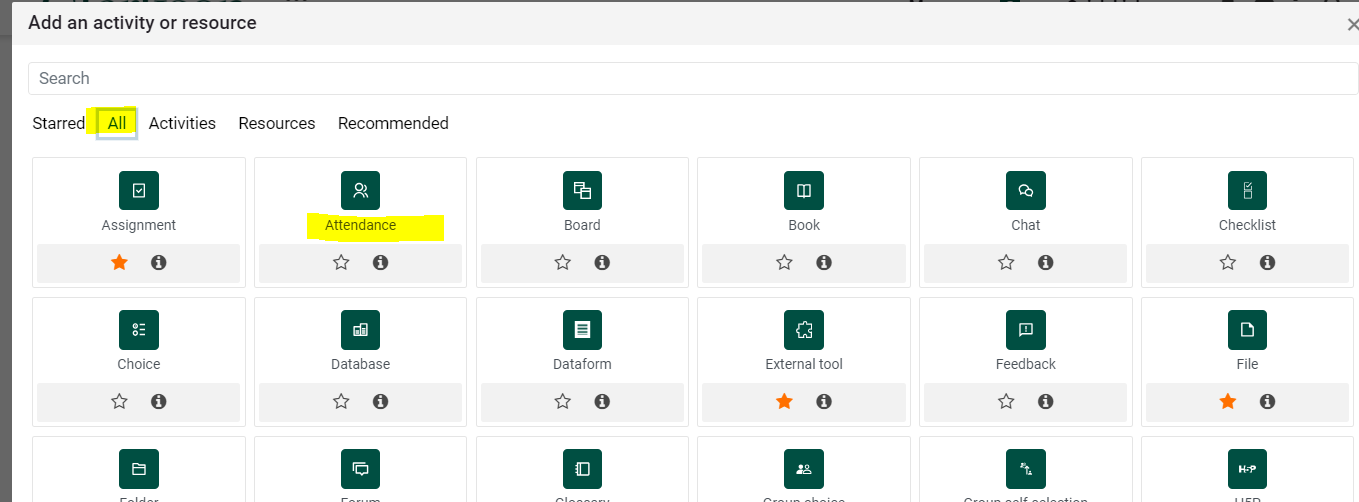
- Scroll to the bottom of a mod to Add Activity/Resource

- Select Attendance

- Fill in the Settings as desired
- Save and Return to Course

Part 2-Add Sessions:
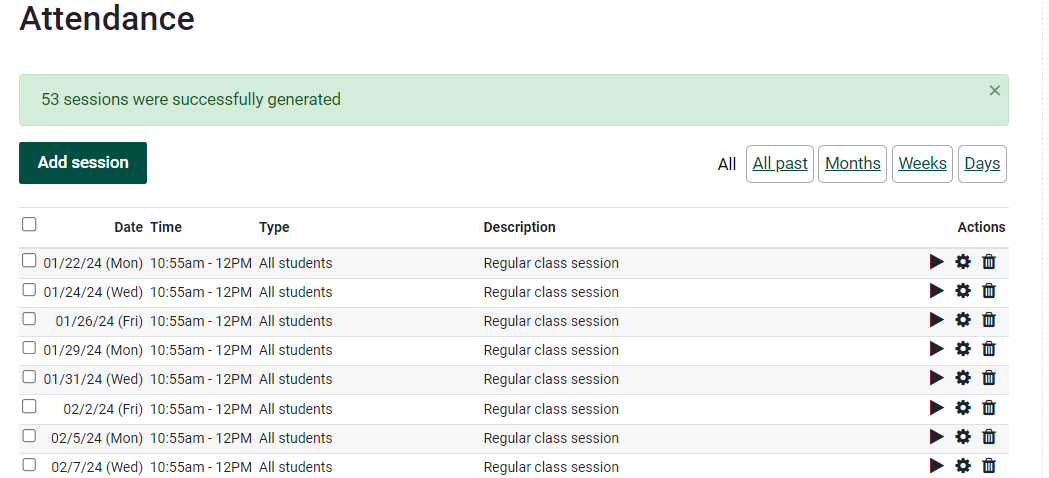
Click on the Attendance link to set up the sessions. Create 1 or multiple sessions where you will take attendance or check the box to allow students to log their own. Note this option allows you to check the URL.
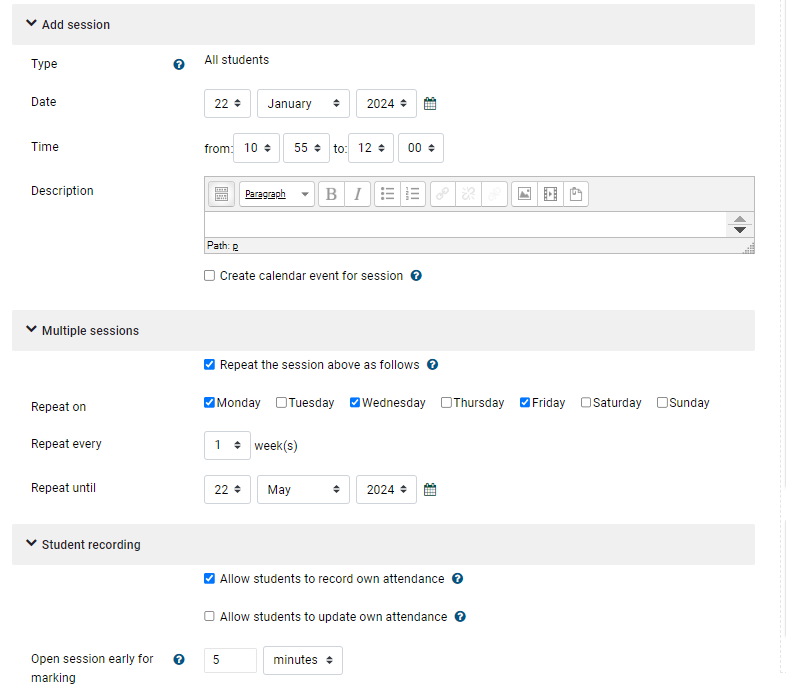
Individual sessions can be edited at any time:
Part 3-Take attendance
At start of class, log in to Moodle, click to course, click on Attendance activity, click day's session, and click key icon to generate password (if this option was selected. Write password on the board for students to enter.
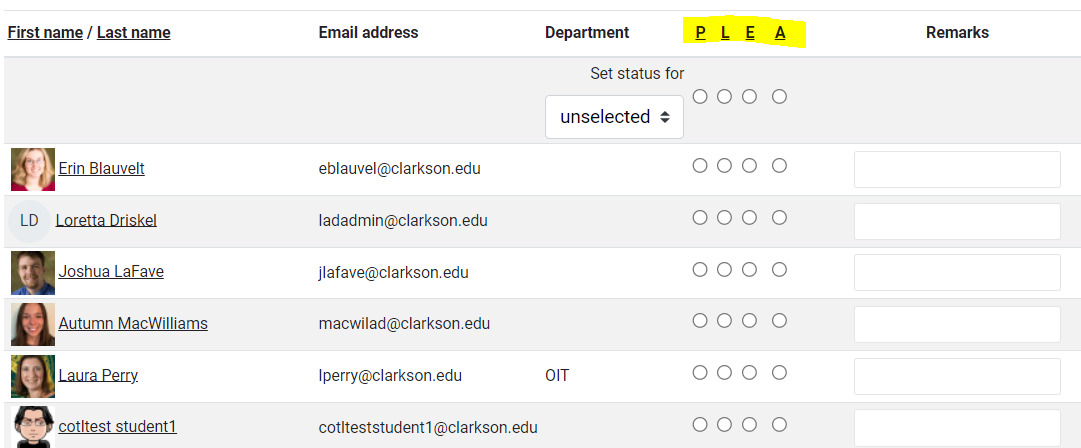
Note: The default PLEA are customizable to your labels.*
Student Taking Own Attendance
Student logs into Moodle, clicks to course, click on Attendance activity, and enters password. In this example, student will need to enter password within first 10 minutes of class start time.
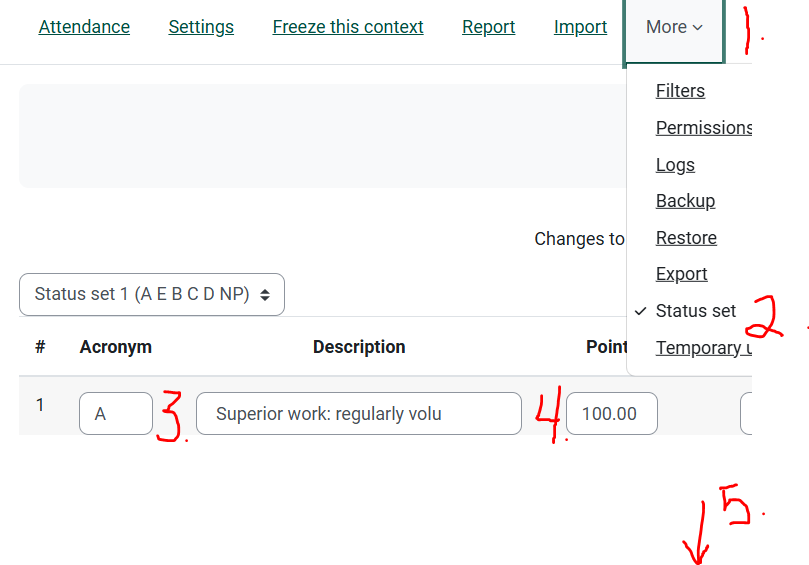
*Customize the Labels
You may prefer to change the descriptions (for example, by changing "Late" to "Tardy"), change the way points are counted, or add totally new status descriptions. In this example the PLEA was changed to AEBCDNP, along with new descriptions and points.
Steps
-
- While in the Attendance tool, click on the More drop down menu.
- Choose Status set from the menu.
- Enter the new acronym, description as desired and/or
- enter point value as desired.
- Scroll down to click Update. You may want to enter all or a part of the changes before clicking update but if you click Add prior to Update, you will lose any changes.**
**Important: when you hit the Add button, any changes made to existing options that were made after the last time the Update button was used will be lost. Likewise, when you hit the Update button, any changes made to the Add after the last time the Add button was used will be lost.
 Another way

Web Tools Wednesday Webinar (31 minutes) Follow along as Prof Andriano walks through set up, as well as using the process in class to take attendance. Please note that the screens will look different in this video, however the process is nearly the same in Moodle 4.