Webspace Server
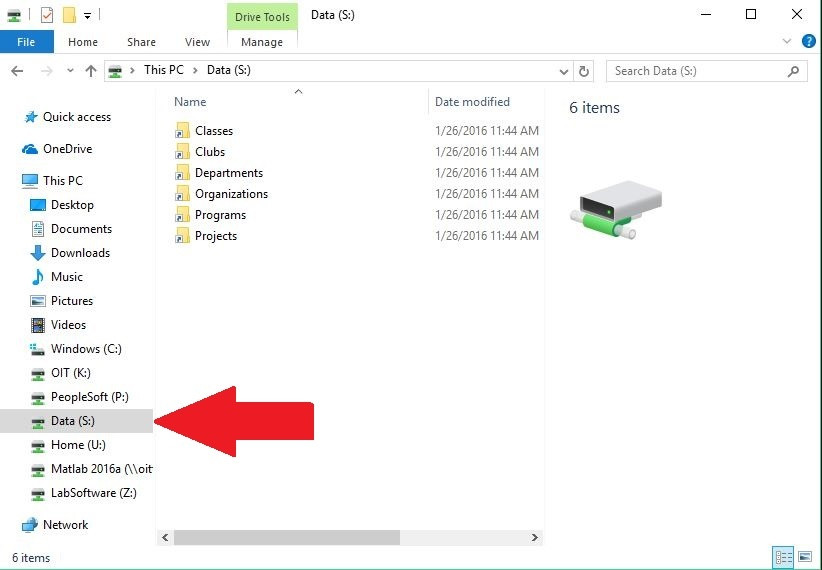
OIT provides a LAMP web server for all campus community members. Files are served from Active Directory shares like U: and S: which can be found mounted to most campus computers. All faculty, staff, and student are eligible to use this service.
As part of this service, users are allowed to create one MySQL database, granted on the condition that the tasks performed will not overload the server or degrade usability for other users.
Support: Help Desk – To open an IT support request, please contact the Helpdesk at helpdesk@clarkson.edu or 315-267-4357
Quick Access Guide
To access your personal site, visit https://webspace.clarkson.edu/~USERNAME/
To modify/create your personal site, navigate to your U: drive and create a folder called public_html. This is where your website will be served from, along with anything inside.
If you want to host a Wordpress instance, please consider using https://sites.clarkson.edu instead. It is a dedicated Wordpress hosting instance.
How to modify your Webspace
1. On-campus from a Clarkson Device (Windows)
- In File Explorer, navigate to "My PC"
- In your U: Drive, create a folder called
public_html - In the
public_htmlfolder, create your website
2. Off-Campus or Personal Computer
Windows:
-
You will need to be on Clarkson's Network (WiFi or Wired) or Clarkson's VPN (https://getvpn.clarkson.edu/)
- Open File Explorer and in the title bar, type
\\ad.clarkson.edu\\shares\\- Your home folder (Mounted on campus computer as U:) will be under either Student Home Directory or Employee Home Directory, depending on if you are a Student or Employee
- You can find your
public_htmlfolder under your Home Directory
Linux or Mac:
- Mount
\\ad.clarkson.edu\\sharesusing cifs (requirescifs_utils) and follow the same folder structure described above- Mac may call it
smbfsinstead of cifs
- Mac may call it
- For any specifics, you may need to search how to do this for your specific OS

