Clarkson VPN Connection Instructions
To access some Clarkson IT resources while not on the Clarkson wired or Eduroam wireless networks, you will need to install and connect to the Clarkson VPN. If you think you need VPN access and have not previously requested it from the HelpDesk, please call (315)268-4357 or email the Helpdesk at helpdesk@clarkson.edu for assistance.
Before connecting, you must install the Clarkson VPN client. Read here for steps to install Clarkson VPN Client.
First time logging into your laptop? You must connect to VPN before logging in.
Connecting on Windows 10 or 11: Before Login
First time logging into your laptop? You must connect to VPN before logging in.
Connect Before Login
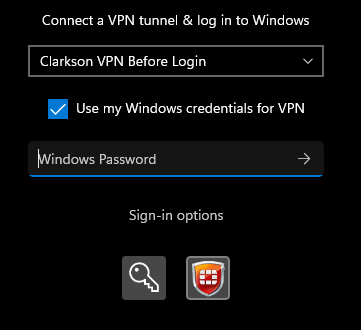
- Press CTRL-ALT-DEL to bring up the Windows login screen
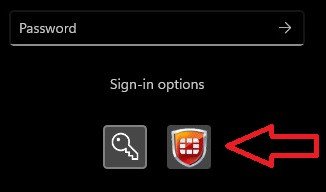
- Below the password box, select "Sign-in options"
- Click the FortiClient icon
- Enter your username and password as usual
- Respond to the Duo prompt on your device
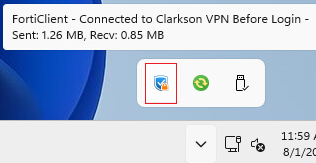
- When your Windows login has completed, you will also be connected to the Clarkson VPN. You can confirm by hovering over the FortiClient icon in the taskbar
Connecting on Windows 10 or 11: After Login
If you have recently changed networks (wired to WiFi, work to home, etc.) or your laptop has recently been opened or started from hibernation, you may experience a delay in connecting to the VPN. If this occurs, please wait two minutes with the laptop on and connected to a network and retry the process below.
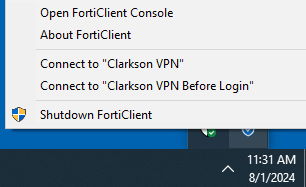
- Click the FortiClient icon in your taskbar

- Select Connect to "Clarkson VPN"
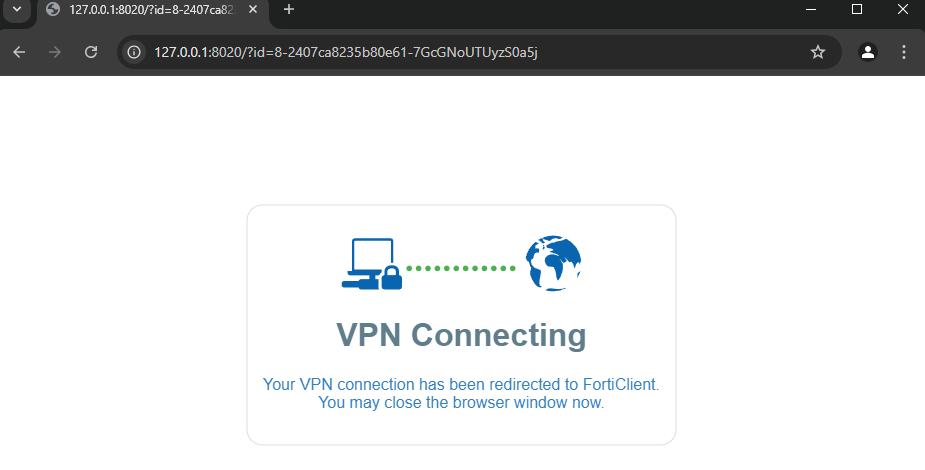
- Your default browser will open or open a new tab. If you do not already have a CAS login session, you will be prompted to login
- Once your login is complete, the FortiClient will complete your connection, then minimize itself. You can confirm you are connected by hovering over the FortiClient icon in the taskbar

- You can close the browser tab that FortiClient opened
Connecting on MacOS
If you haven't already, please make sure you've installed the MacOS VPN client.
- Open "FortiClient.app" from your MacOS applications folder.
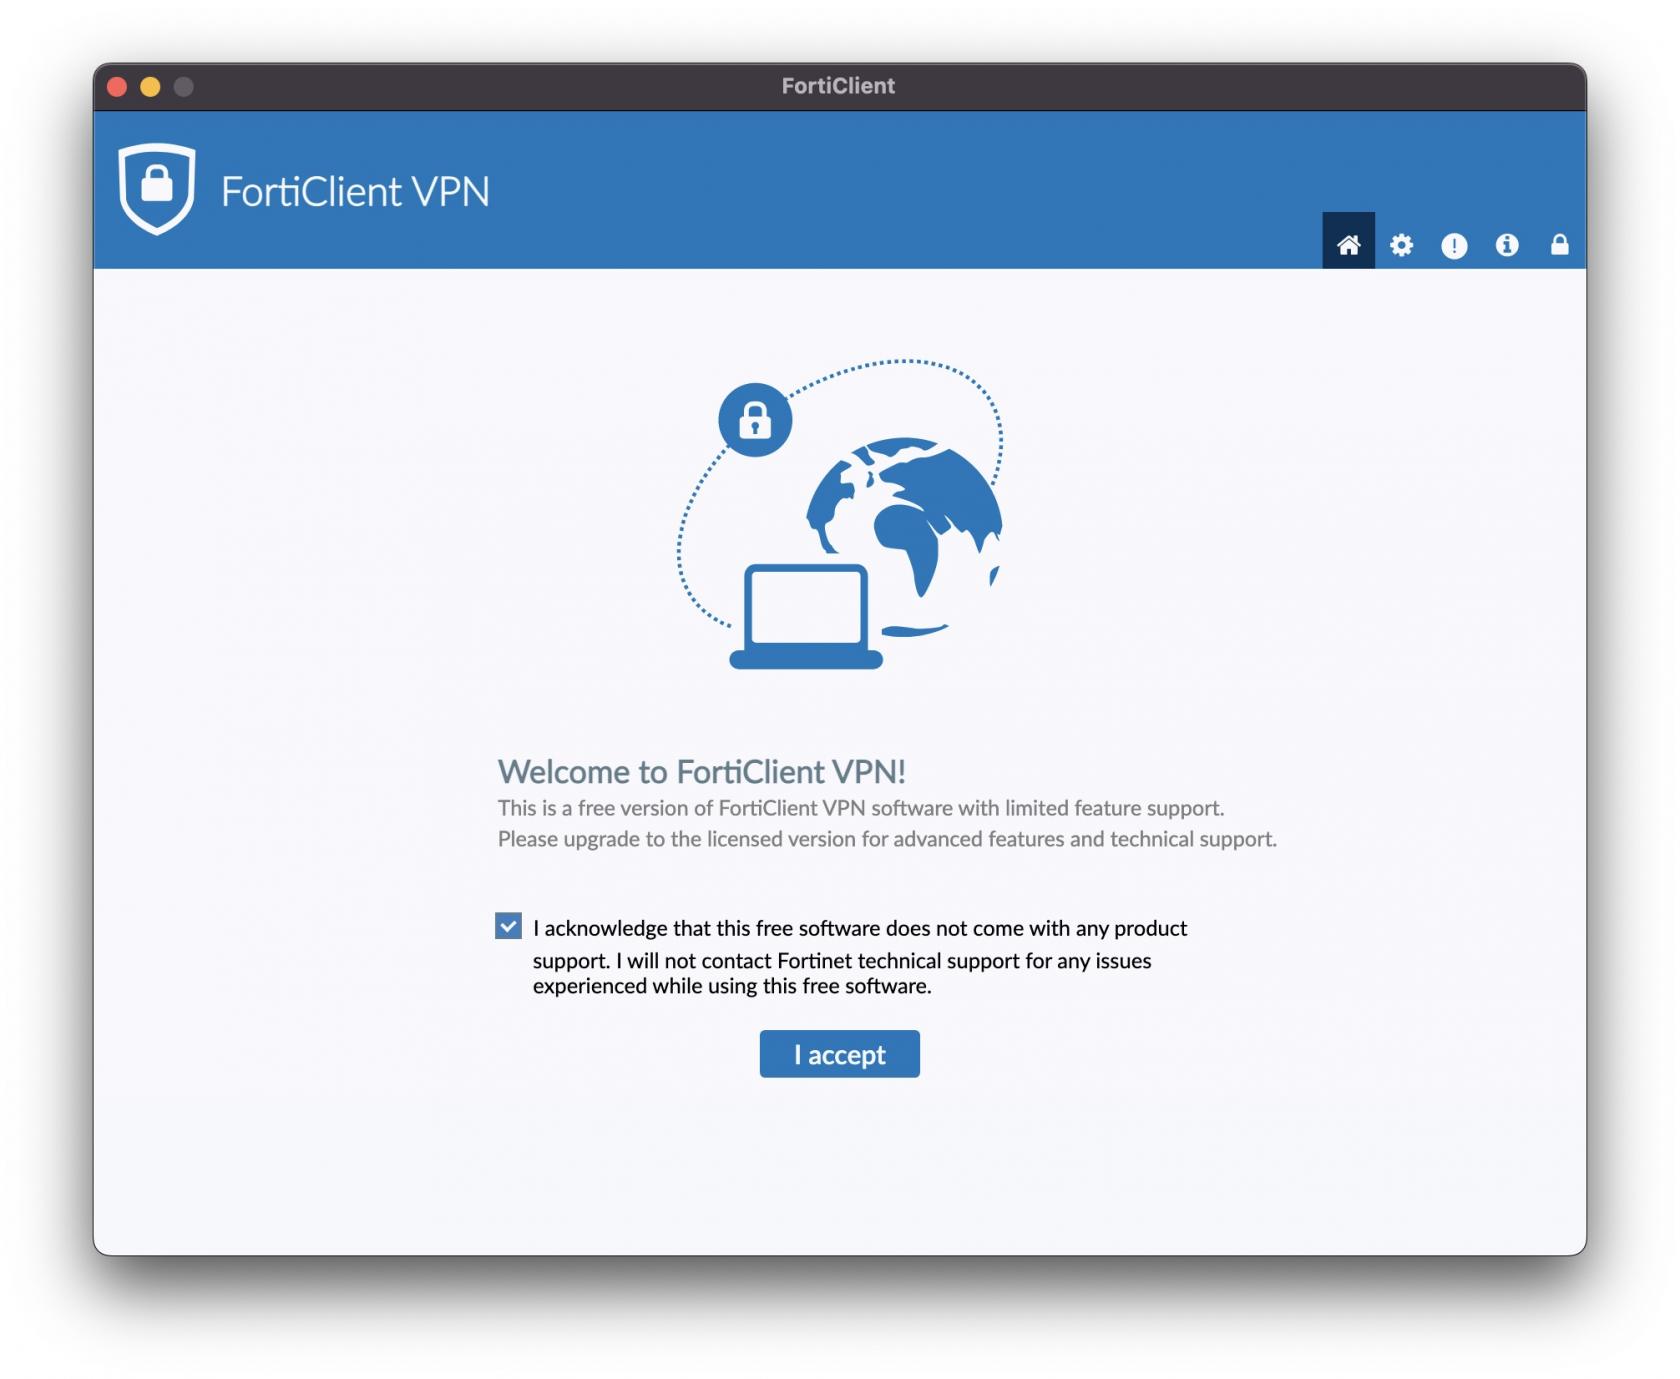
- Accept the product notice.
- Press the "Connect VPN" text.
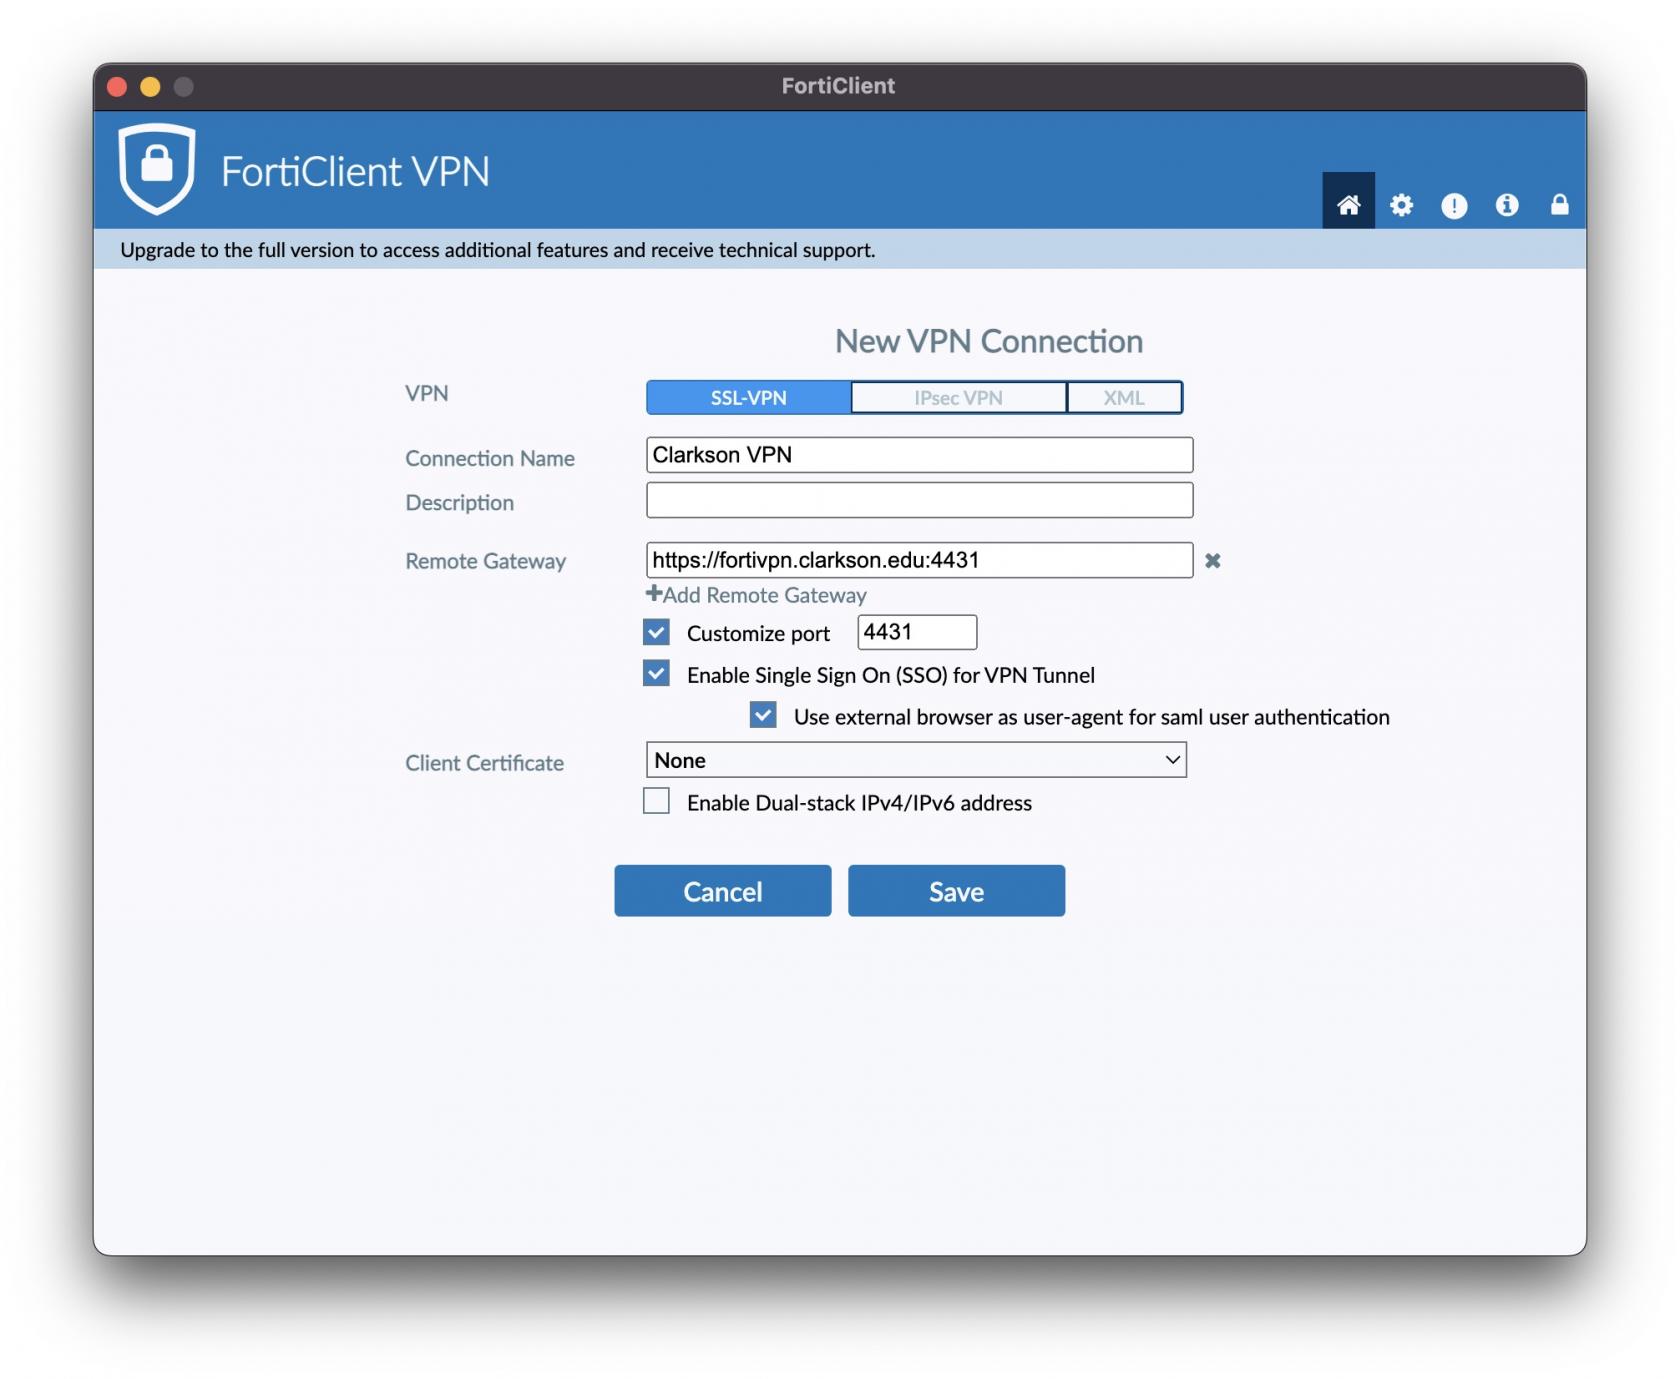
- Enter the following information in order to successfully connect your MacOS device to Clarkson's network:
- Connection Name:
Clarkson VPN - Remote Gateway:
https://fortivpn.clarkson.edu:4431- Select the "Customize port" box and replace
443with4431
- Select the "Customize port" box and replace
- Select "Enable Single Sign On (SSO) for VPN
TunnelTunnel" - Select "Use external browser as user-agent for saml user authentication"
- Connection Name:
Press "Save". It should look like this upon completion.
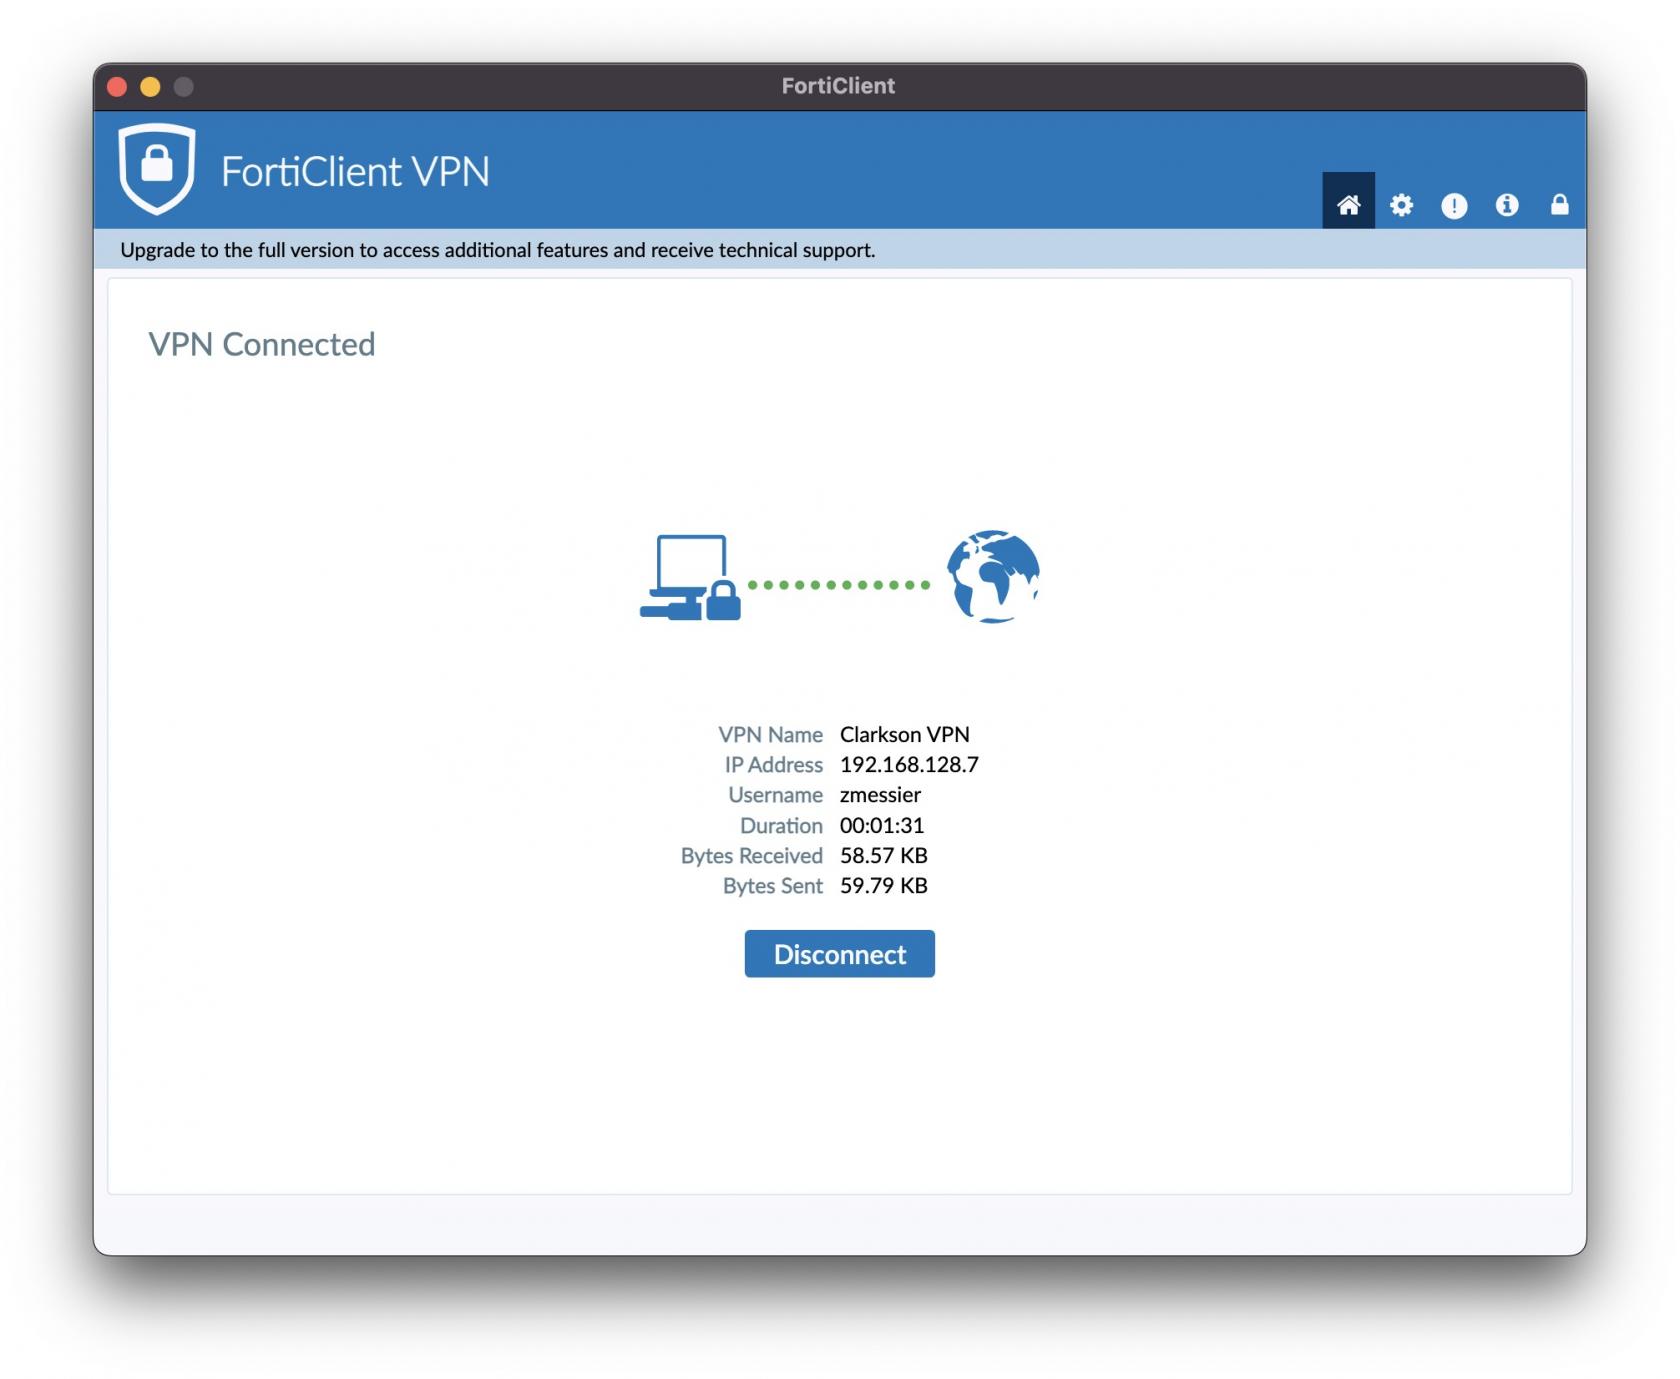
Press connect! This should open your default browser where you'd normally login to your Clarkson account (https://cas.clarkson.edu). If you're prompted to login, please do so. Once logged in, you can return to your FortiClient application and see that it will be connected. Here is an example of a successfully connected VPN client.
Having issues? Please contact helpdesk@clarkson.edu with any questions and/or concerns.
Connecting on iOS Devices
- Launch the FortiClient app and tap the "VPN" tab at the bottom
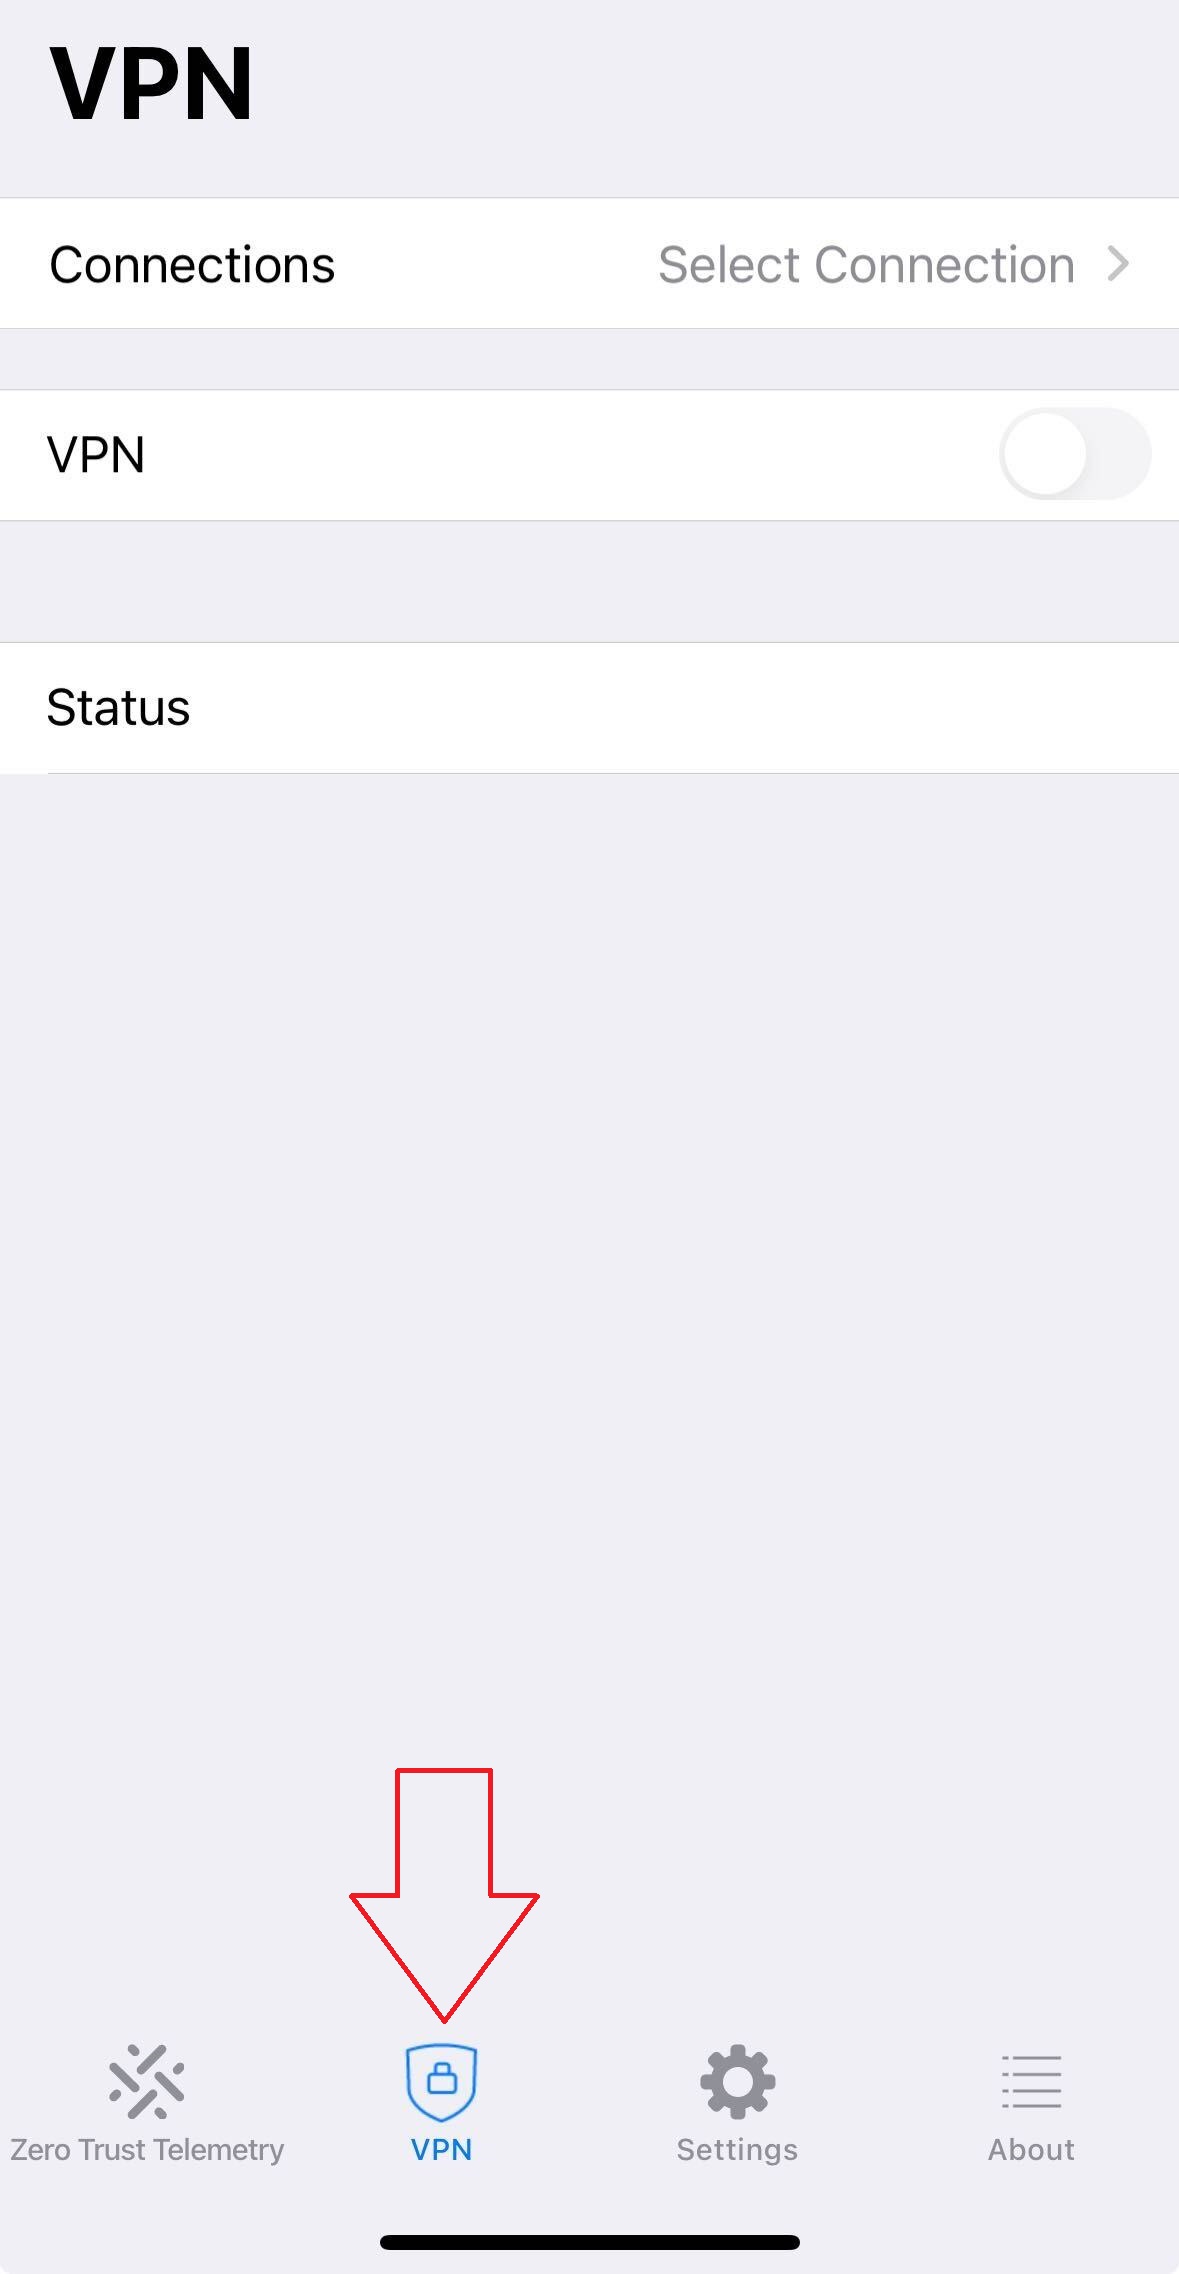
- Confirm your "Connections" indicates "Clarkson VPN". If it does not, please see https://bookstack.clarkson.edu/books/general-knowledge-base/page/clarkson-vpn-installation-instructions before proceeding
- Tap the switch on "VPN"
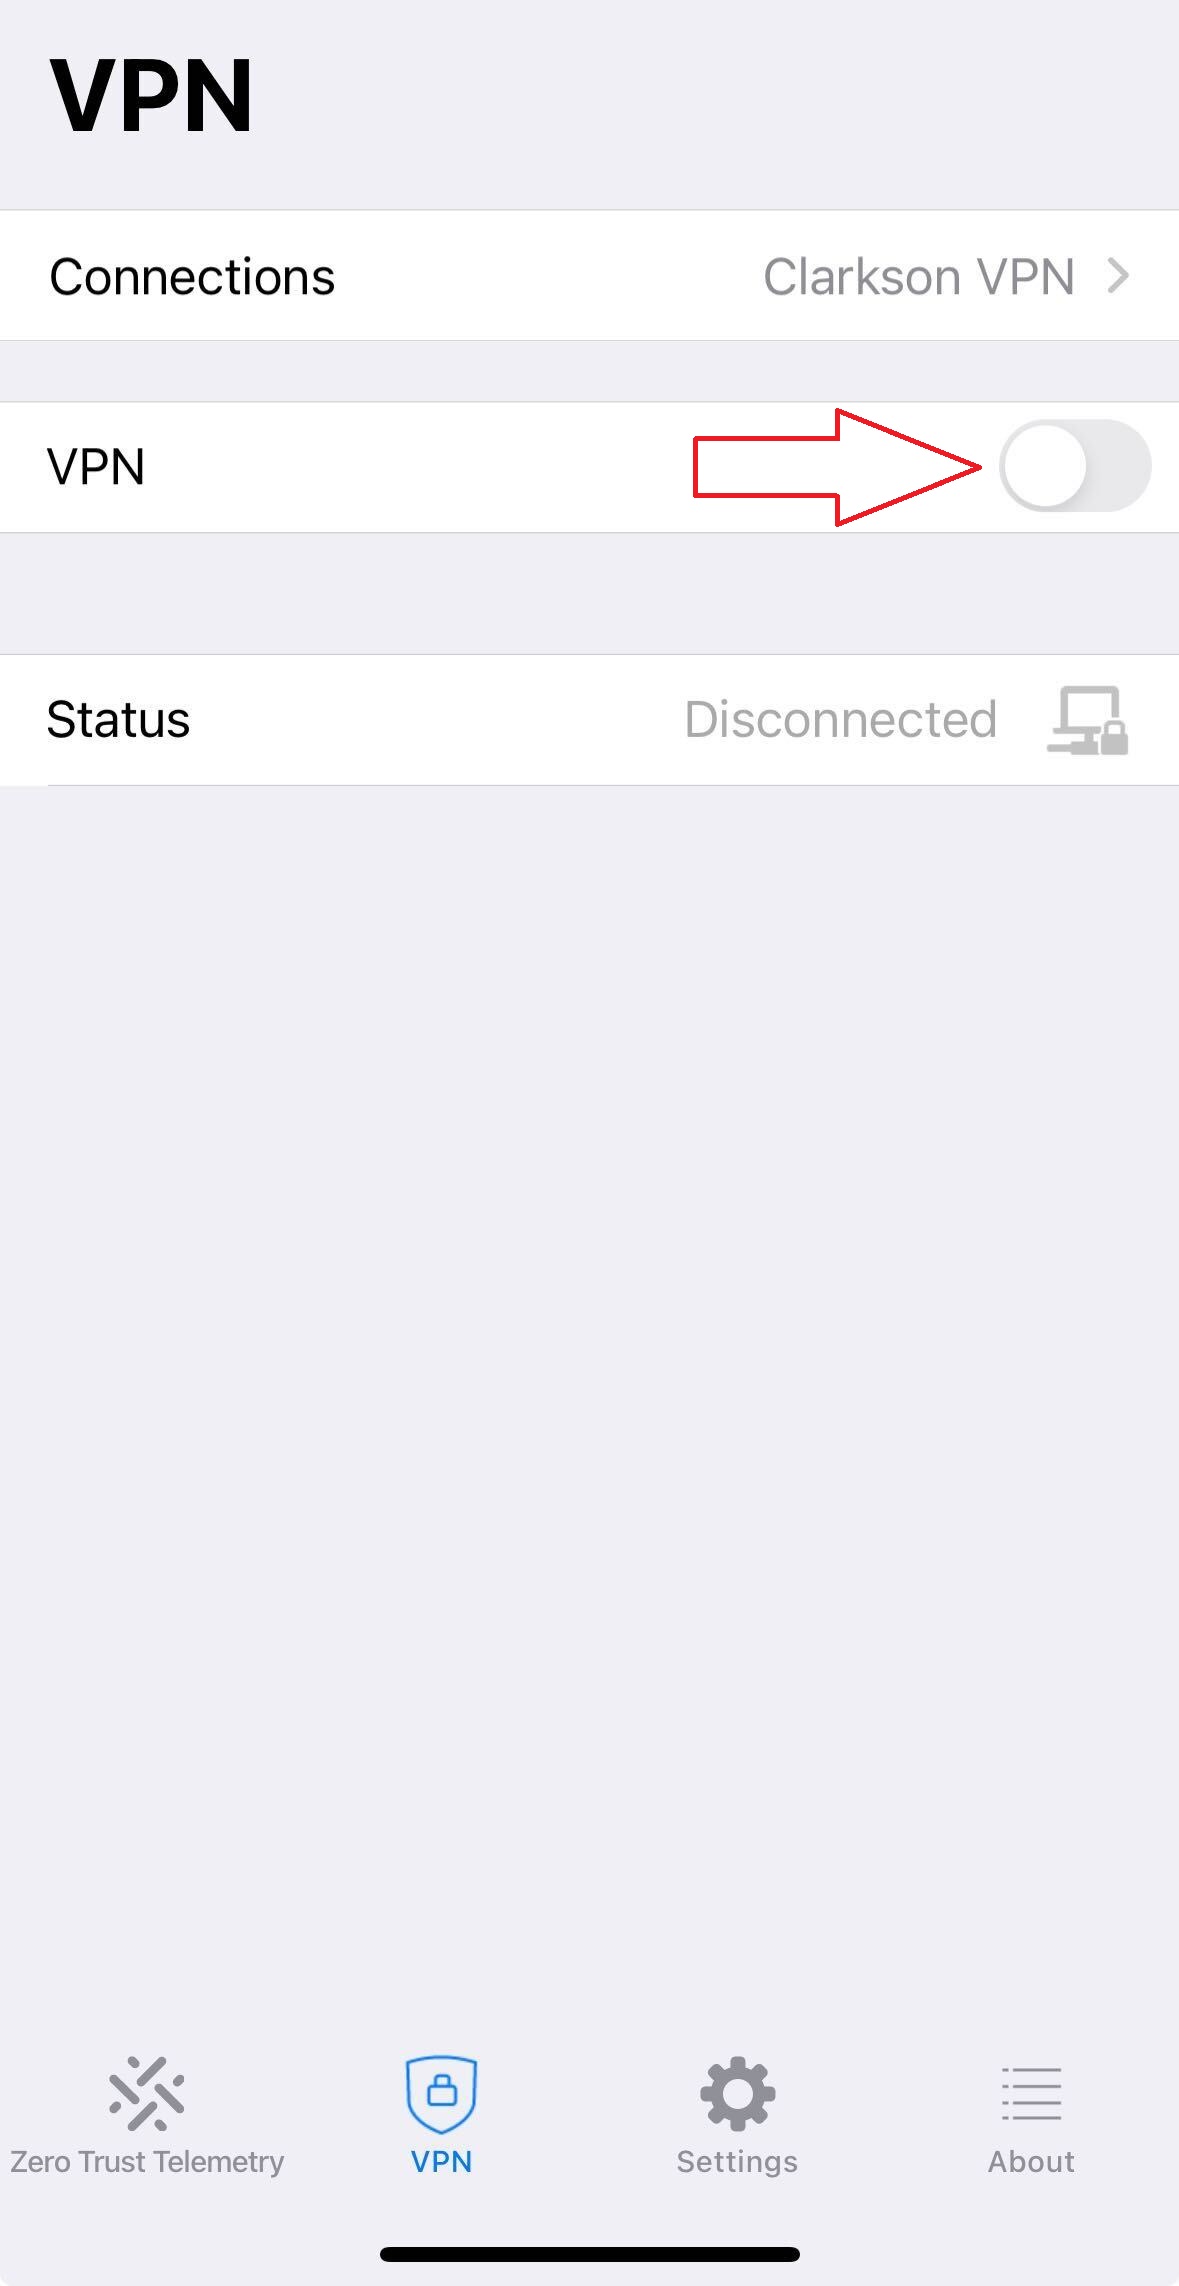
- You will be switched to a browser to login with your usual Clarkson login
- After completing the login process, you will be returned to the FortiClient app and should see you are connected
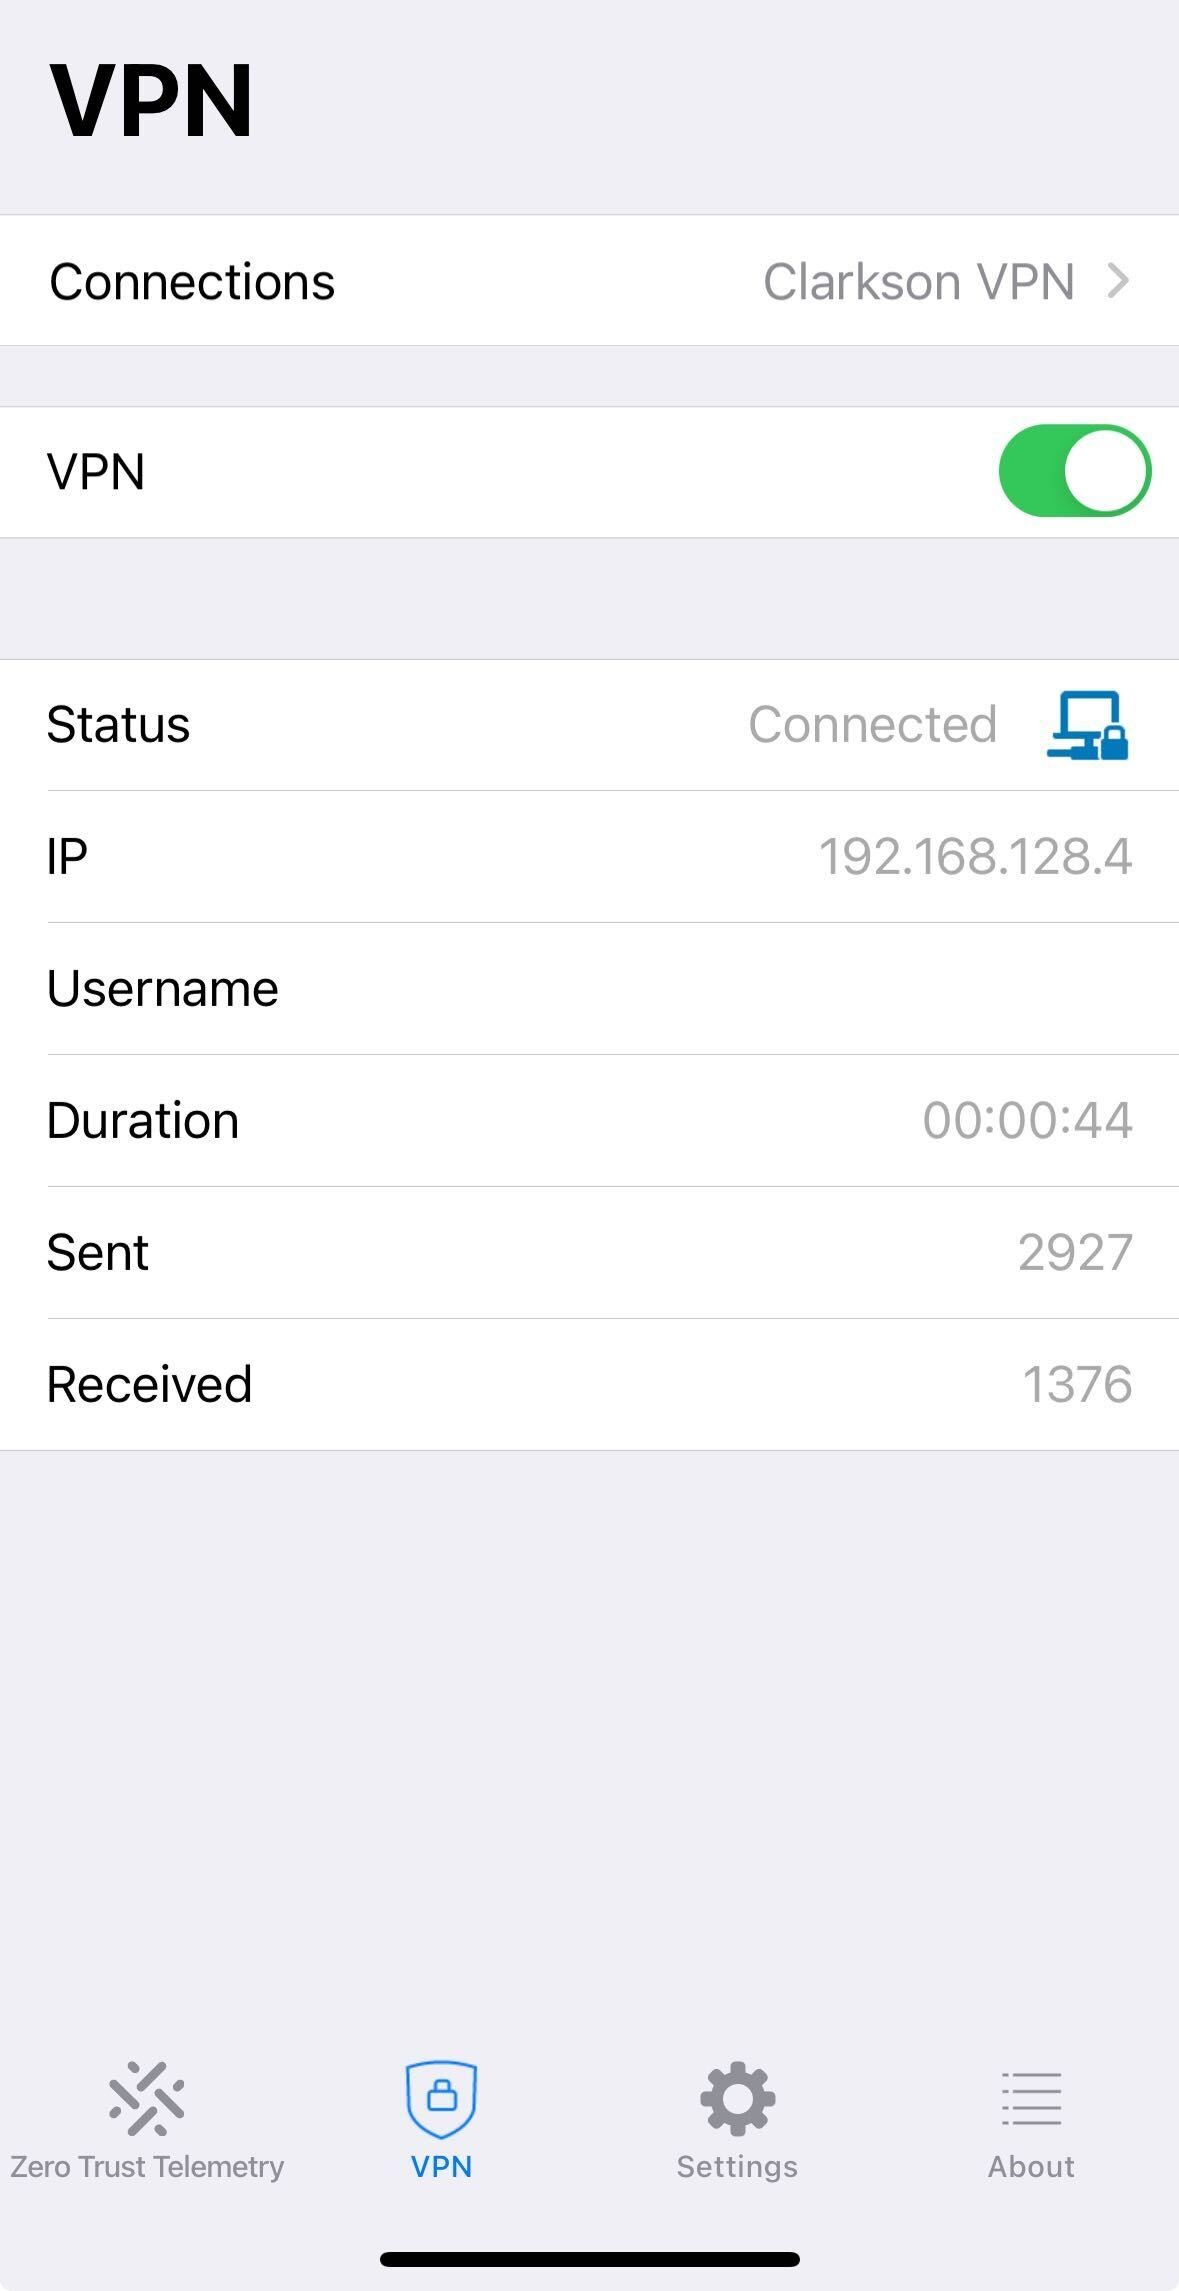
- To disconnect, tap the VPN switch again to turn off.

