
CAMP 163 Quick Guide
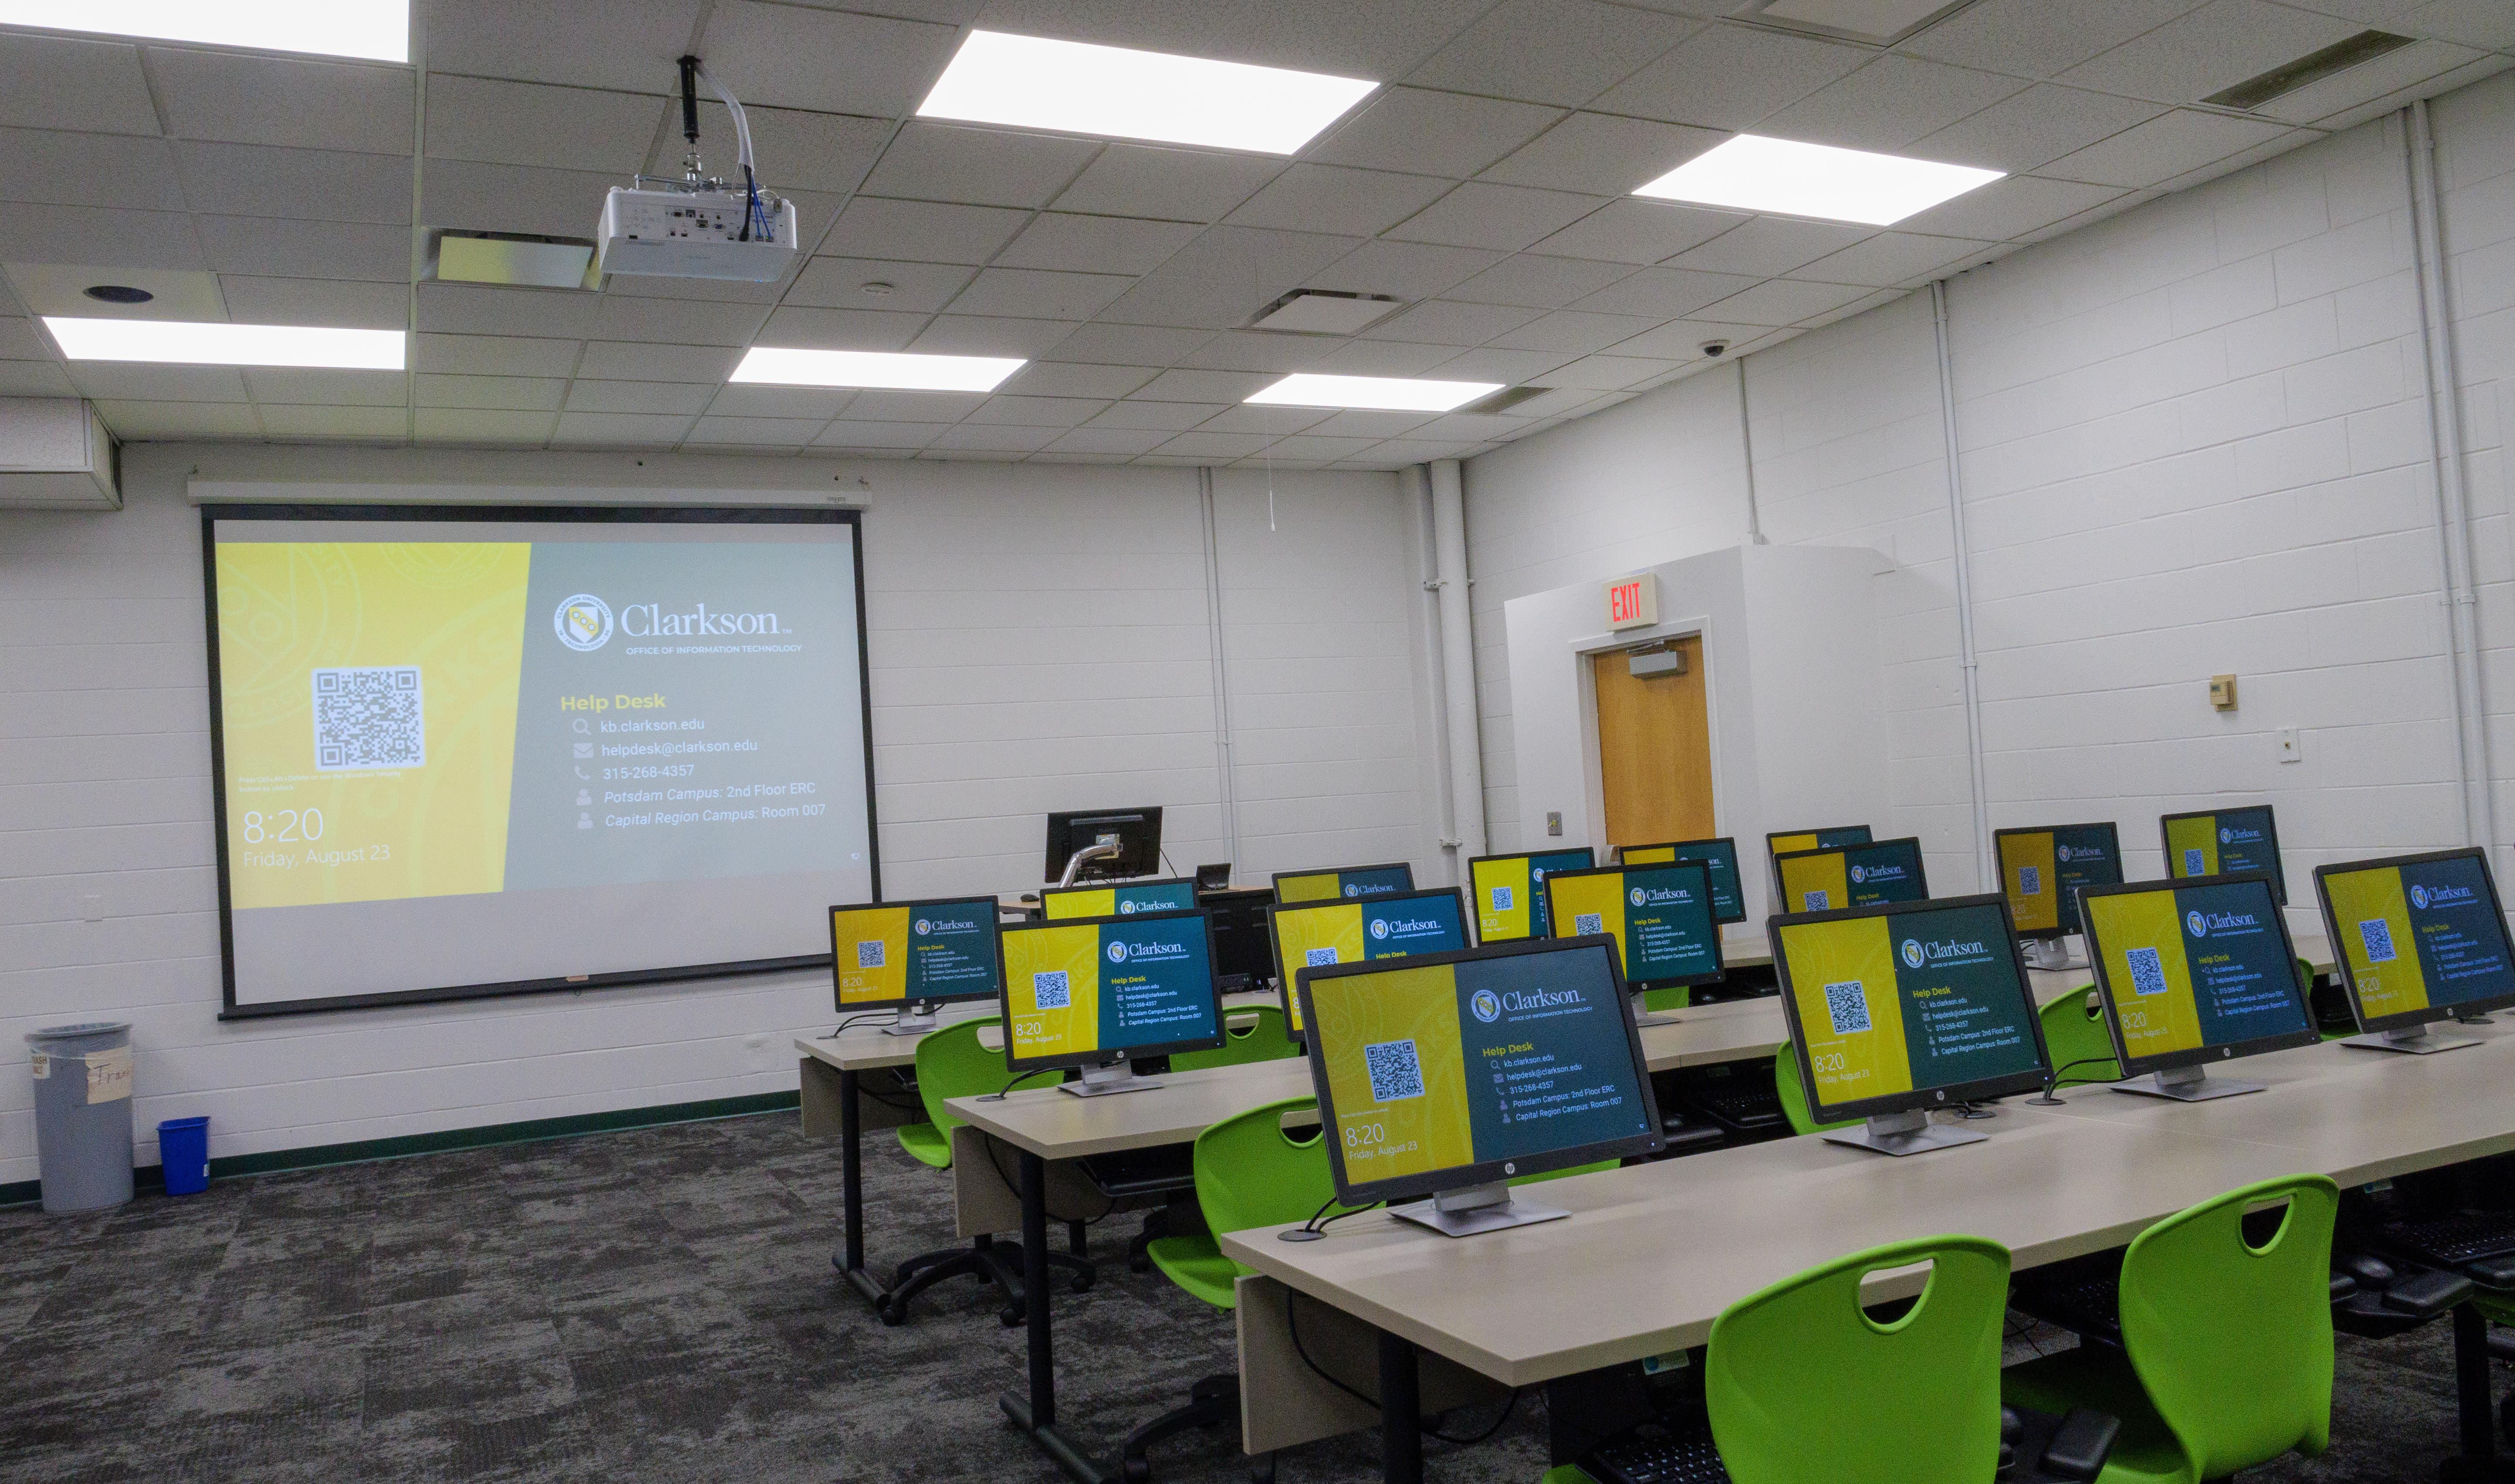
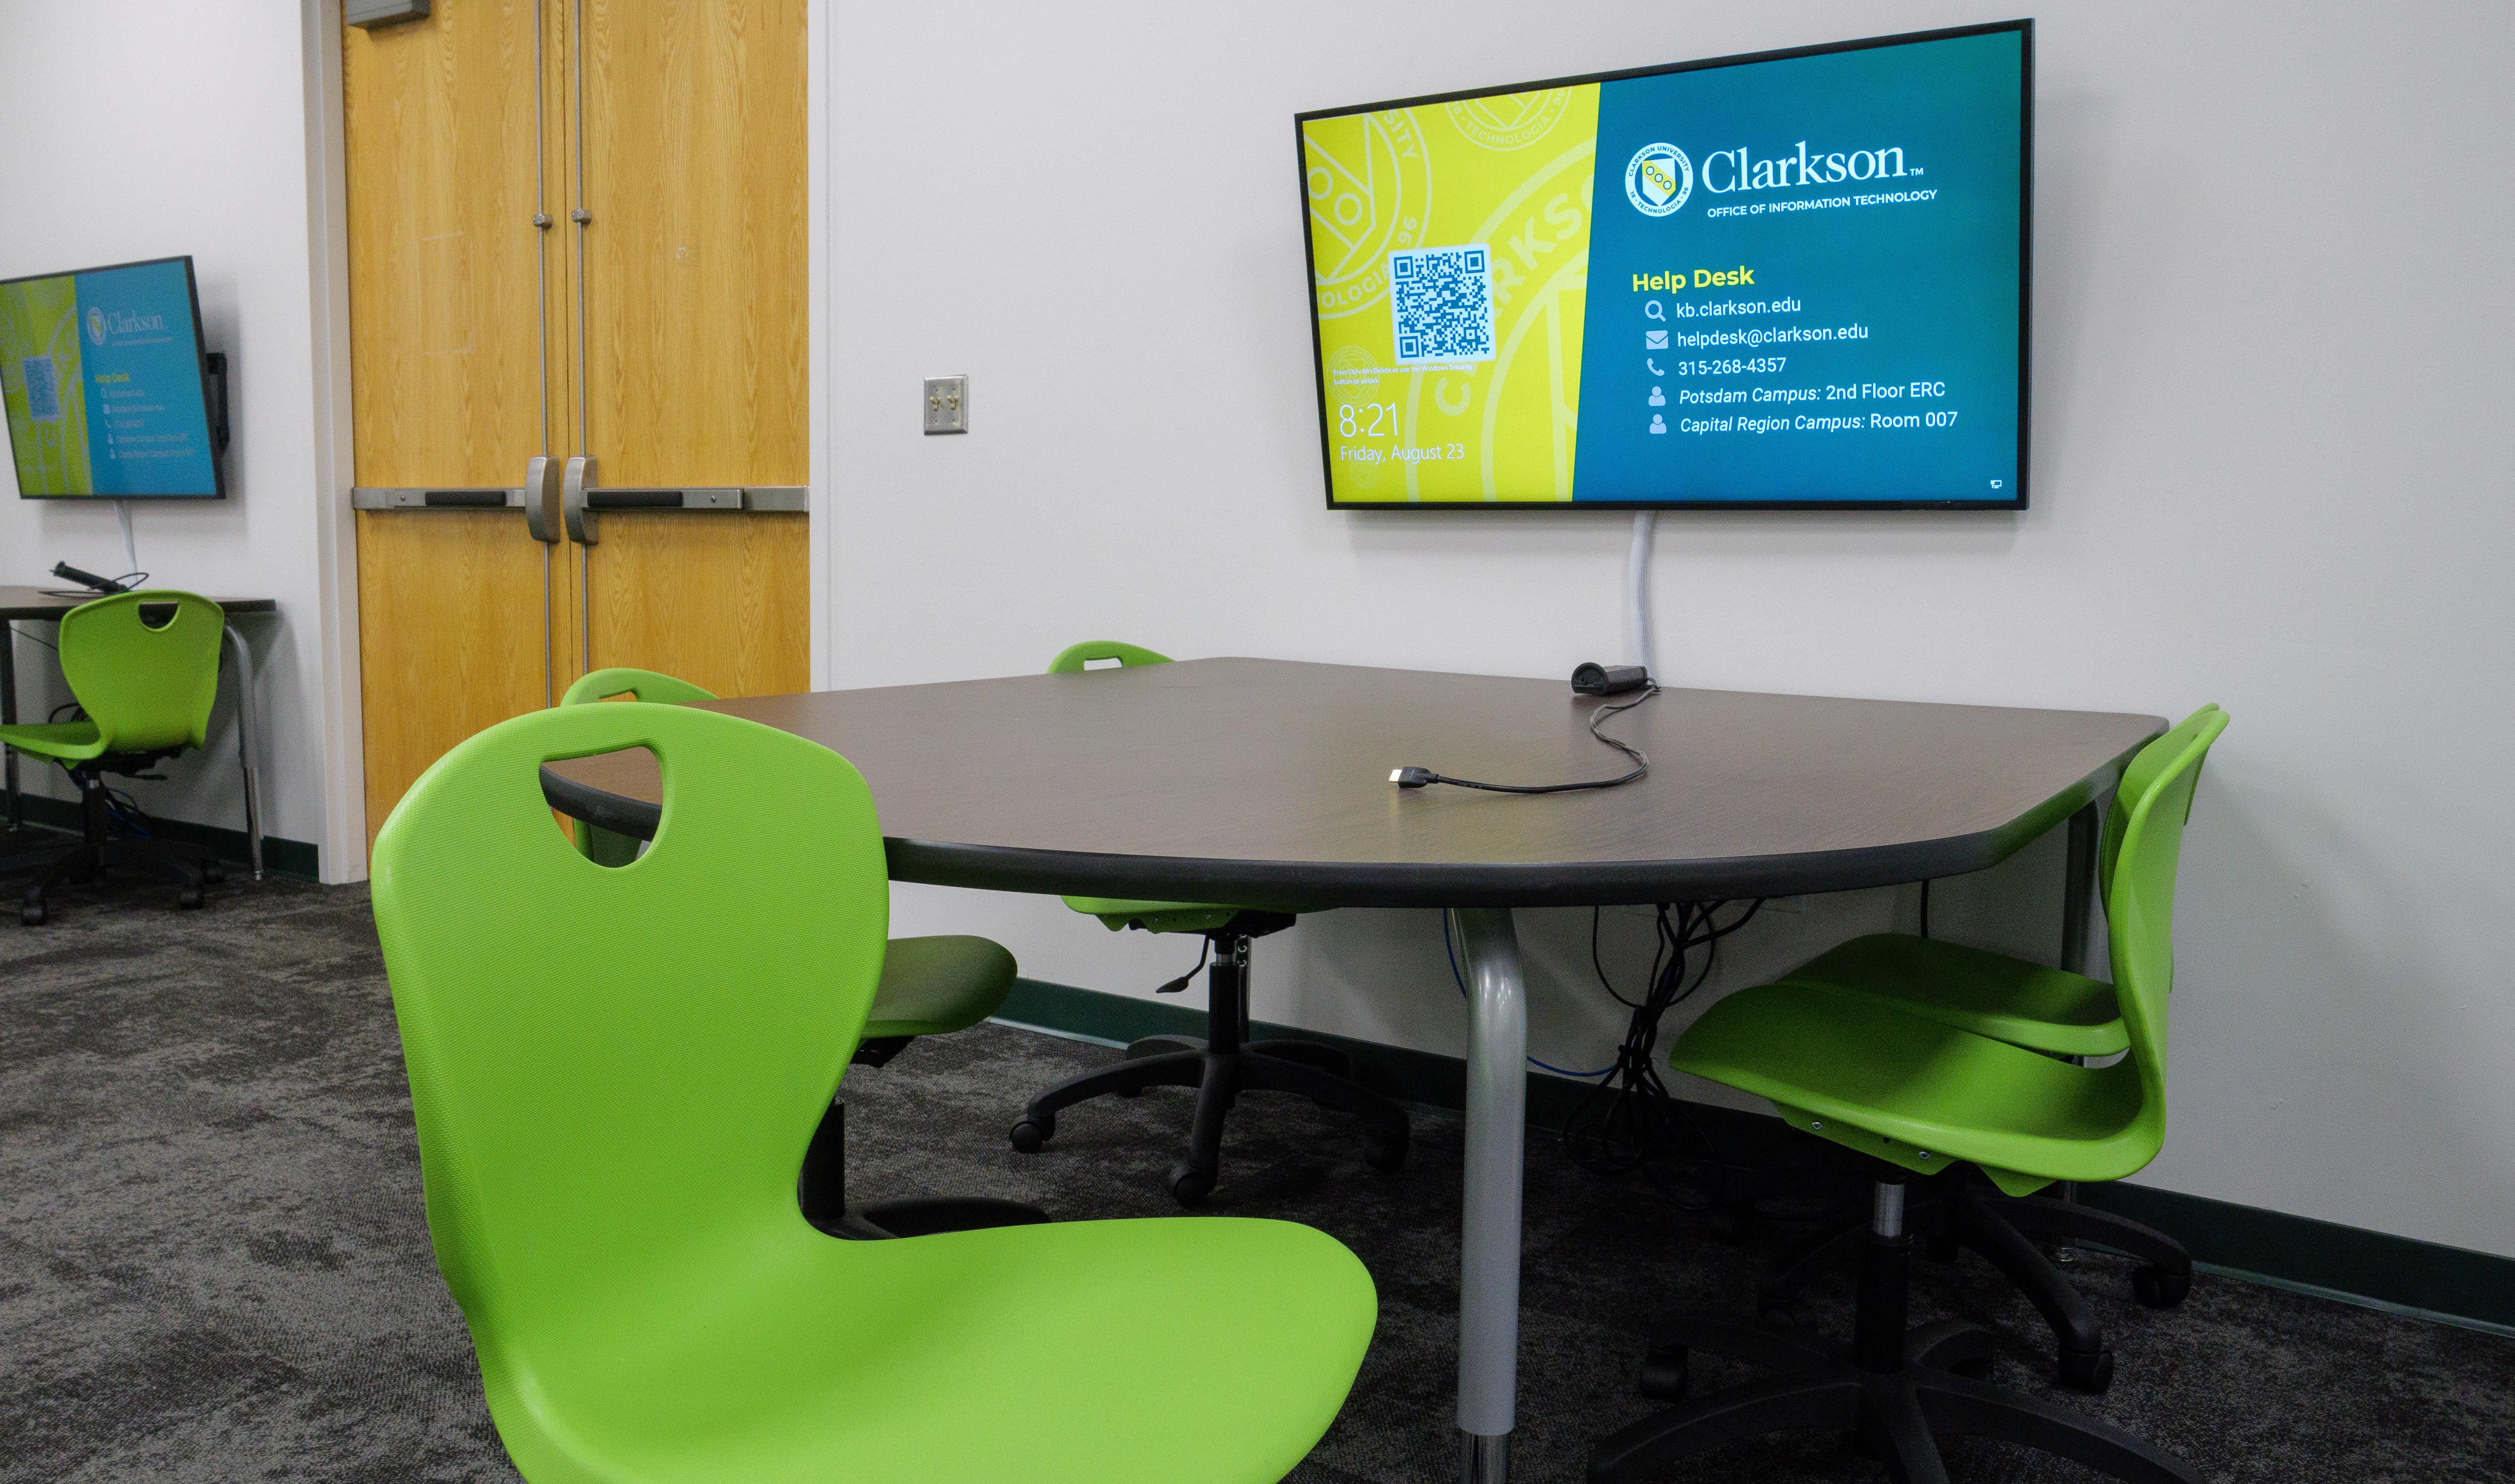
CAMP 163 is the first of it's kind at Clarkson. It allows users to bring in their own device and use any USB device in the room. Including the microphones, cameras, mouse/keyboard, and the touch screen display on the lift desk. This room also features 5 collaborative spaces in the back of the room, each equipped with a TV display, HDMI cable, built in power, and network ports.
Using the Space:
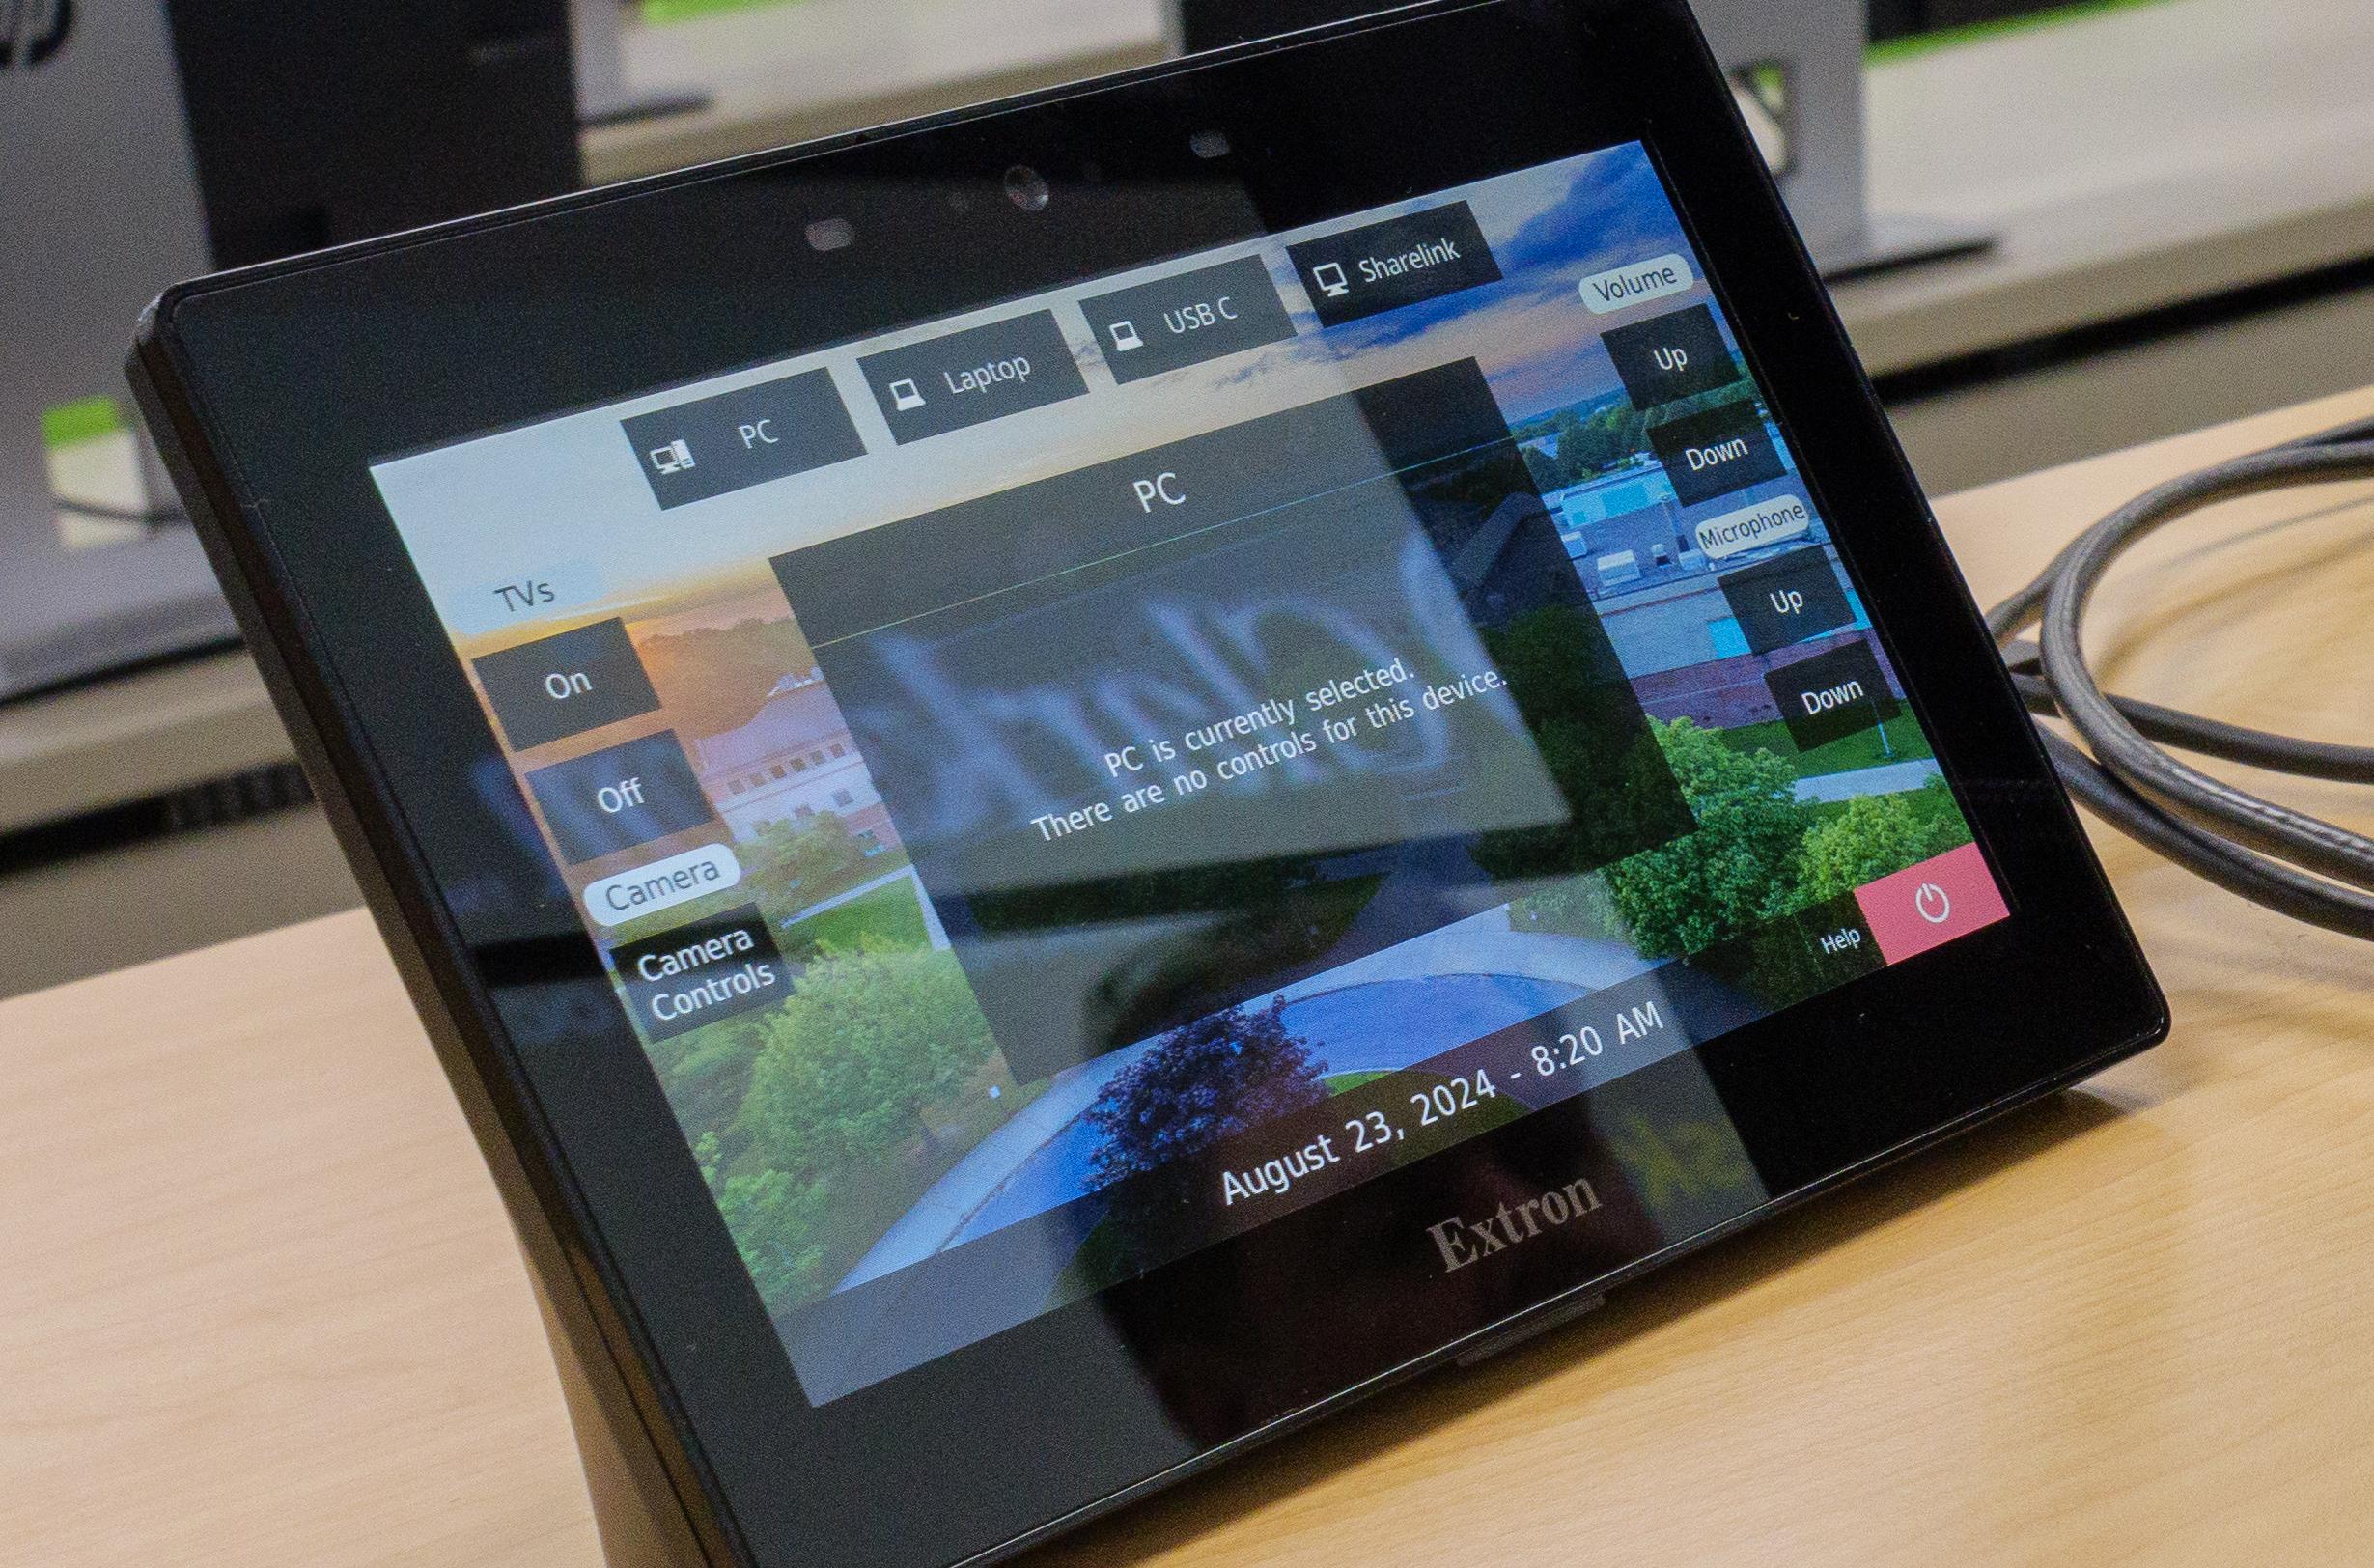
1.) To turn on the system, press the Begin button located on the touch panel on the lift desk (depicted below)
PLEASE NOTE: This will turn on projector and default the room setup to use the Classroom PC (located inside the desk)
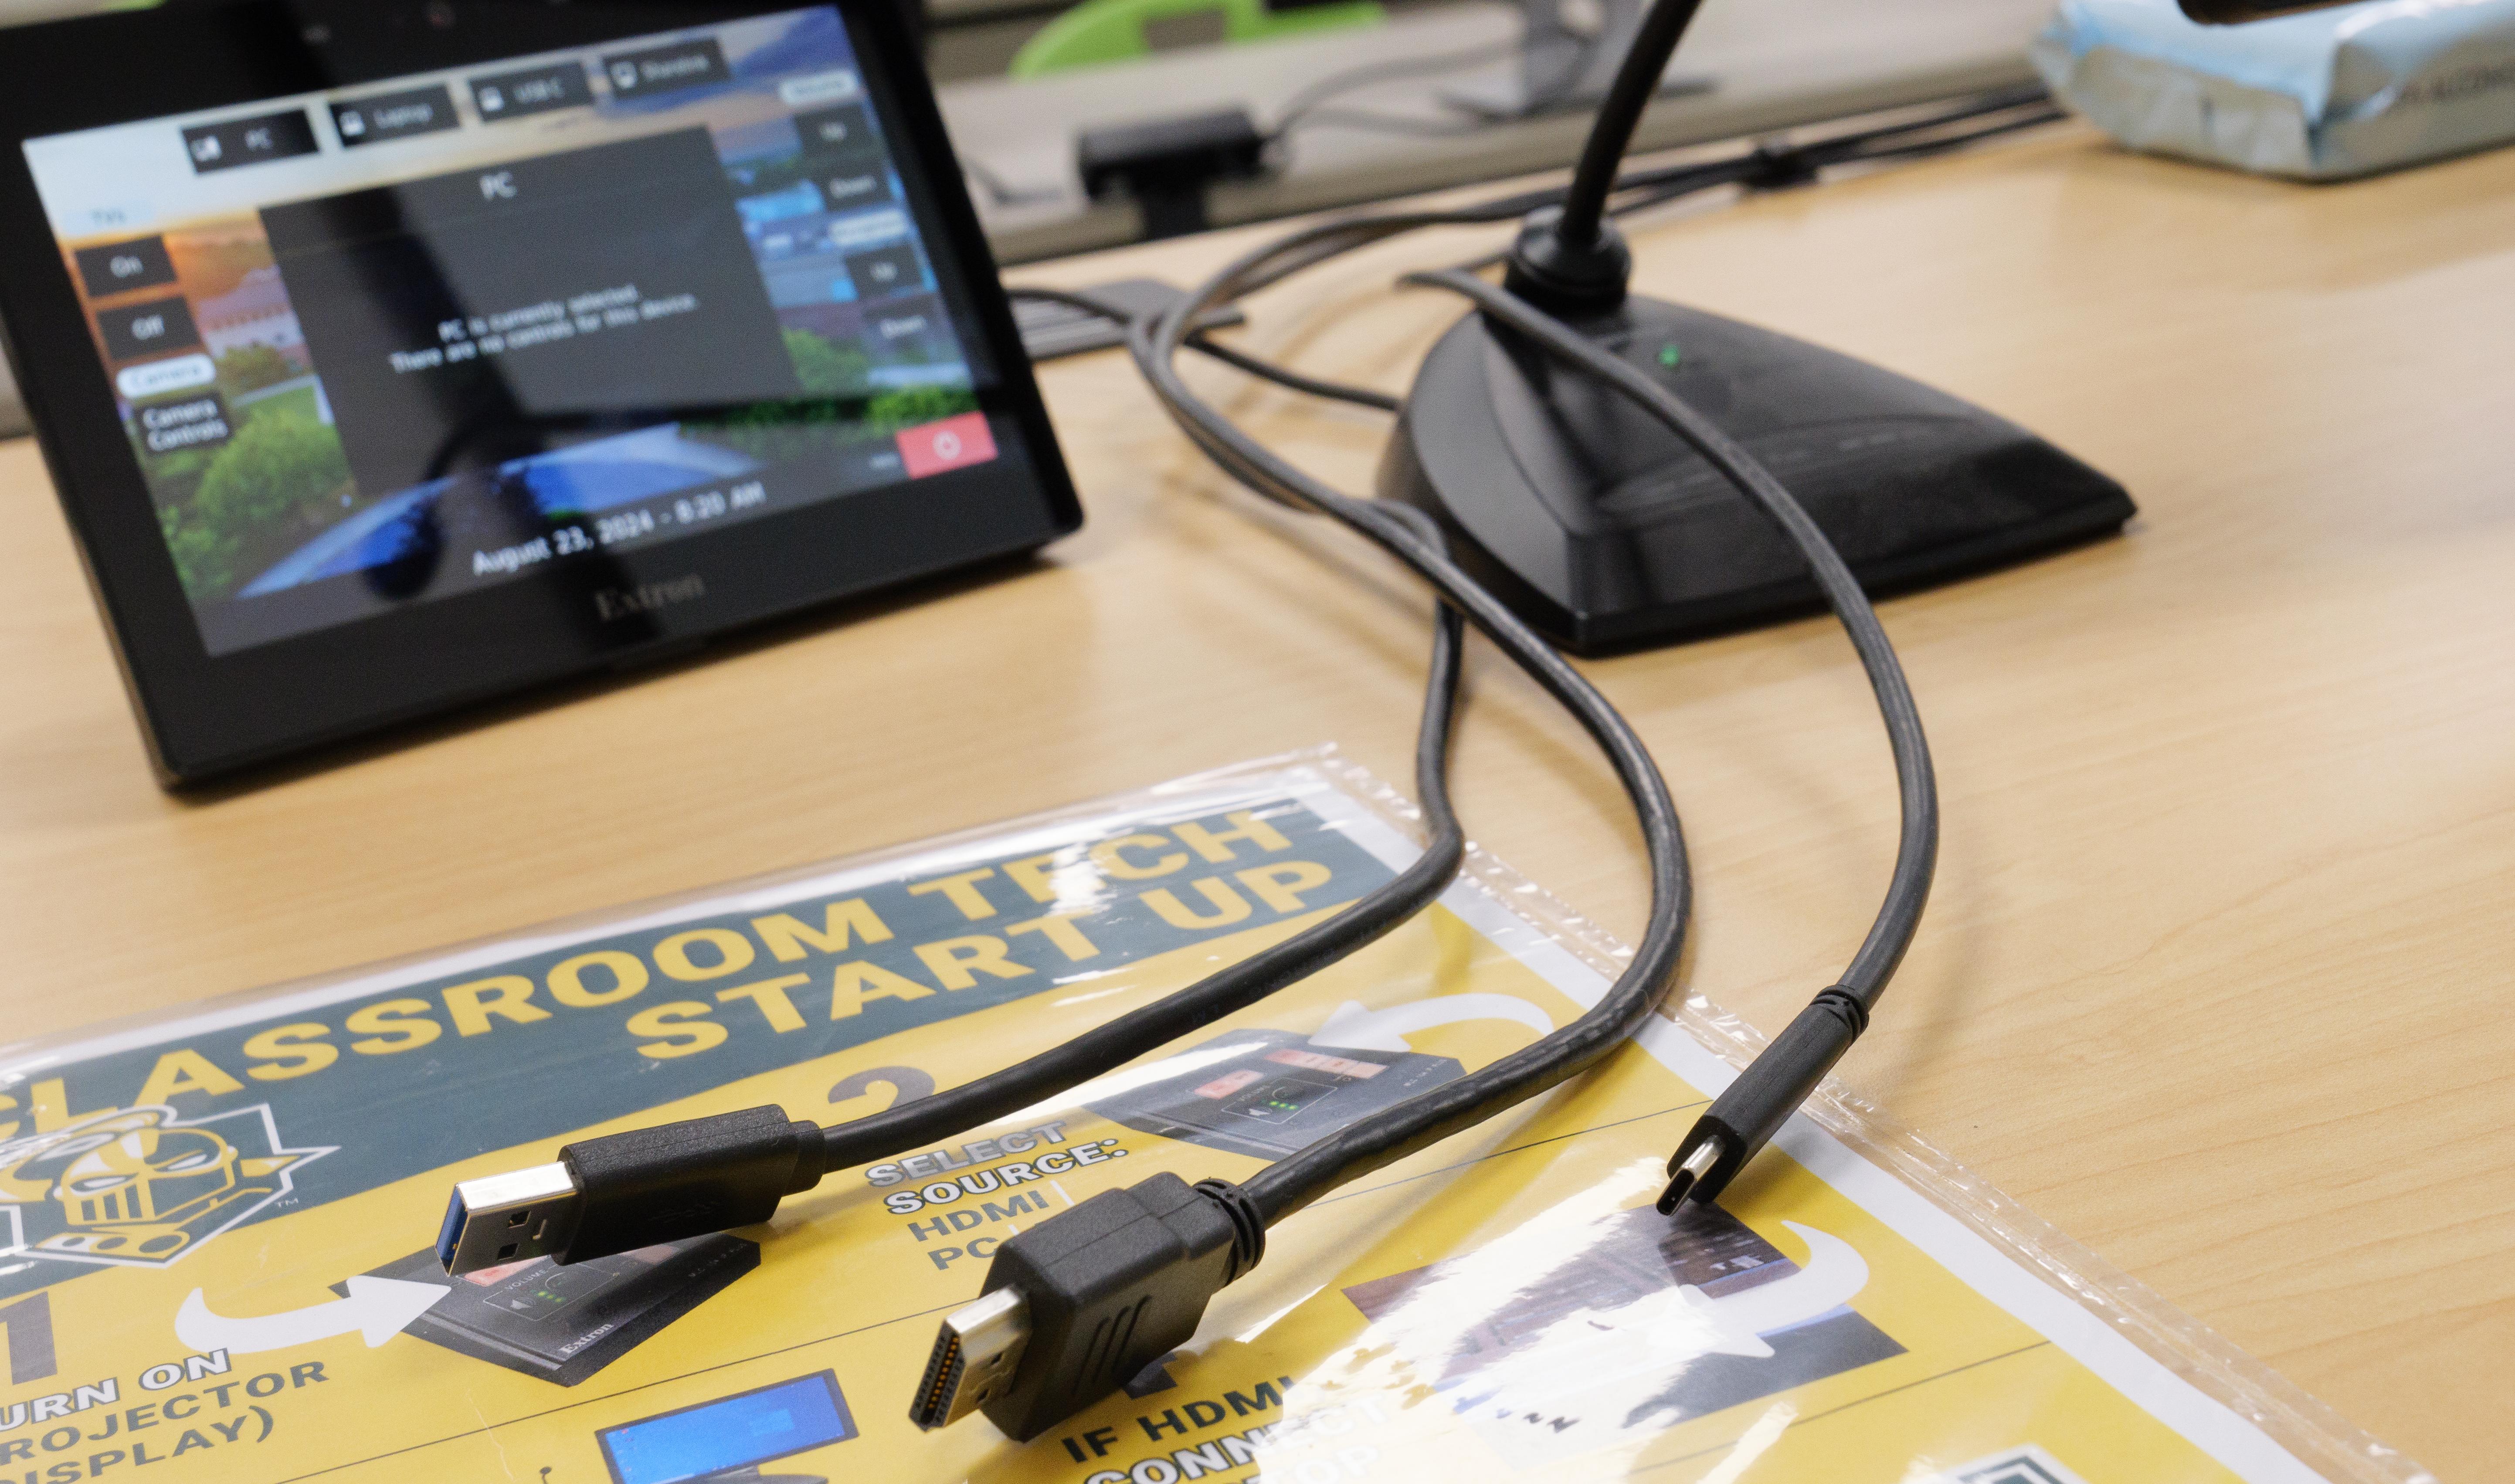
2.) From the main screen control you can select a different source. The options include PC (default), Laptop, USB C, and Sharelink (depicted below). When using the HDMI cable make sure to connect the USB cable as well to get access to the equipment in the room. This is not necessary when using the USB C option.
PLEASE NOTE: If you have scheduled an Echo capture with OIT you are unable to use your personal device as the scheduled captures only go through the classroom PC. Using your device with a scheduled Echo will cause the recording to capture nothing.
3.) Also from the main screen you can select to turn on/off the five TVs in the back of the room with the Displays On and Off buttons (depicted below).
PLEASE NOTE: That the TVs will only display the following sources from the lectern: PC, HDMI, or USB C.
The Sharelink source will only show on the projector in the room.
4.) Students that are sitting at the collaboration stations have the option to plug in their devices to the attached HDMIs, which will take over the TV display (not the projector).
5.) To allow students to share their laptop screen to the projector you can switch the source to the Sharelink option, which will provide instructions on how they can share to the projector in the room.